views
Choosing a Site for Your Pond
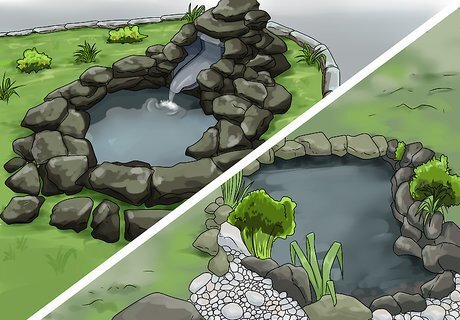
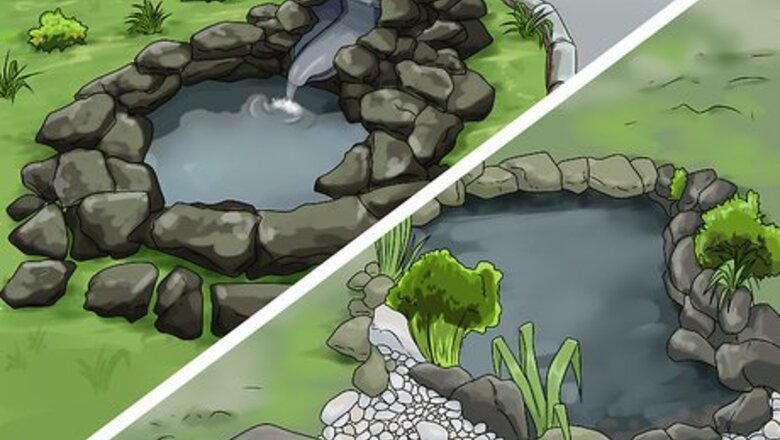
Decide what kind of pond you want. What function will it serve? Think about the features you’d enjoy most as you begin constructing plans. The most common backyard ponds fall into one of the following categories. A wildlife pond is perhaps the easiest type of pond to construct. It doesn’t require a pump, so it needn’t be close to a source of electricity. A wildlife pond is built to look like a natural part of the landscape. Because it isn’t stocked with fish, it is attractive to frogs, slugs, water sliders, and other animals that may come to it to have a drink or bathe away. A garden pond is more ornamental in appearance. Garden ponds typically have lily pads and other aquatic plants, and are built to complement the design of one’s garden. Artfully arranged stones, small pump-based waterfalls, and a smattering of goldfish are often features of garden ponds.
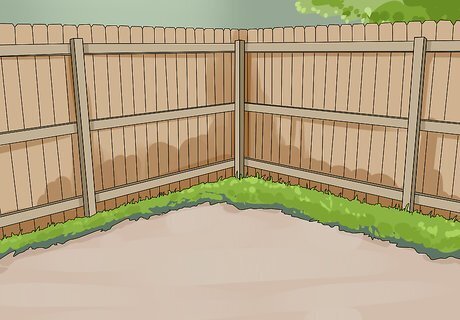
Choose a location for your pond. Most ponds do best in spots that get mixed sun and shade, since this environment allows plants to grow and keeps algae at bay. You may want to locate the pond in a place you can see from your home, so you can enjoy it even in cold or rainy weather. If you’re constructing your pond in the backyard, the first thing to do is call your gas and electric company and ask them to come to your house and mark the locations of your gas and electric lines, so you’ll know not to dig in those spots. If you have a larger property, other considerations may be involved. Call the Department of Agriculture to find out if there are places on your property that are protected watersheds, and ask if there are any other local regulations you should know about before you begin digging. Don’t choose a spot too close to trees, as you may damage their root systems.
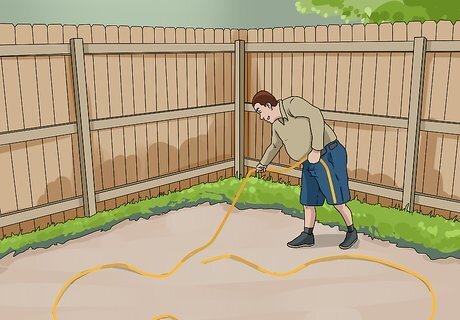
Consider the size and depth of your pond. If you live in a wet region, such as in the eastern region of the United States, your pond can be just a few feet wide and deep. If you’re in a dryer regions, like the southwest region of the US, a shallow pond will evaporate quickly. Conduct research to find out what depth makes sense for your region. Larger ponds are easier to maintain. They’re more stable, so plants and other wildlife have a better chance of survival. Use a rope to lay out the shape of your pond and get a sense of the size you want. Keep it in place to guide you as you begin to dig.
Building a Garden Pond
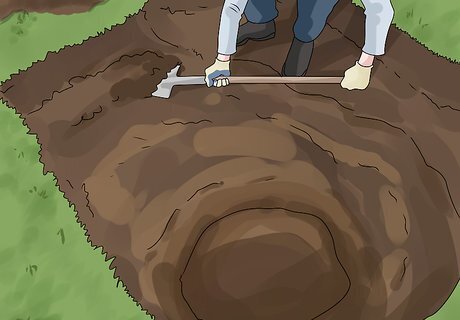
Dig the pond. A garden pond often has multiple levels, to facilitate a waterfall and provide a place for a pump. If you choose to install electric devices the pond should be located close enough to your home that you’ll have access to electricity. Use a shovel to dig a large hole according to the size and depth you have chosen. If you plan to install a pump, dig a second deeper hole of about 10 inches at the center of the pond. Create a second level for aquatic plants by digging a shallower shelf around the perimeter of the pond. You may also use a preformed pond shape, available at garden stores. These are often shaped like a bean and have multiple levels. If you’re using a preformed pond, adjust the hole you dig to its proportions.
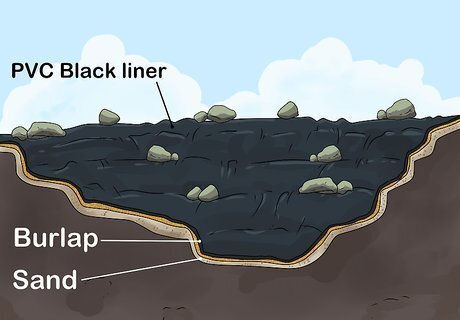
Line the pond. First line the pond with a layer of sand, making sure to cover every crevice. Next add a layer of biodegradable materials, such as newspapers or burlap. Cover this layer with a large piece of waterproof pond liner. This should cover the entire pond and the edges around it.
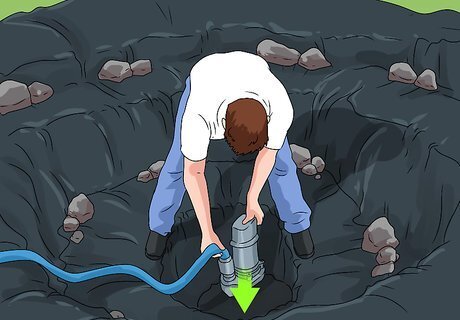
Install the pump and other devices. If you’re including a pump, install it in the deeper center pit so that the hose extends to the surface of the pond. You may also install a filter or a skimmer. Consult with the manufacturer of the device you choose for detailed instructions on how to install it. Always make sure the pump is on its own circuit and plugged into a GFCI receptacle. Do not put the pump directly on the ground as this will make the pump subject to dirt and debris that falls into the pond because it is in the deepest area. Elevate the pump with a bucket or a garden pot by at least 3 in. (8.62 cm).
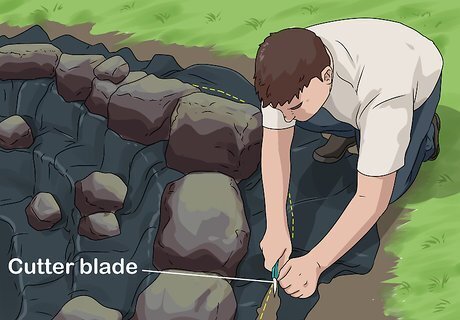
Edge the pond. Trim pond liner so that it overlaps the edge of the pond by about eight inches (20 cm). Dig a shallow shelf under the liner, lay the liner edges flat, and set heavy, flat stones on top of the liner around the edge of the pond. Large stones and flagstone work well for this purpose. Make sure the stones are set a few inches into the ground, so that they will be level with the surface of the pond when it is filled. If the stones are large and heavy, it is not necessary to mortar them. If you’re using smaller, lighter stones, you may want to add mortar to prevent them from coming loose when people stand at the pond’s edge. If you’re installing a waterfall device, it is attractive to surround it with stones. Be creative here: you may create patterns with stones, or use stones of varying shapes, sizes, and colors to accent your garden.
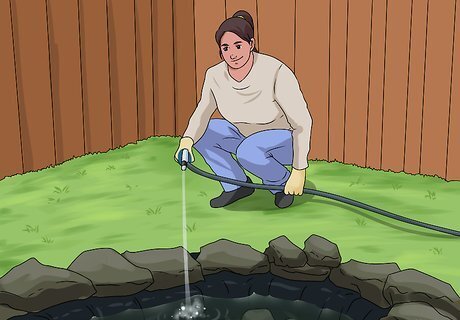
Fill the pond. Use a hose to fill the pond about three quarters of the way full to prevent overflowing from water features when turned off. Test the pump and other electronic devices you installed to make sure they are working properly.
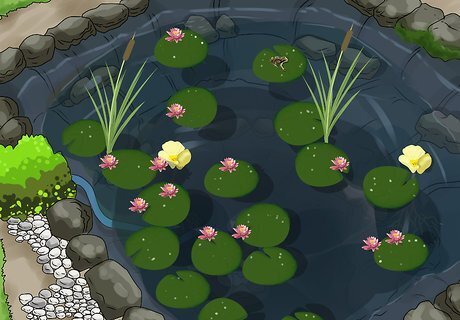
Create an aquatic garden. Add lily pads, reeds, and other aquatic plants to your pond. Every plant has individual requirements, so make sure the environment you have created is the right one for the plants you choose to grow. For example, some plants don’t do well with movement, so they shouldn’t be situated directly in the flow of a waterfall.
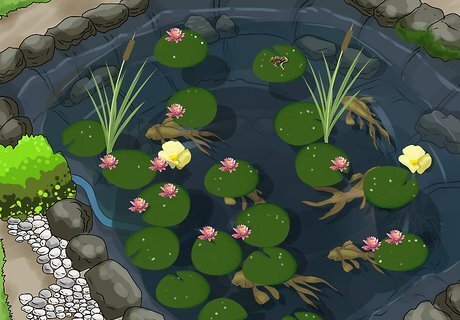
Add a few goldfish. Go to your local pet store and buy some goldfish to add to the pond. Do some research to find out what types of plants they coexist well with. Don’t add too many, or they may cause the aquatic plants to deteriorate. If you strike the right balance between plants and fish, you shouldn’t need a filter in your pond. If you have a lot of fish, you might consider installing a filter to take care of their waste. Koi are different from goldfish, and they require a special kind of pond. Read How to Build a Koi Fish Pond for more information.
Building a Wildlife Pond
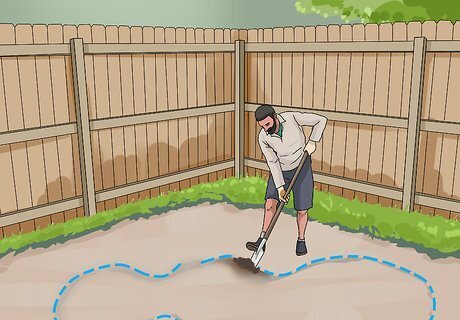
Dig the pond. For a small size pond, digging with a shovel should be sufficient. For a larger pond, your soil composition will determine how hard this is. Rocky soil is going to be very hard to excavate and you may need to hire a crew to do it. Sandy loam should be easy enough for you to dig out on your own. Keep these factors in mind as you dig: Since you want to facilitate the growth of wildlife, your pond should be deep enough that it won’t freeze solid over the winter. If you’re in an area that gets cold, you’ll want to dig the pond several feet deep so that the animals living there can live overwinter. One side of the pond should have a gradual slope, a beach of sorts, so that animals that wander in will be able to make their way out. Animals can drown in ponds with steep cliffs on every side. Reserve the topsoil in a pile as you dig. You’ll be using this later when you edge the pond. When you’re finished digging, remove sharp rocks from the hole.
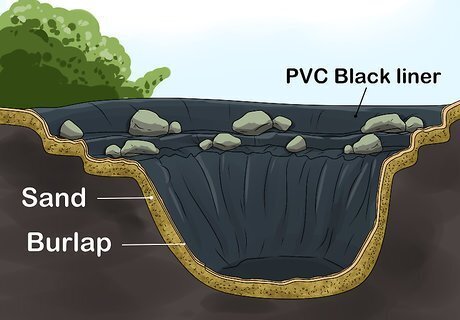
Line the pond. First line the pond with a layer of sand, making sure to cover every crevice. Next add a layer of biodegradable or man-made materials. You can use newspapers or burlap, but biodegradable materials may rot in time, effectively leaving you with no protection other than the layer of sand. Stones may force their way up through this sand layer and damage the liner. So consider non-biodegradable material such as specialist pond underlay as an option. When you've placed this layer down, cover it with a large piece of waterproof pond liner. Different types of waterproof pond liners are available at home improvement stores, and often at garden stores.
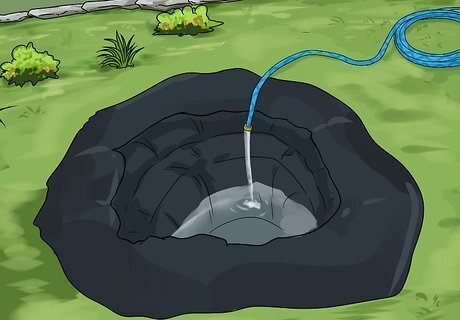
Fill the pond. Use a hose to fill the pond up to the edge, making sure to stop before it overflows. You may also fill the pond with collected rainwater if you’d prefer not to use pumped water. Trim the overlapping liner back to about eight to ten inches (20 to 25 cm).
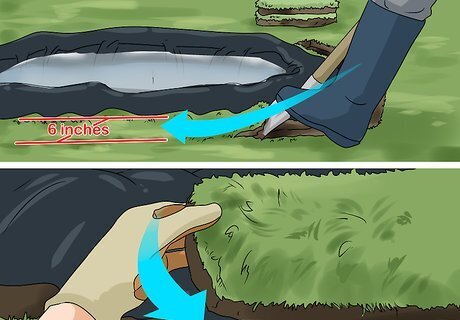
Create a slit around the edge of the pond. Lift back the pond liner and use a spade to cut a 6-inch (16 cm) slit into the earth around the entire pond. Insert the spade a few inches into the slit, maneuver it so it is parallel to the ground, and gently lift the grass around the entire slit, creating a sort of grass flap around the entire pond. Now lift back the grass flap and tuck the edges of the pond liner into the slit, replacing the grass flap over the top to conceal the slit as you go. This gives the pond a “natural” edge, which will be inviting to the wildlife in your area.
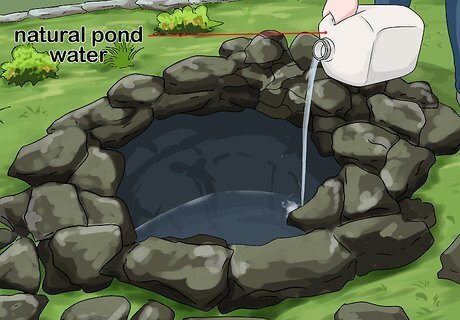
Add water from a local natural pond. Take a few empty milk gallons or other closed containers to a healthy pond nearby. Look for a natural pond that has been there for many years, as opposed to a neighbor’s backyard pond. Fill the containers with pond water, taking care not to capture any fish in the process. Return to your pond and add the natural pond water, which contains bacteria and microscopic animals that will help establish your pond as a more natural water source for wildlife.
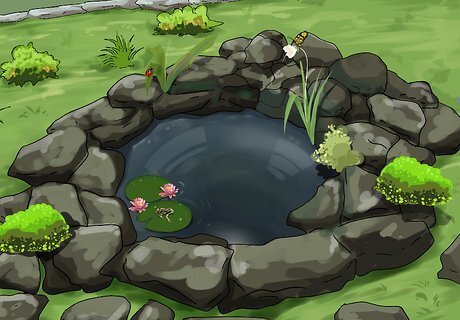
Watch as your pond grows “wild.” Your pond will change over time, attracting bugs and other creatures as it develops nutrients. Don’t mow the area around your pond; instead, let wild grasses grow. Don’t introduce fish to the pond for several years. Their presence will prevent the pond from attracting frogs, snails, and other wildlife. Create a muddy pond bottom by dumping the topsoil back into the pond. You may plant reeds and other natural aquatic plants, such as water lilies, to help facilitate the growth of other wildlife. Just be sure to monitor it to keep it from becoming stagnant, as this could lead to a foul smell and increased mosquito activity.








Comments
0 comment