
Creating the Pages
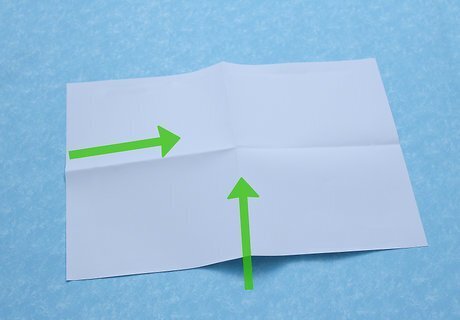
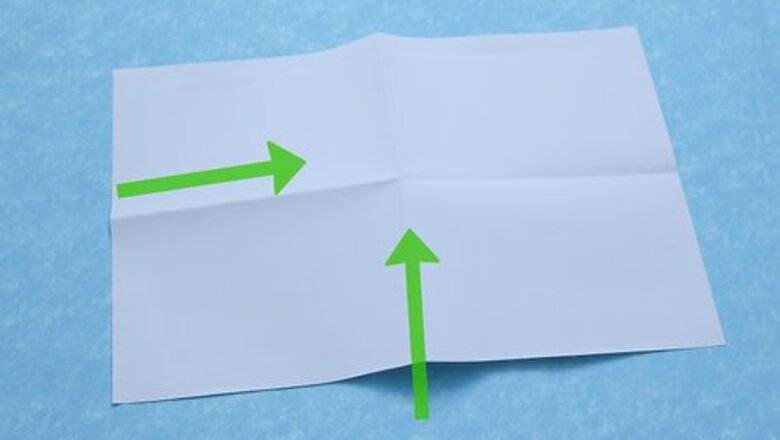
Fold each paper into four sections. You can do this by folding the paper in half "hamburger style" twice.
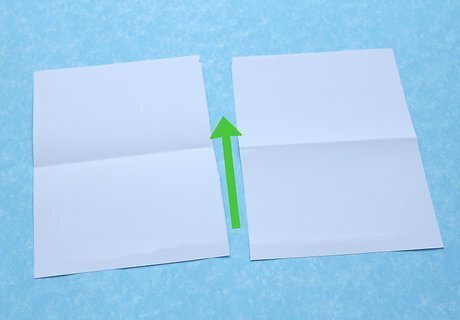
Cut each paper along the shorter crease. It should now look like a card.
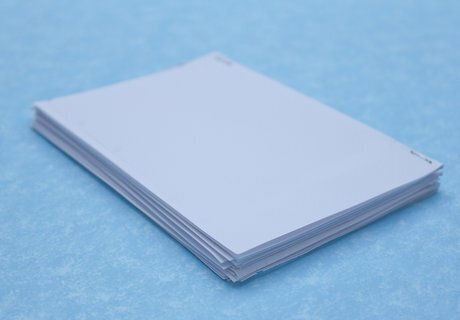
Assembling the Pages
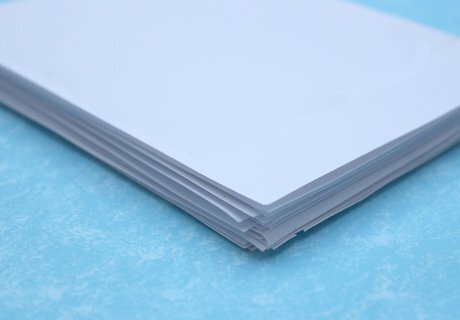
Take four "cards" and line them up so the folded edges are all on the same side and the edges are neat and even all the way around.
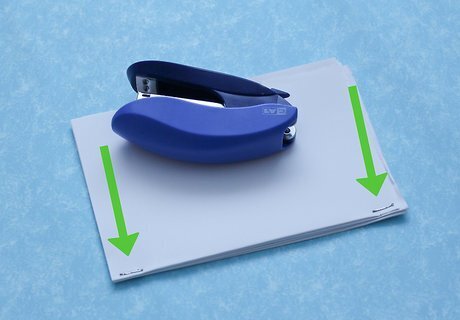
Place two staples in the spine (the side with the folded edge) of the stack. Be sure to place them close to the edge! One goes at the top of the folded side and the other will go at the bottom.

Continue this process until you have five stapled stacks of paper.
Gluing
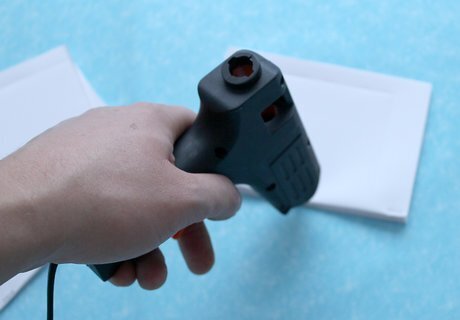
Plug in the hot glue gun and allow it to heat up properly.
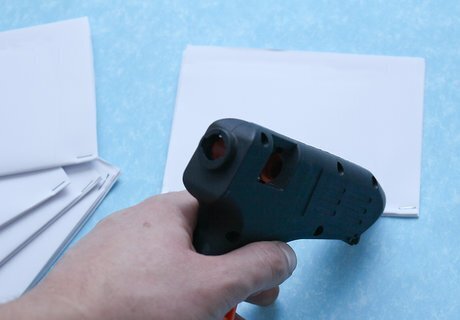
Place a thin line of glue along the spine edge of one of the stacks of paper. This line of glue should run from the top of the spine to the bottom covering both staples. Your glue should be on the top of the spine, not along the side.
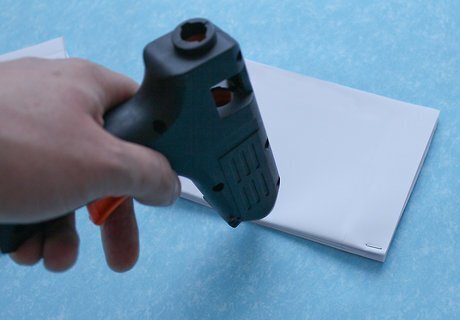
Take another stack of paper. Carefully line up the spines of both stacks, and place the new stack on top of the one with the glue. Line everything up and allow the glue to set.
Repeat the gluing process with the remaining stacks of paper until you have a single booklet.
Adding a Cover
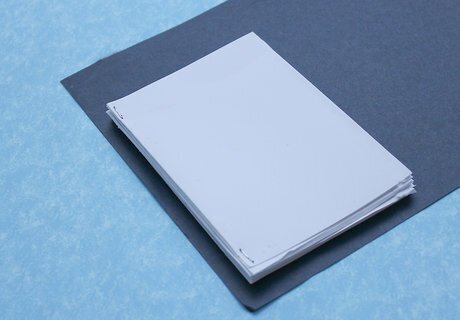
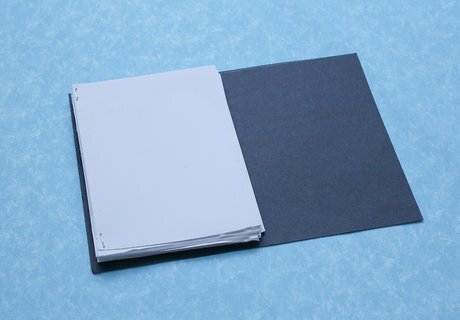
Place the booklet on the cardstock.
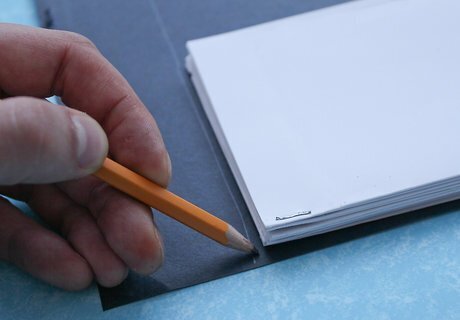
Using the pen or pencil, trace the around the shape of the booklet forming an outline for the front cover. Leave half an inch of space around the top and bottom sides and one inch around the left and right sides.
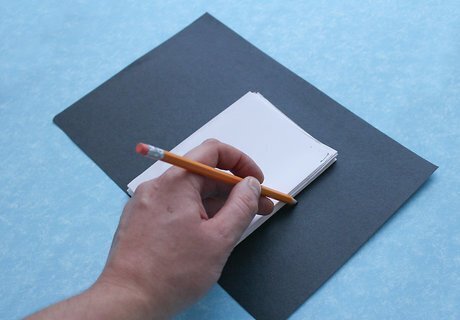
Turn the booklet over and trace the other side. You should have a strip of cardstock that is twice as long as your booklet.
Cut out the cover using the scissors.
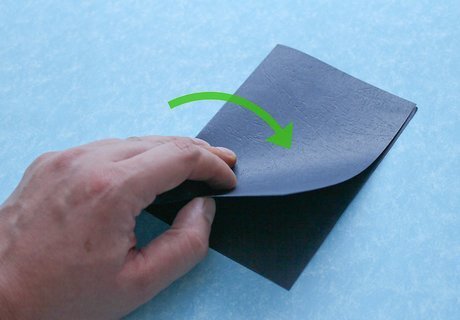
Fold the cover in half.
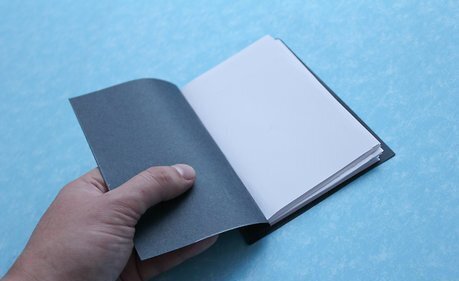
Make sure the booklet will fit inside of the cover. Then place a line of hot glue on the inside crease of the cover.

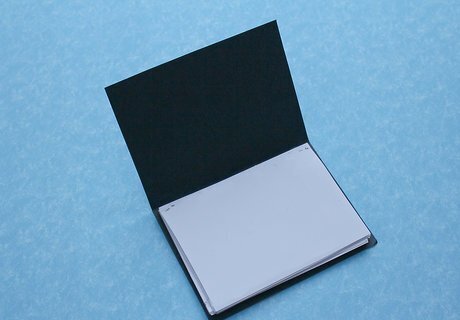
Place the spine of the booklet on the line of glue to attach the booklet to the cover.
Once the glue sets, trim the cover to your liking. Make sure everything is even and neat.
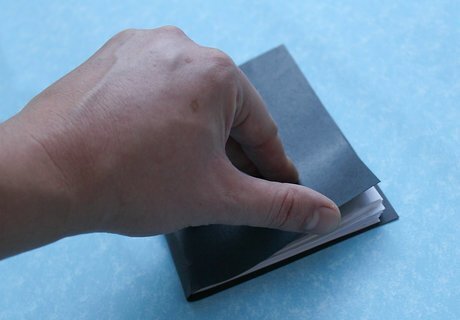
Open the cover of the sketchbook and place a line of glue on top of the exposed staples. Then close the cover and press down. Allow the glue to set, then repeat on the other side.
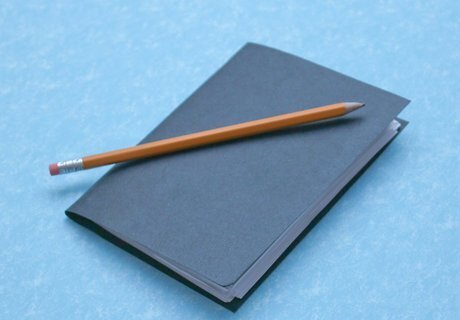
Enjoy your new sketchbook! At this point, you can leave the sketchbook as it is or decorate it anyway you want.


Comments
0 comment