
Creating the Card's Inside
Open Google Slides. Go to https://docs.google.com/presentation/ in your computer's web browser. This will open your Google Account's Google Slides page if you're logged in. If you aren't logged into a Google Account, enter your email address and password when prompted before continuing.
Click Blank. It's in the upper-left side of the page. Doing so opens a blank presentation.

Delete the slide's contents. You can remove the pre-formatted title text boxes by doing the following: Click a blank space on the slide. Press Ctrl+A (Windows) or ⌘ Command+A (Mac) to highlight the whole slide. Press the Del key (Windows) or the backspace key (Mac).
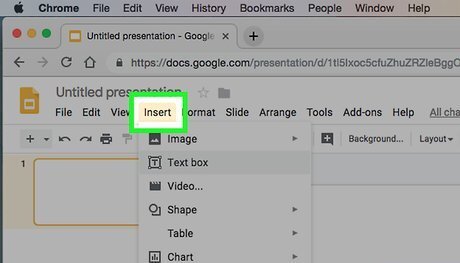
Click Insert. It's a tab in the upper-left corner of the page. Clicking it prompts a drop-down menu. On a Mac, make sure you're doing this on the page rather than in your Mac's menu bar that's at the top of the screen.
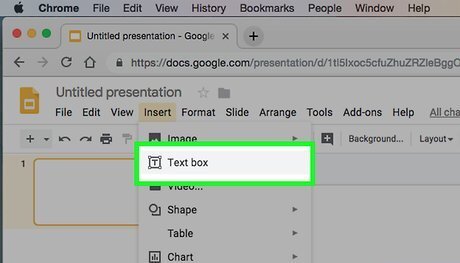
Click Text box. It's in the Insert drop-down menu. You should see your cursor turn into a cross.

Create your text box on the left side of the slide. Click and drag from the top-left corner of the slide to just before the middle of the slide, then drag down to the bottom of the slide. This will be your card's left page.
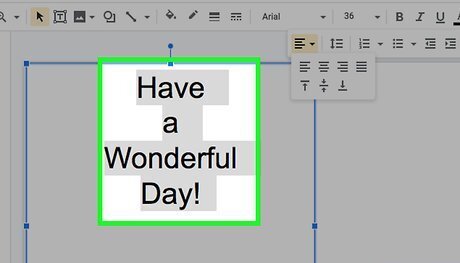
Enter any text you want to use. Type your card's message into the text box. You can center your text by highlighting the text, clicking the "Align" tab (which resembles four stacked horizontal lines), and clicking the "Center" option which is the second icon from the left in the resulting drop-down menu.
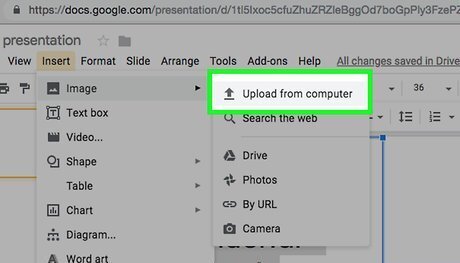
Add an image if desired. If you want to use an image inside of your card, make sure the image is on your computer, then do the following: Click Insert. Select Image in the drop-down menu. Click Upload from computer in the pop-out menu. Select an image, then click Open or Choose. Resize the image by clicking and dragging its corners inward or outward. Click and drag the image to the location on the slide in which you want to store the image.
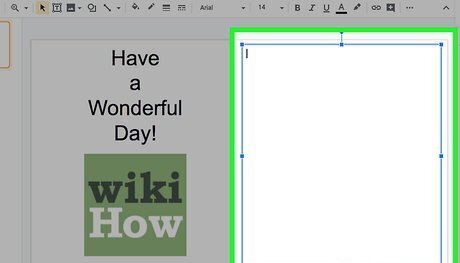
Create the card's second inner page. You'll do this by adding a text box to the right side of the slide: Click Insert, then click Text box in the drop-down menu. Click and drag from the top-right corner to close to the middle of the slide, then drag down to the bottom of the card. Enter your text and images if necessary.
Creating the Card's Cover
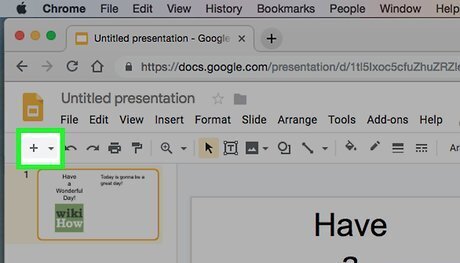
Create a new slide. Click the + icon in the upper-left side of the page, just above your top slide. This will add and open a new slide.
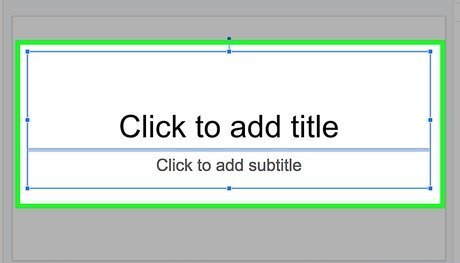
Delete the slide's contents. Click a blank space on the slide, press Ctrl+A (Windows) or ⌘ Command+A (Mac) to highlight the whole slide, and press the Del key (Windows) or the backspace key (Mac).
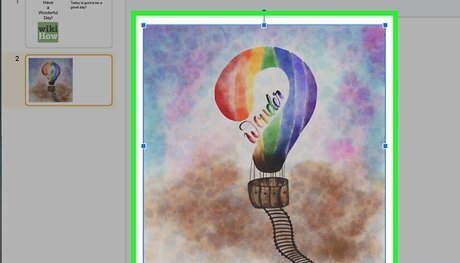
Add your cover image. You can add a front cover image to your card by doing the following: Click Insert. Select Image in the drop-down menu. Click Upload from computer in the pop-out menu. Select an image, then click Open or Choose. Resize the image by clicking and dragging its corners inward or outward. Click and drag the image to the right side of the slide.
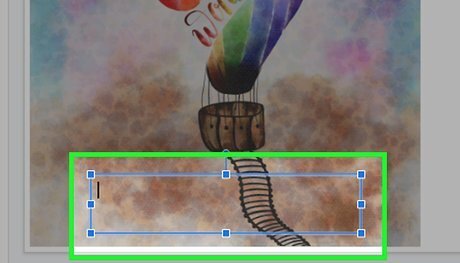
Insert a text box on top of the image. You'll do this in the same way in which you added text boxes to the rest of the card's pages: Click Insert. Click Text box. Click and drag across the section of the image in which you want to create text.
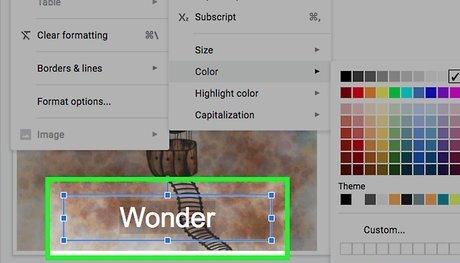
Add cover text. Type whatever you want to use as your card's message into the text box. If you need to change the text's color, highlight the text in question, then click Format, select Text, select Color, and click the color you need to use.
Saving
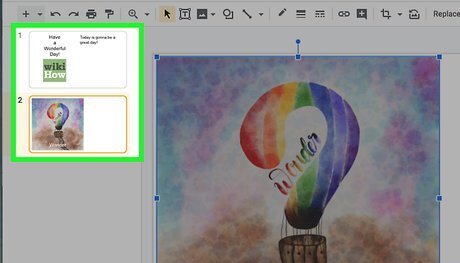
Make any final changes to your card. Once you save your card, you won't be able to change it without going back to the card's project in Google Slides and then re-downloading it.
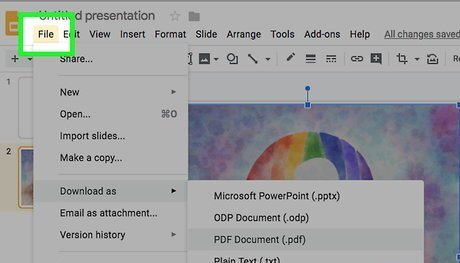
Click File. It's in the upper-left side of the page. A drop-down menu will appear. On a Mac, make sure you're clicking File on the Google Docs page and not in your Mac's menu bar.
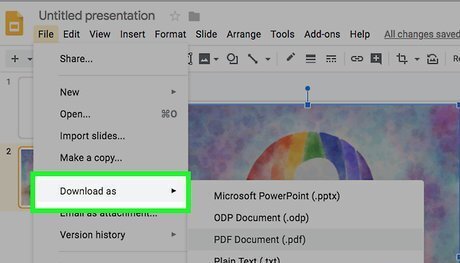
Select Download as. This is in the drop-down menu. Selecting it prompts a pop-out menu to appear.
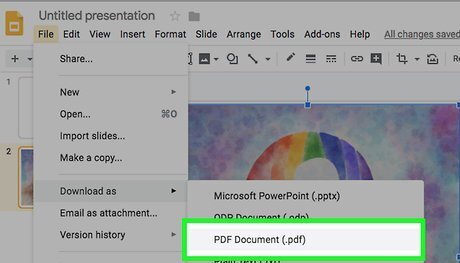
Click PDF Document (.pdf). It's in the pop-out menu. A PDF version of your card should begin downloading onto your computer.
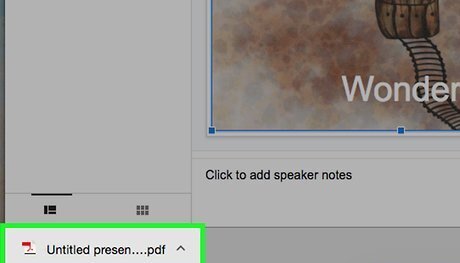
Wait for your card to download. This may take a few seconds. Once your PDF finishes downloading, you can proceed with printing it.
Printing

Open the PDF. Double-click the PDF to open it in your computer's default PDF viewer.
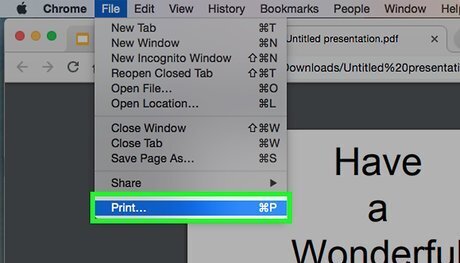
Open the "Print" menu. The quickest way to do this in any program is by pressing Ctrl+P (Windows) or ⌘ Command+P (Mac). On a Mac, you can also click File in the upper-left corner of the screen and then click Print in the resulting drop-down menu.
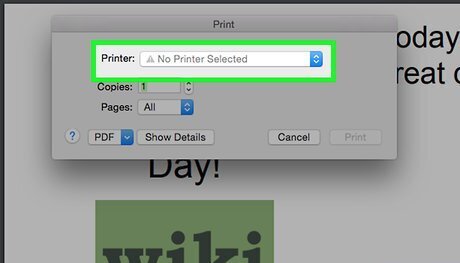
Select your printer if necessary. If the printer you want to use isn't selected at the top of the menu, click the current printer's name and then click the printer you want to use.

Set your printer to print double-sided. This step will vary depending on your printer, so check your printer's manual or online documentation for directions specific to your printer. With double-sided printing set up, your card will display the cover and the inside of the card on the same piece of paper.
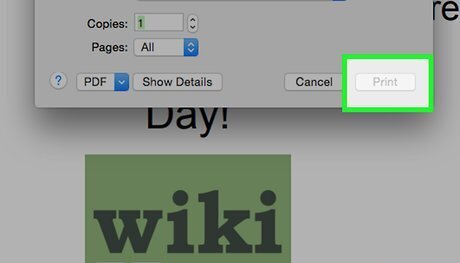
Click Print. It's at the bottom of the menu. Your card will print.

Fold the card. Make sure that the cover section is on the outside and the inside of the card is closed when you fold the card.


Comments
0 comment