views
Gather your materials.
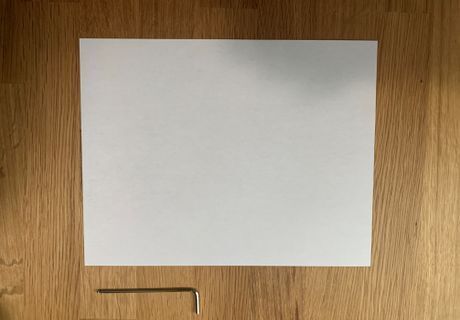
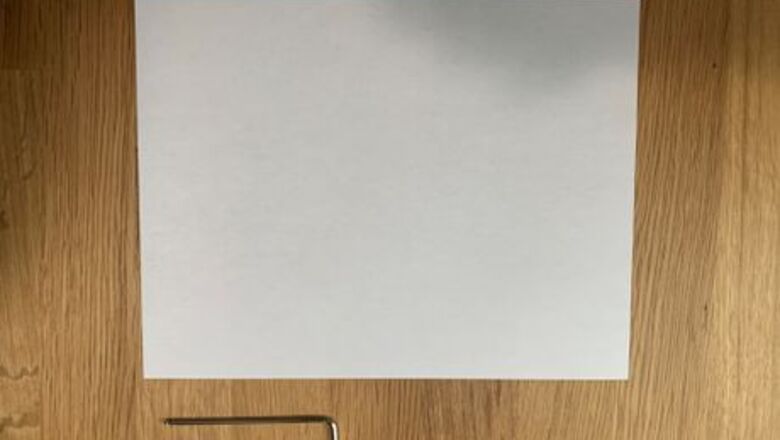
To correctly level the print bed, you’ll need: A hex-wrench. The correct size comes with standard with the machine. A standard sheet of letter or copy paper.
Raise the print bed.
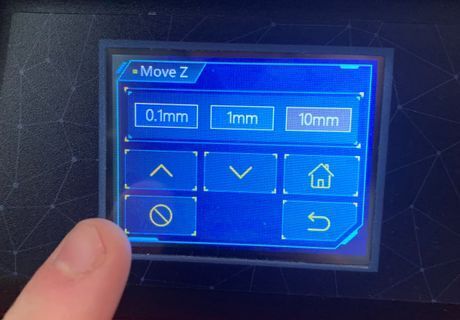
The steps to raise the print bed are easy. Turn on the machine by flipping the “ON switch”. Then select “Tools” → “Move Z” → “10mm” then press the “↑” button several times until the plate has been raised to the top of the machine.
Remove the resin vat.
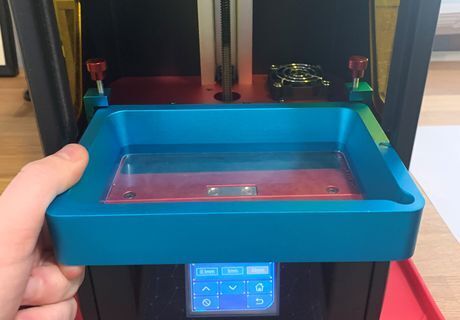
Unscrew the two screws on the left and right of the vat holder to release the vat. This will uncover the LCD display on the bottom of the machine.
Loosen the plate.
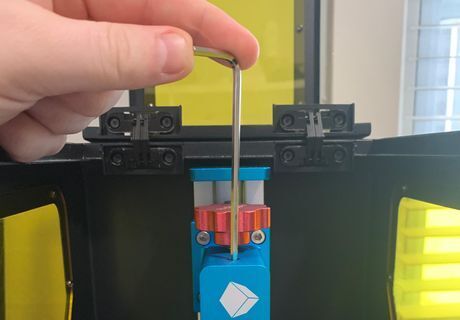
Using the hex-wrench, loosen the screw on the top of the build plate. The screw is located on the top of the plate below the red knob.
Lower the plate.
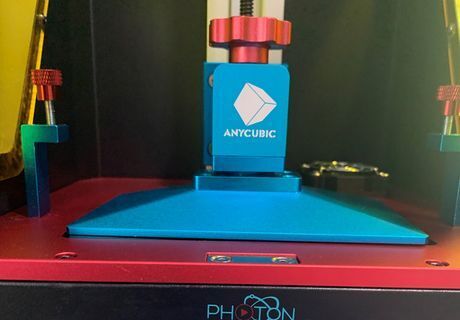
Press the “Home” button to lower the build plate towards the LCD screen. The plate will stop just above the screen.
Insert your paper.
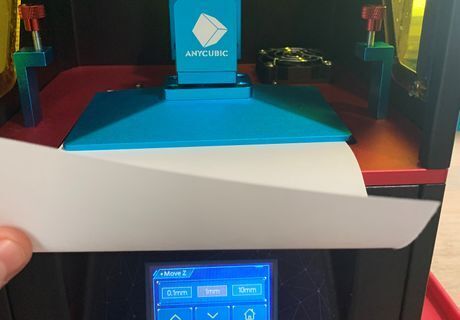
Raise the build plate 3mm by selecting the “1mm” button and then pressing the “↑” button 3 times. Then slide in the paper between the LCD screen and the plate. It’s often easier to cut the paper in half to allow the paper to lay flat on the screen.
Find resistance between the paper and the screen.
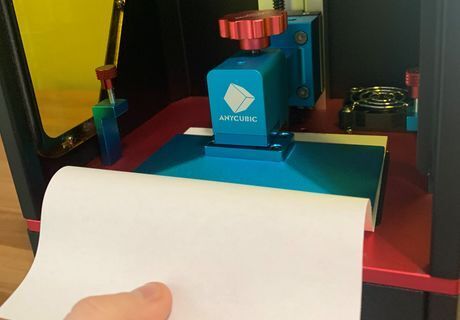
Slowly lower the build plate by selecting either the “1mm” or “.1mm” button. Then, press the “↓” button. The plate should be lowered to the point where the paper can be pulled out but cannot be pushed in.
Align the plate with the screen.
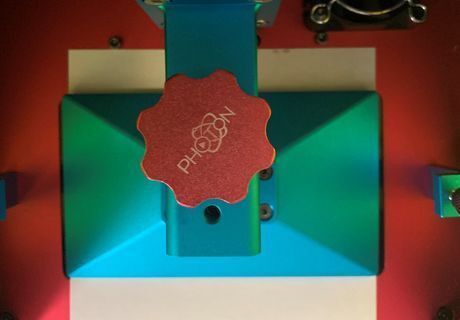
The plate should align with the LCD panel. This is most easily done by looking directly down from the top of the machine to ensure equal alignment on every side of the plate.
Hold down on the plate.
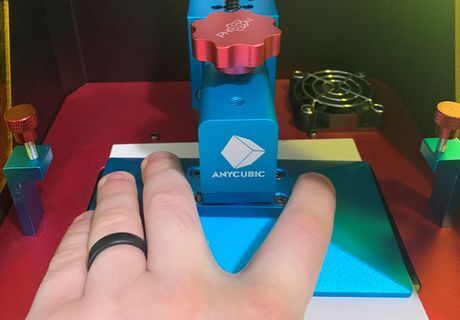
While pressing down on the plate, tighten the screw on the top of the plate with a hex-wrench. Make sure to press evenly on both sides of the plate while tightening. The paper should now be able to be evenly pulled from between the plate and the screen.
Raise the build plate.
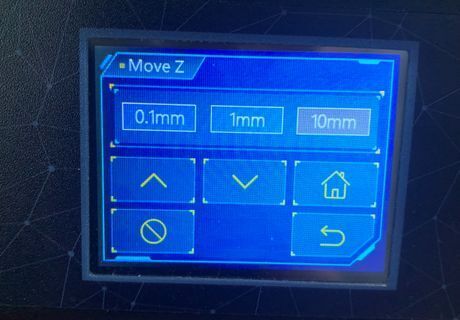
Select the “1mm” button and raise the build plate. Raise it by 3mm by pressing the “↑” button 3 times.
Level the plate.
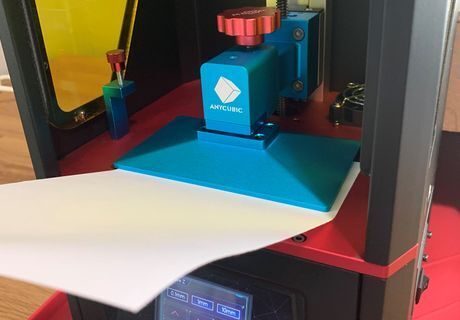
Slowly lower the build plate by selecting either the “1mm” or “.1mm” button and then pressing “↓”. Lower the plate to the point where the paper can be pulled out with resistance, but it cannot be pushed in.
Set the Z axis.
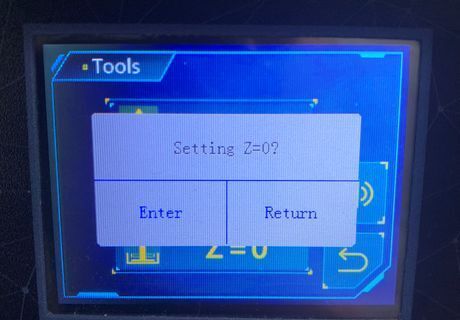
Press the “Back” → “Z=0” and “Enter” buttons to register the correct leveling height. DO NOT press the “Home” button during this step. The “Home” button does not bring the screen to the home page.









Comments
0 comment