

Before you start this (or any other) digging project, call 811, A new, federally-mandated national "Call Before You Dig" number. 811 was created to help protect people from unintentionally hitting underground utility lines while working on digging projects.
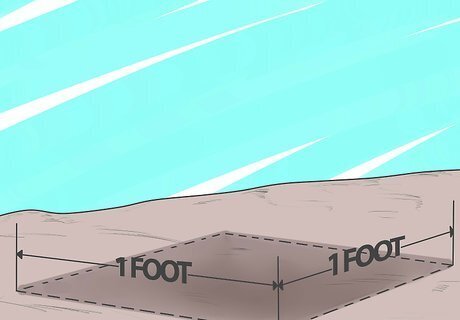
Be careful to center the hole on the position for the pier. Specification for distance between piers can be found in most books about deck construction. These holes are one foot square and one foot deep. The existing ground around the hole should be undisturbed as it provides the lateral support for the post. Poor positioning of the hole will result in a larger hole and less support.
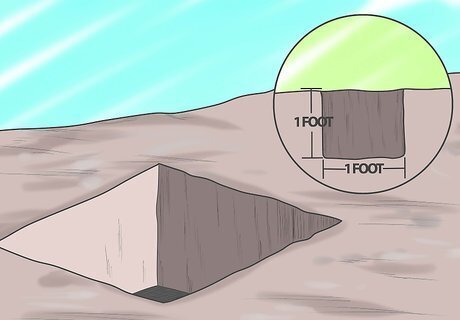
This is the completed hole. Note the sides are vertical and the bottom is flat.
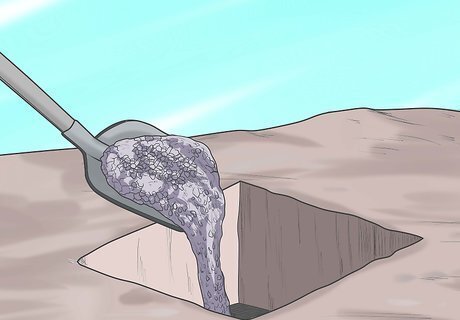
Fill the bottom with about one inch of gravel, sand or pea gravel. This will allow you to create a flat level surface to place the paver on. It also absorbs some of the expansion and contraction that characterizes some soils.
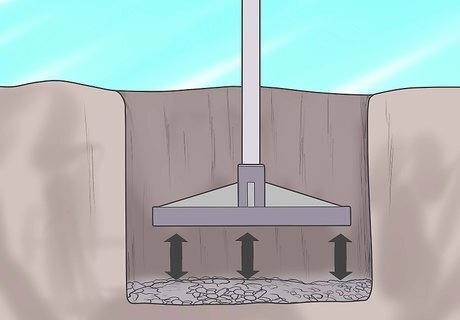
Compact the gravel at the bottom of the hole. This is important to prevent the weight of the deck from pushing the piers down and creating sags in the deck.
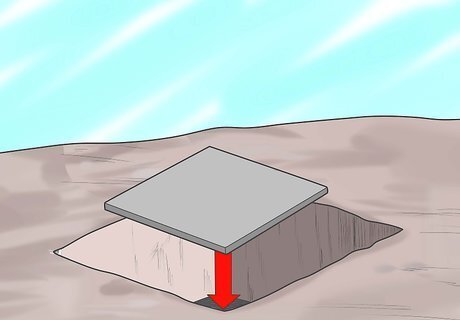
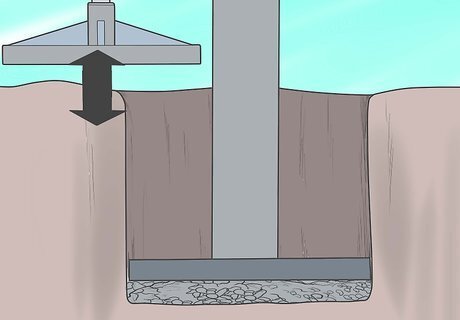
Place the paver in the bottom of the hole and check for level by placing a post with square cut ends on the paver. Then check the level in both directions on the posts top. You may also use a small 12" level on the paver. If it is not level, add more gravel or sand and re-compact.
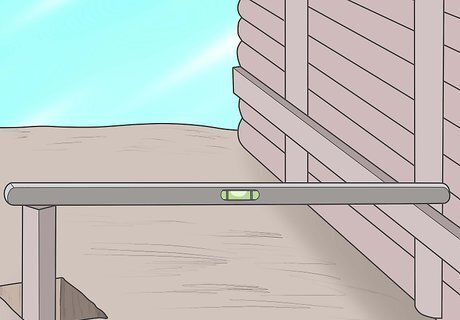
Once the paver is level in all directions it is time to determine the pier length. This deck is attached to a retaining wall and a ledger board is the basis for the level. Position the pier and strike a line on the pier level with the top of the ledger.
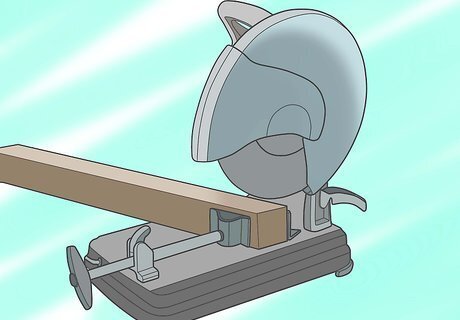
Use a radial, or chop saw to cut the piers to length. This assures a square cut that allows the beam to rest more completely on the end of the pier. These piers are 4" pressure treated peeler cores. You could also use pressure treated 4"x 4" posts.
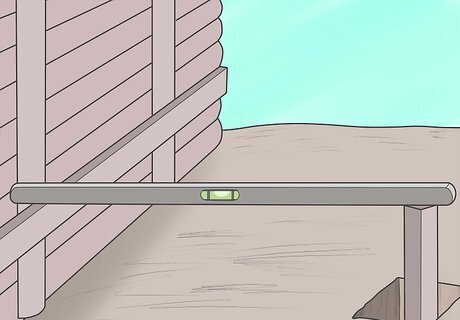
Once the pier is cut to length recheck the height by laying the level on the ledger and the top of the pier.
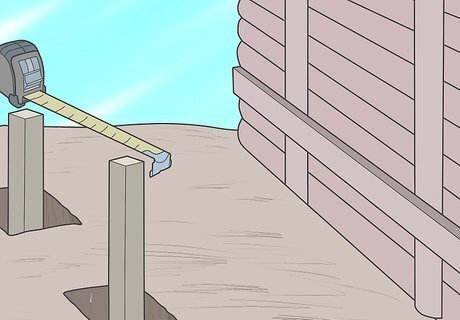
Locate the pier by measuring from two known points. Use the same points for every pier. Don't measure from pier to pier. If one pier is off, you will multiply the error.

Once you have the exact location, mark the bottom of the pier with a felt pen on the paver. This will allow you to relocate the pier if it is bumped or move accidentally.
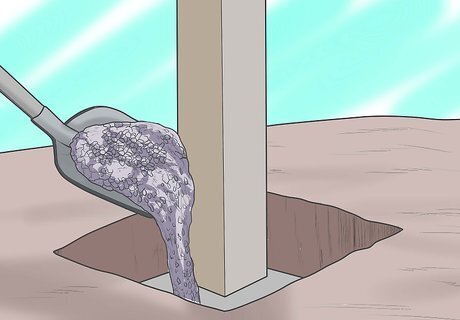
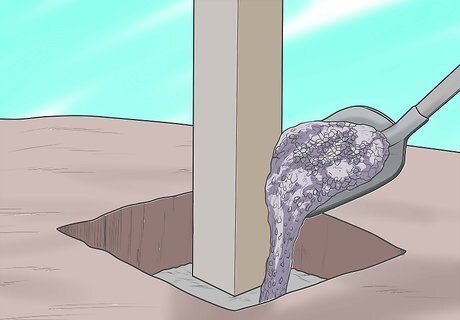
Carefully fill the hole with loose dirt until it is 4 inches (10.2 cm) deep in the entire hole. Hold the pier to prevent the dirt from moving it off it proper location.
Carefully tamp the dirt with another pier or post while holding onto the pier to prevent it from moving. The dirt should compact to at least 3 inches (7.6 cm), and the pier should be stable enough to stand on its own.
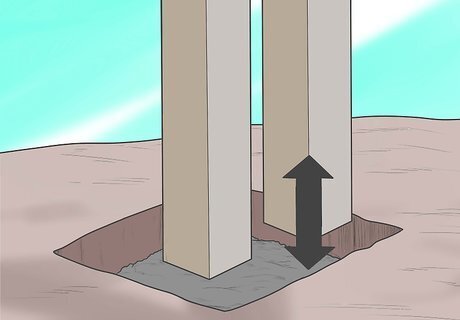
Fill the remaining dirt 4 inches (10.2 cm) at a time and compact. You should have more dirt that the remaining space in the hole because of pier, paver, and gravel.
Use the extra dirt to create a sloped cap around the pier to discourage water from collecting near the pier.
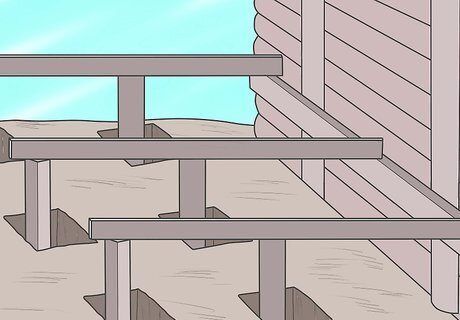
Your efforts should result in a level aligned resting place for the beam.


Comments
0 comment