views
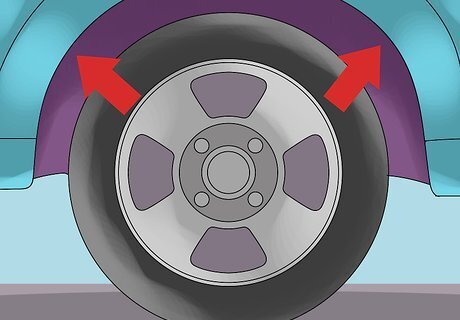
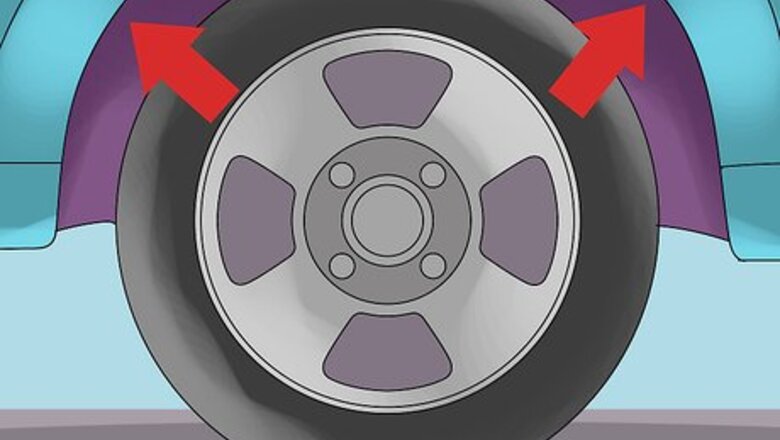
Make sure the wheel well and installation area where you plan to attach your new mud flaps is clean and clear of dirt, grime and debris.
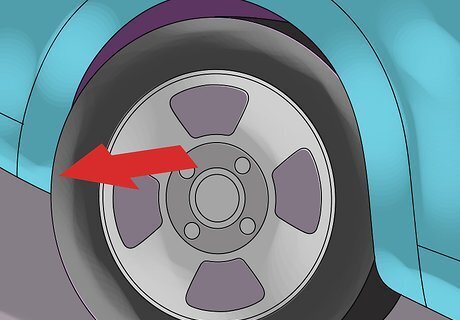
Turn your front wheels all the way to the left to maximize the clearance in-between the tire in the wheel well.
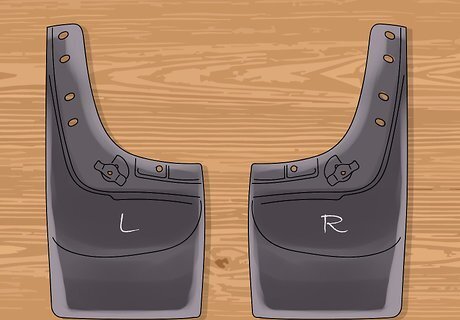
Next turn your mud flaps over to see where they are marked on the back. They should be marked L or LH for the left side and R or RH for the right hand side.
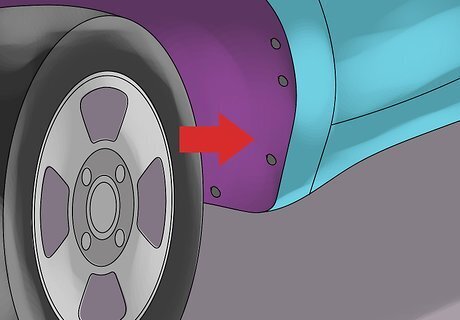
The mounting holes used will be the ones that are currently factory drilled on your vehicle located in your wheel well. Remove the screws, but hold onto them.
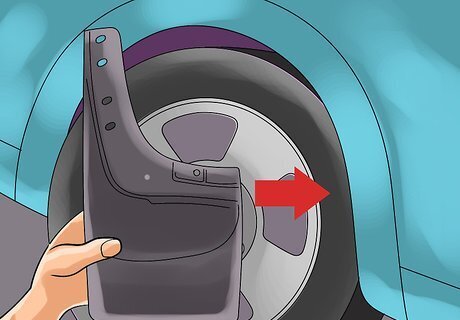
With the screw removed, move your mud flap into place. You’ll notice it fits perfectly to the contours of your vehicle.
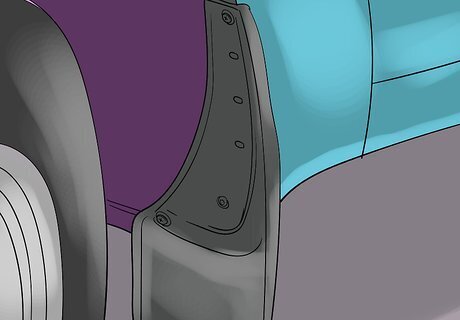
Reinstall the screws into the holes you removed them from, attaching the mud flaps to the wheel well. Don’t fully tighten these yet.
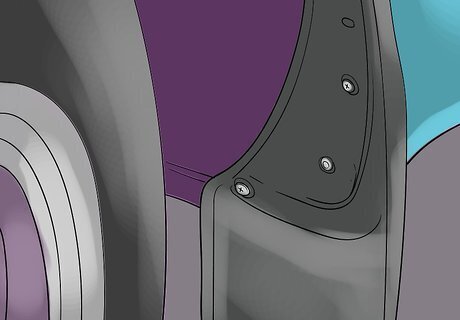
Take any additional screws and washers provided with the mud flap and attach them to the mud flap and screw them into any remaining holes left open.
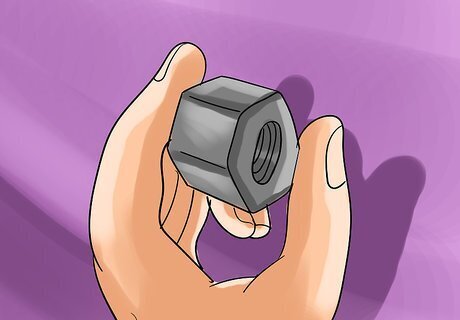
When attaching these additional screws, don’t forget to insert your hex nuts on in-between the mud flap and the wheel well if they were provided with your kit.
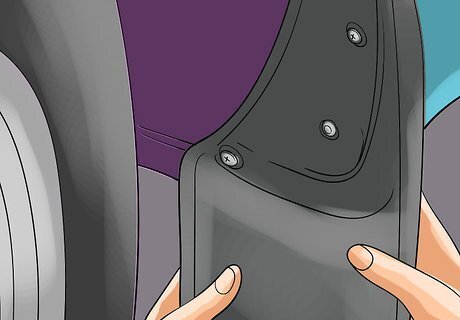
Before tightening your mud flap, adjust your mud flap to the angle you want it to be positioned.
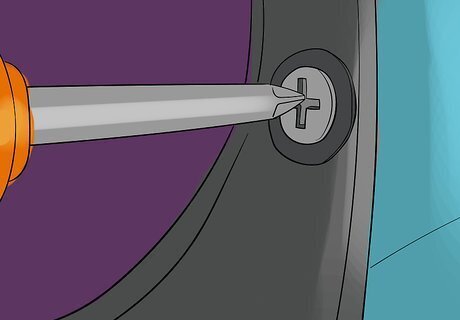
Tighten the screws.
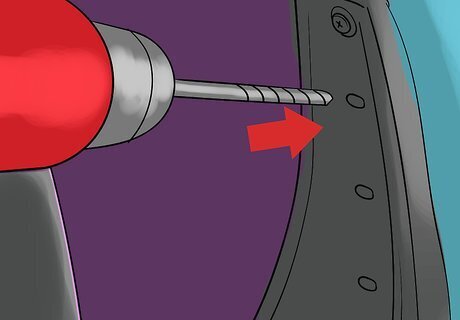
If your mud flap comes with additional holes and there is no available spot on your truck for a screw to enter, you will need to drill these holes out if you wish for extra stability.
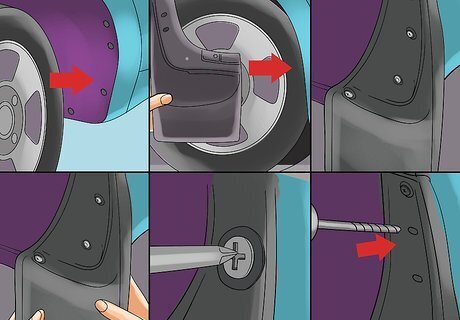
Follow steps 6-10 to complete the additional holes.
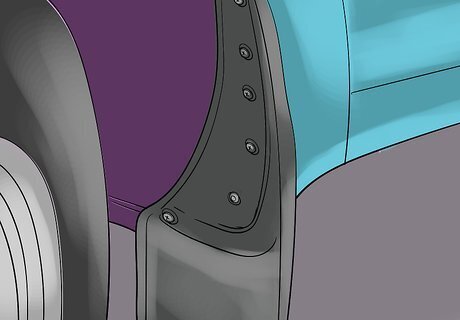
You have completed your first mud flap install. Repeat steps 3-11 for each additional mud flap installation.






Comments
0 comment