
Using the Advanced Attributes in Properties for Either Files and Folders
Open File Explorer. Click the File Explorer Windows File Explorer taskbar icon which resembles a file folder. Alternatively, press the ⊞ Win+E keys simultaneously.
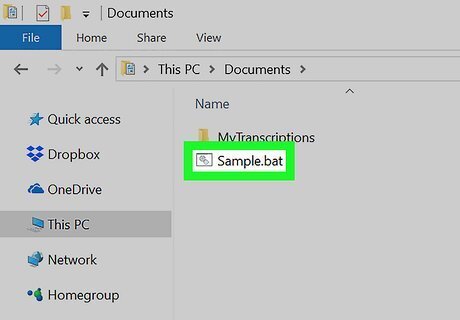
Navigate to the item you wish to hide. This method works for both files and folders.
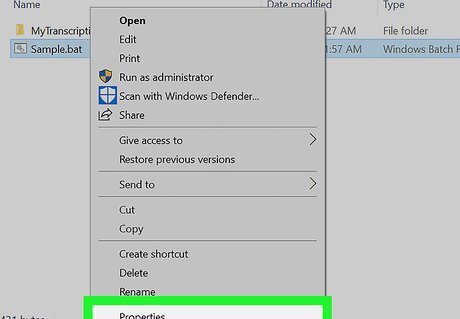
Open the item Properties. Right-click the item and click Properties from the context menu. You can also click the "Properties" option in the ribbon, which is present in the Windows 10 and 8 File Explorer.
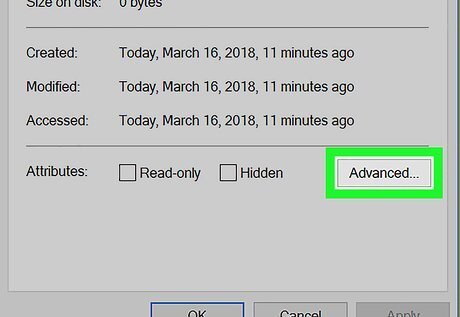
Open Advanced Attributes. Click the Advanced button towards the bottom of the Properties window, on the same line as "Attributes:" and the checkboxes.
Uncheck: For files: allow this file to have contents indexed in addition to file properties For folders: allow files in this folder to have contents indexed in addition to file properties
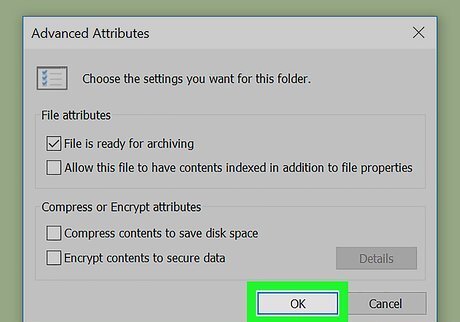
Click the OK button in the Advanced Attributes window.
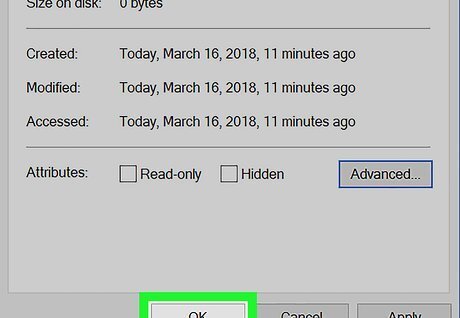
Click the OK or Apply button in the Properties window. The only difference between the two is that clicking OK will save your changes and close the window, whereas Apply will save your changes while leaving the Properties window open.
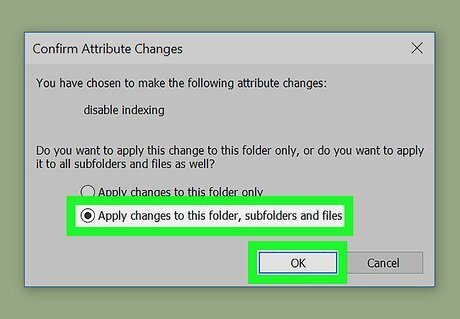
Confirm the attribute changes, if you've opted to de-index a folder. You'll be asked to confirm that you want to disable indexing. Ensure the radio button next to "Apply changes to this folder, subfolders and files" is selected, then click OK.
Using the Indexing Options for Folders

Open Indexing Options. Click the Start Windows Start button or search bar to initiate the search feature, type indexing options, then choose the matching result.

Click the "Users" folder from the included locations list.

Click Modify.
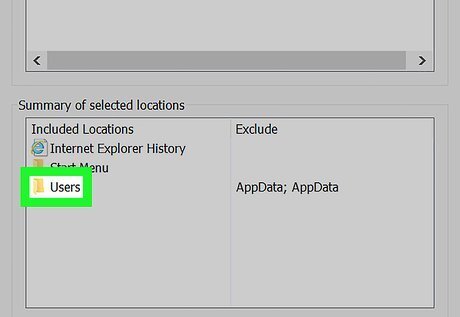
Double-click "Users" in the bottom box (Summary of selected locations).
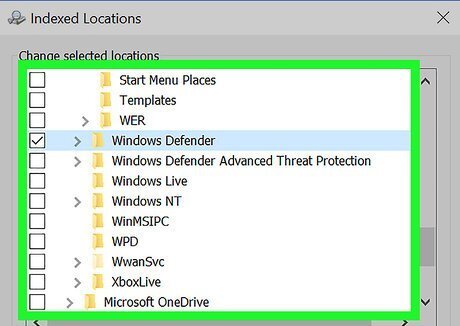
Navigate down the hierarchy until you find the folder you wish to de-index. Use the > button to expand down the tree. If wanted, uncheck folders along the way.
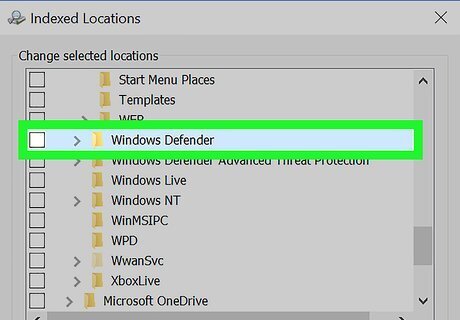
Uncheck the box next to the folder you wish to de-index. Unchecking a folder will de-index everything placed underneath it in the hierarchy.
Click the OK button. It's at the bottom of the Indexed Locations window.
Click Close. It's at the bottom of the Indexing Options window.
Hiding Items for Files and Folders (Windows 10 and 8)

Open File Explorer. Click the File Explorer Windows File Explorer taskbar icon which resembles a file folder. Alternatively, press the ⊞ Win+E keys simultaneously.
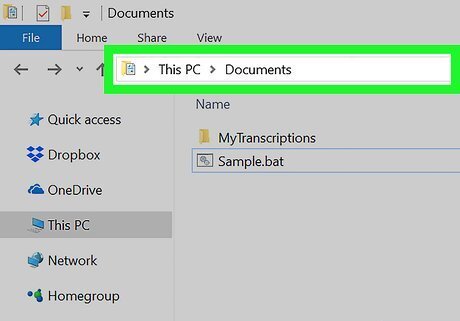
Navigate to the item you wish to hide. This method works for both files and folders.
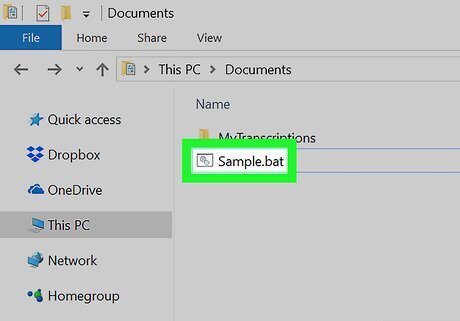
Click the item you wish to de-index.
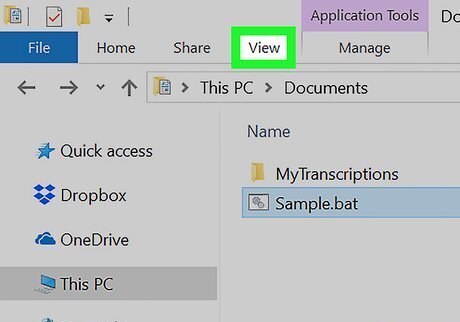
Click the View tab in the ribbon. It's located at the top of the File Explorer window.

Click "Hide selected items". It's in the "Show/hide" portion of the ribbon.
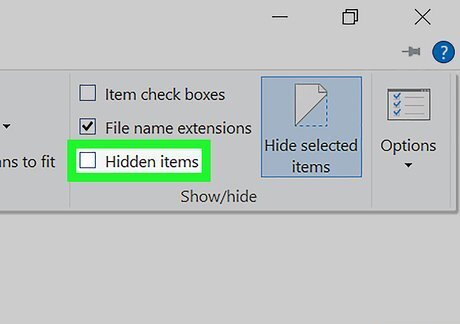
Ensure the "Hidden items" checkbox is unchecked. It's in the "Show/hide" portion of the ribbon.
Hiding Items for Files and Folders (Windows 7 and Under)

Open Windows Explorer. Click the File Explorer Windows 7 Explorer taskbar icon which resembles a file folder. Alternatively, press the ⊞ Win+E keys simultaneously. In Windows XP, a shortcut to Explorer can be found under "start > All Programs > Accessories > Windows Explorer".
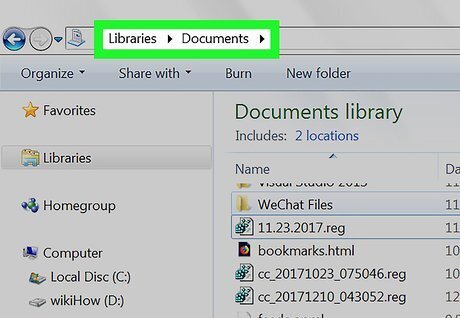
Navigate to the item you wish to hide. This method works for both files and folders.
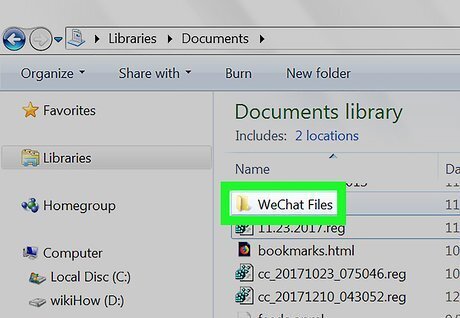
Click the item you wish to de-index.
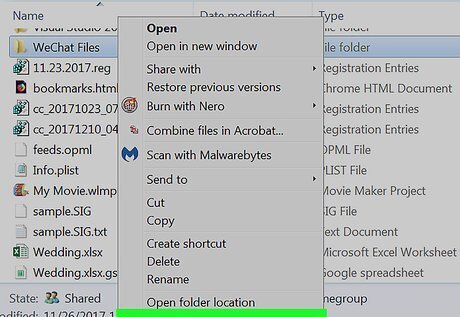
Open the item Properties. Right-click the item and click Properties from the context menu.
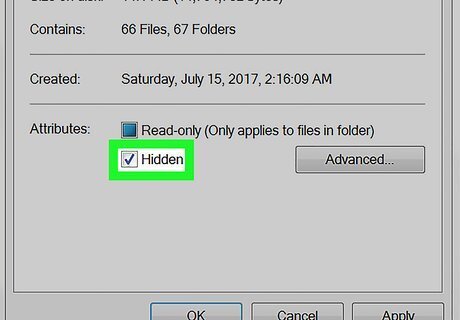
Check the "Hidden" box in the Attributes section. It's towards the bottom of the Properties Window.
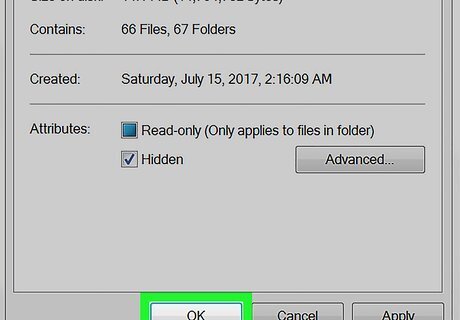
Click the OK or Apply button in the Properties window. The only difference between the two is that clicking OK will save your changes and close the window, whereas Apply will save your changes while leaving the Properties window open.
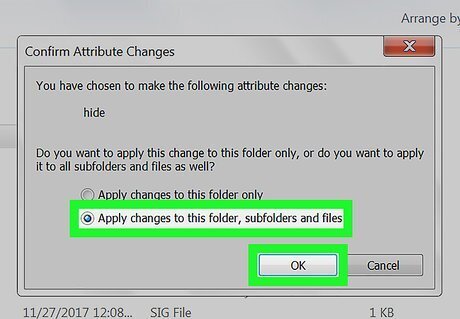
Confirm the attribute changes, if you've opted to hide a folder. You'll be asked to confirm that you want to hide it. Ensure the radio button next to "Apply changes to this folder, subfolders and files" is selected, then click OK.


Comments
0 comment