
X
Research source
is a user-friendly source code editor developed by Microsoft for various platforms, including Windows, Linux, macOS[2]
X
Research source
and even your web browser.[3]
X
Research source
It allows you to write and edit code in a variety of languages, including HTML[4]
X
Research source
, JavaScript,[5]
X
Research source
Python and many more. Read on for instructions to install this highly popular IDE![6]
X
Research source
Installing on Windows
Open a web browser. Choose your favourite internet browser and open it. Popular browsers include Google Chrome, Mozilla Firefox, Opera and others. Microsoft Edge is the default browser for Windows, though it can also be installed by following the instructions here.
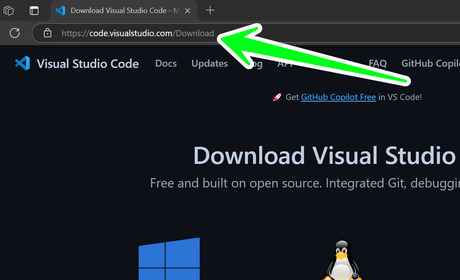
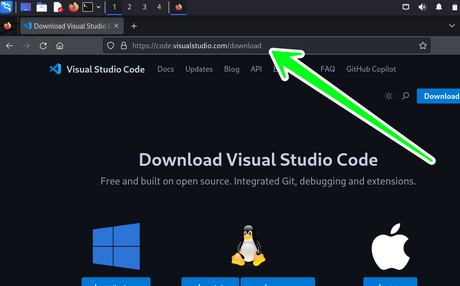
Open Visual Studio Code's download page. It is located at https://code.visualstudio.com/Download. You can either click on it from here or copy and paste it into your browser's URL tab, then press ↵ Enter. Alternatively, use your browser to search for vs code and find the page from the search results.
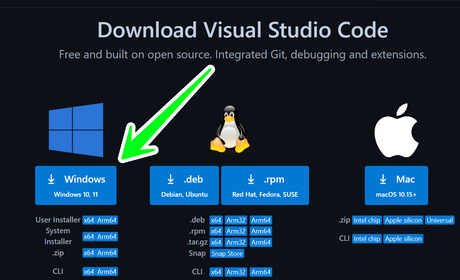
Download the installer. Look for the Windows Windows Start column on the left, and click on the big blue button. If you have special/separate preferences, you can also choose to download a different type of installer, such as .zip, CLI etc.
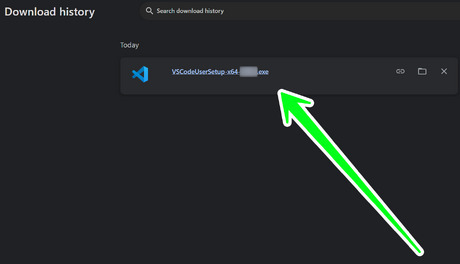
Open the installer file. Open and use the File Explorer to find where the download is saved, then open the file. Otherwise, you can simply navigate to your browser's download history (usually by using a keyboard shortcut like Ctrl+J) and run the installer file from there.
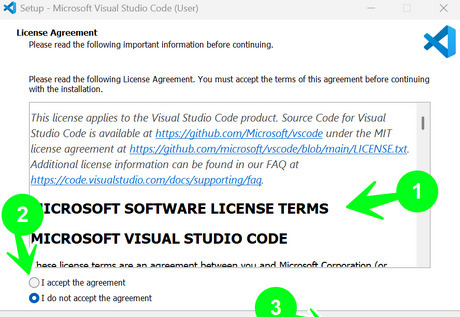
Read and agree to the license agreement. Once the setup window opens, you'll be presented with the license agreement. Read it carefully, and click the radio checkbox beside "I accept the agreement" below the section if you agree. Then, click on the Next button in the bottom-right corner to proceed further. You can't proceed with the installation if you do not agree to the terms.
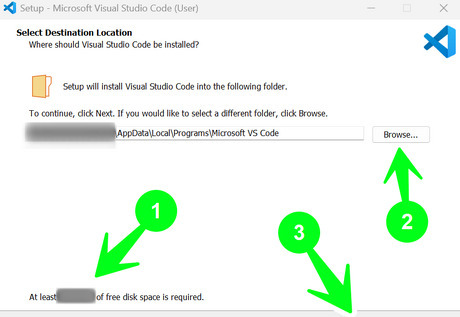
Choose where you want VS Code to be installed. In other words, select the installation location. In the bottom-left area, you'll be shown the amount of storage space required for the installation. Check if your system has the necessary space. If not, consider cleaning up unnecessary files to free up disk space. Then, click on the Browse... button to choose a location, otherwise, a default one will be automatically selected for you. Finally, click the Next button in the bottom-right corner to proceed. VS Code is installed under C:\Users\{Username}\AppData\Local\Programs\Microsoft VS Code by default. Unless you have various drives, leaving the installation location as default should be fine in most cases.
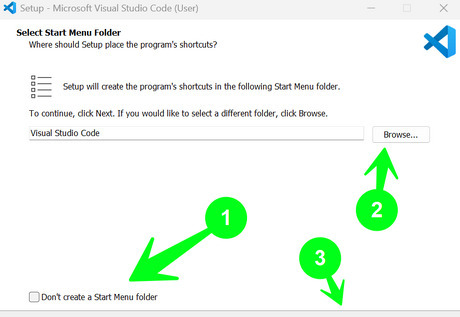
Configure the Start Menu folder. If you like to use the Start Menu, you can add a folder to it for the program's shortcuts. Check/uncheck the checkbox next to "Don't create a Start Menu folder", use the Browse... button to optionally select another location and click on Next in the bottom-right corner to proceed.
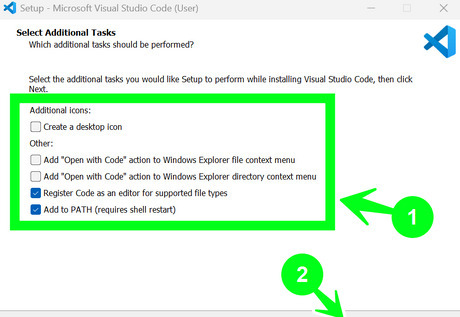
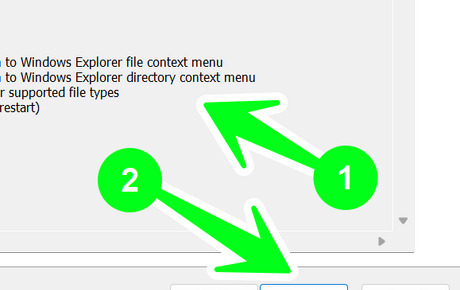
Select any additional tasks. These include options like creating a desktop icon, adding "Open with Code" action to different places etc. Check/uncheck the boxes next to the relevant setting as per your preference. Afterwards, click the Next button in the bottom-left corner.
Review the installation parameters. You'll be presented with a screen containing a variety of details, including the location and settings. Ensure everything is to your preference; if not, then click the Back button to make changes, and navigate back to this screen when you're done. Click the Install button to start the process. Both of the Back and Install buttons are present in the bottom-right corner of the setup window.
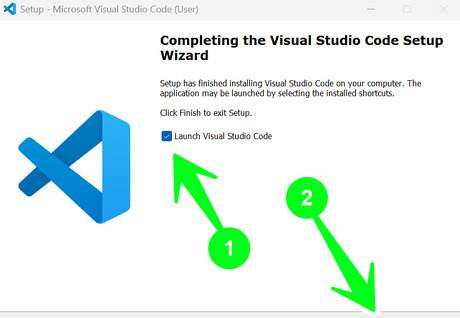
Complete the installation. Once you click the Install button, wait for the processes to complete. Once everything is successful, you'll see the completion screen. Here, you may choose to open the IDE by ensuring that the checkbox beside "Launch Visual Studio Code" is checked. Finally, click Finish. You may start your coding journey!
Installing on Debian Linux
Open a web browser. Choose your favourite internet browser and open it. Popular browsers include Google Chrome, Mozilla Firefox, Opera and others. Some popular distributions like Ubuntu already have Mozilla Firefox pre-installed.
Open Visual Studio Code's download page. It is located at https://code.visualstudio.com/Download. You can either click on it from here or copy and paste it into your browser's URL tab, then press ↵ Enter. Alternatively, use your browser to search for vs code and find the page from the search results.
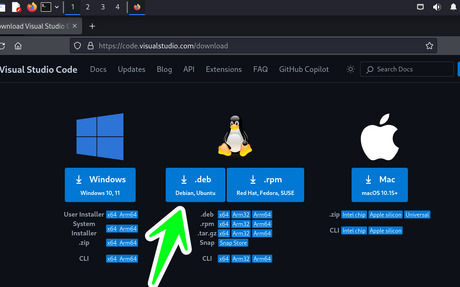
Download the installer. Look for the Linux column in the center, and click on the big blue button on the left, where it says ".deb". If you have special/separate preferences, you can also choose to download a different type of installer, such as .tar.gz, CLI etc.
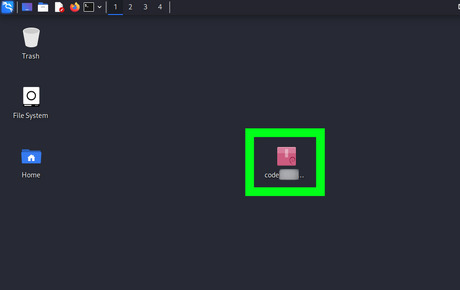
Locate the installer file. If you'd like, you could also copy or move the file to a more convenient location. Remember the file location because you shall need it later!
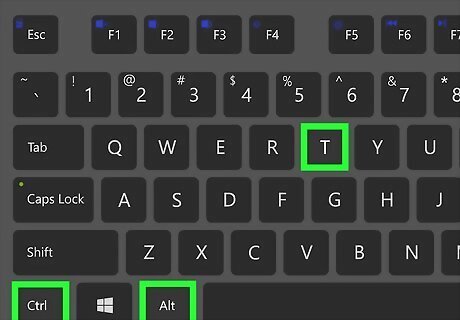
Open the Linux terminal. An easy way to do so on many popular distributions, like Ubuntu and others is to use the keyboard and press Ctrl+Alt+T. Specific instructions for Ubuntu can be found here and direction for opening a root one for Kali Linux can be found here.
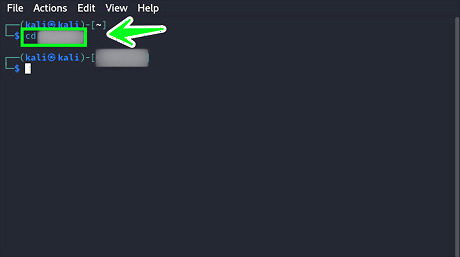
Navigate to the directory which contains the installer file. Recall the location of the file from the previous step and navigate to it by using the cd command. Type cd
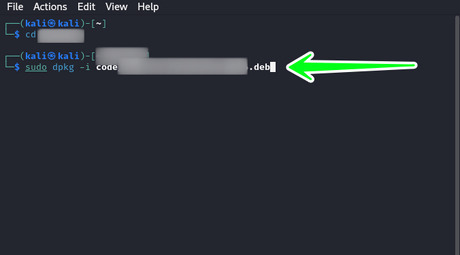
Install the .deb file. You can use the dpkg command to do so. Ensuring you're in the correct directory (which has the installer file in it), run sudo dpkg -i
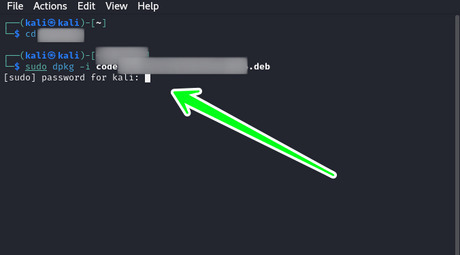
Enter the superuser account password. sudo allows you to run commands that require elevated privileges; you should ensure you have the permission necessary and the password for the superuser account, as it is required for performing the action. Enter the password and press ↵ Enter to continue.
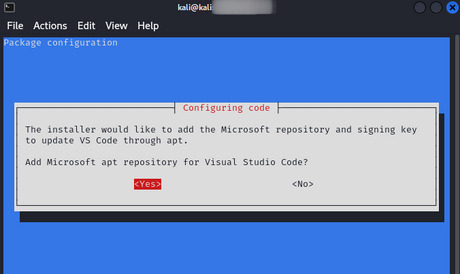
Decide whether you'd like to add the Microsoft apt repository for Visual Studio Code. Partway through the procedure, you will be prompted if you would like to allow the installer to add the Microsoft repository and signing key to update VS Code through apt. You can use the keyboard to indicate your preference. This will add VS Code to your package manager, so it is automatically updated when you update your system.
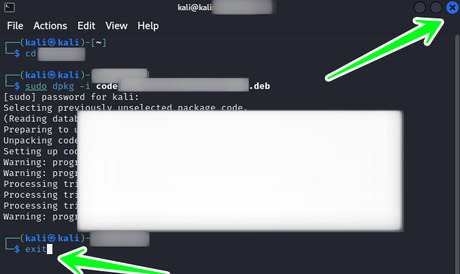
Exit the terminal. Once installation is complete, close the terminal. You can use the exit command or simply click the "X" button on the top-right (on Kali Linux).
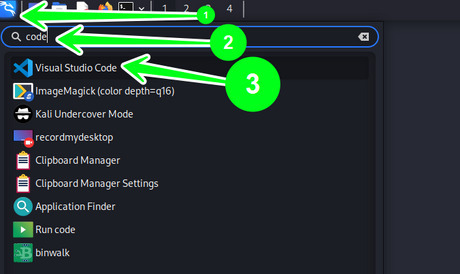
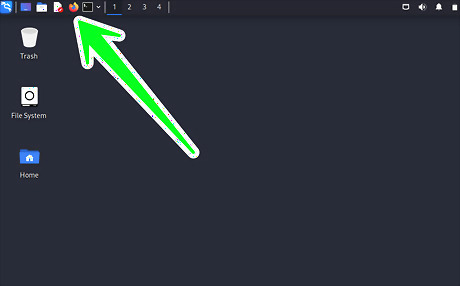
Open Visual Studio Code (optional). On Kali Linux, open the Menu bar, search for code and click on "Visual Studio Code" to open the IDE. You may practice programming now!


Comments
0 comment