
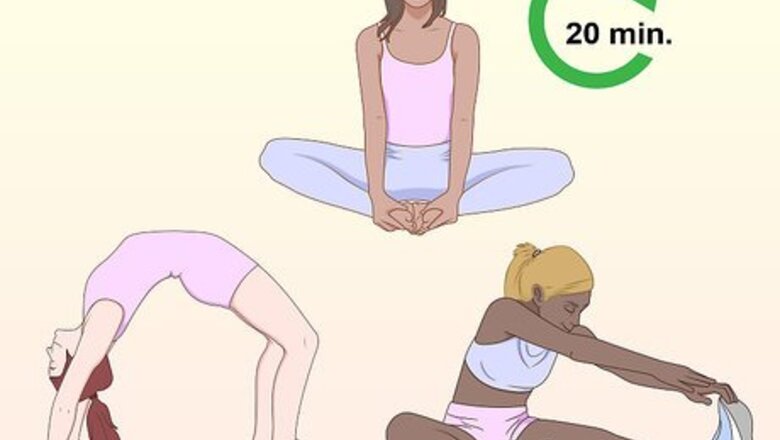
Warming Up and Being Safe
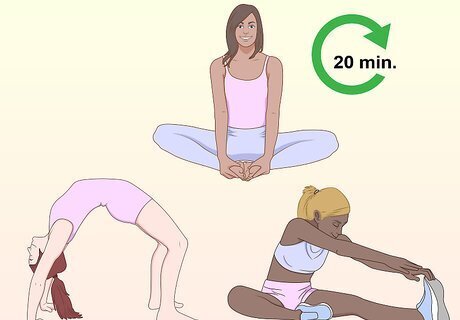
Stretch out your muscles. Do backbends and butterfly stretches, as well as basic leg and ankle stretches. Be careful and always stretch first! If you don't warm up, you could hurt your muscles or injure yourself. To stretch hamstrings: Sit with your legs straight in front of you. Reach for and grab your toes. Keep your back straight. Hold for 30 seconds. To stretch the legs and arms: Sit with your legs out, one out to each side. Reach up toward the sky with your left hand. Lean over and reach for your right foot. Hold for 30 seconds. Then, repeat on the other side. Aim for a 20 minute warm up session before moving into tumbling.
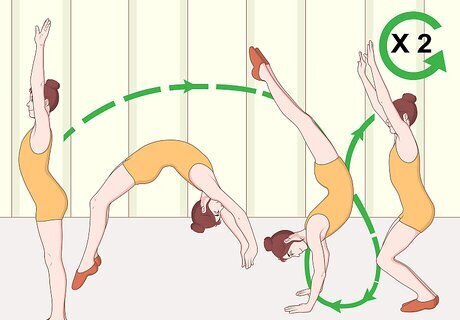
Warm up with a few back handsprings. Once you're nice and stretched out, do a couple of standing back handsprings to warm your muscles up even more. Then try a few double handsprings. Start with a basic round off, then do two back handsprings in a row. Only pause for about 1–2 seconds between the handsprings. These will fully stretch you out and prepare your muscles for the standing back tuck. If you can't do a back handspring yet, you're not ready to learn the back tuck.
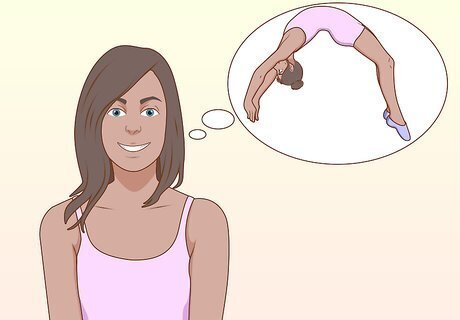
Practice doing the back tuck in your mind. As you're stretching out, visualize yourself successfully doing a back tuck in your mind. Imagine yourself in the starting position, being in the air, and landing the tuck perfectly. If you're nervous or scared, imagining yourself doing the back tuck can help ease your fears.
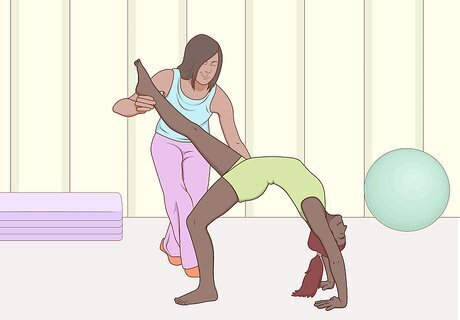
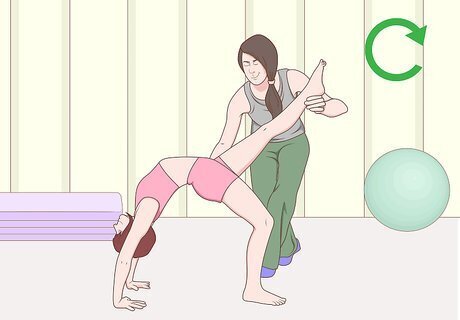
Find a spotter you trust. The best spotter is usually a trainer, coach, or experienced gymnast. Their job is to help you get into position, hold you while you're in the air, and keep your posture correct while you try your first back tuck. With a spotter, you don't have to be afraid of falling—they're there to catch you! Not only can they help you jump higher into the air, but they can also give you great advice on anything you may be doing wrong.
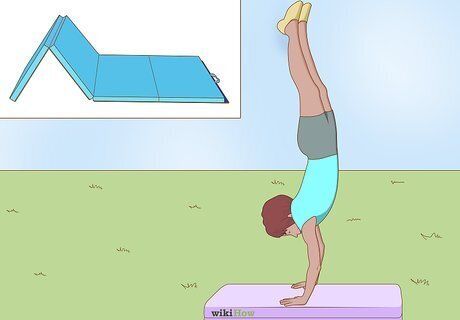
Use a gymnastics mat. Mats act as cushioning between you and the hard floor. If you do fall, you'll be much safer. They're also a great psychological motivator. If you're not worried about falling down, you'll jump higher and have better posture. For beginners: try folding a mat up and standing on top of that for your first couple of back tucks. This will give you a little extra space (you'll be higher than the ground) to do the back tuck in the air. For advanced gymnasts: try jumping back onto a folded-up mat. Instead of having more space in the air to tuck and land, you'll have less. This is a great technique if you're already pretty good at tucking and want to improve your technique!
Jumping Up to Start the Tuck
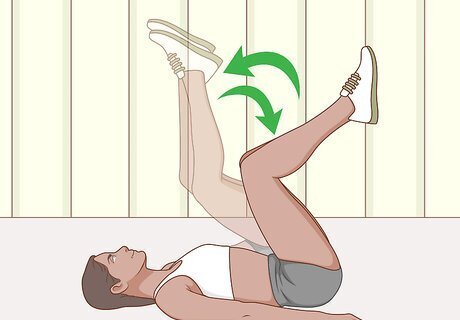
Practice the tuck position on the ground if this is your first time. Lie down with your back on a mat and your arms up above your head, as they are in the starting position. Practice lifting your legs up to your chest as fast as you can, simulating the same motion of the back tuck.
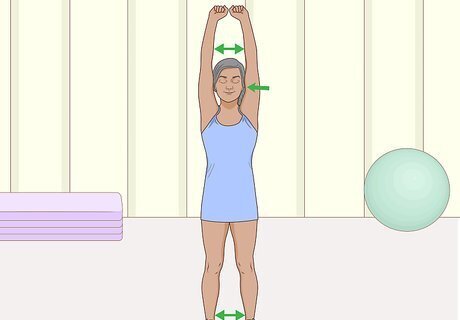
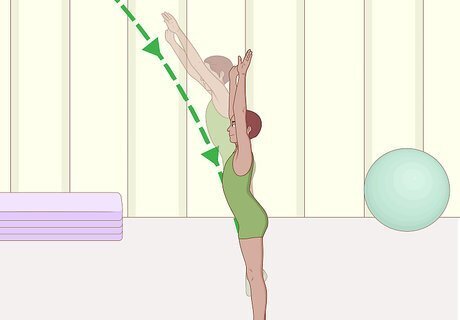
Start with your arms up and your feet shoulder width apart. Keep your body completely straight. Pretend there's a string tied to each of your hands that's being pulled upwards. This can help you extend your arms all the way up and straighten out your body. Your arms should be in close, right next to your ears.
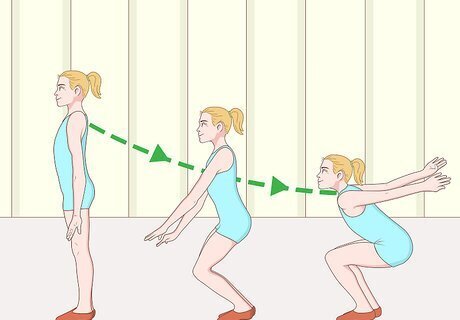
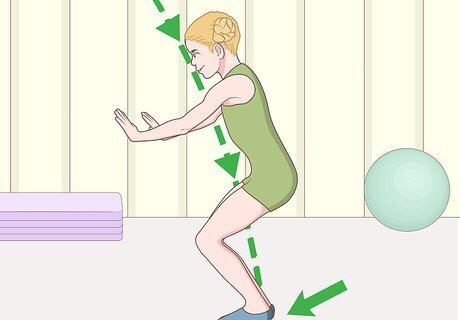
Lower your arms in front of you and bend your knees. Do not bend your knees more than 90 degrees. Then, swing your arms back up as you jump straight up into the air. Before you try the back tuck, practice swinging your arms upward as you jump. This is called "digging" or "setting." It allows you to generate enough power to actually do the back tuck. Remember to jump up first and not backward.
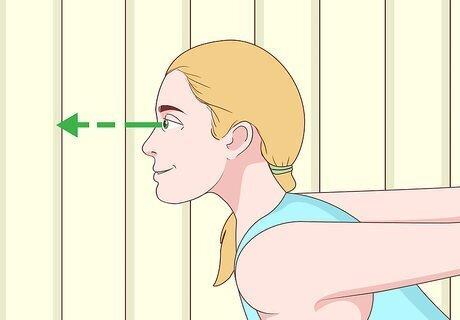
Keep your eyes fixed forward. Never look at the ground before your takeoff! Instead, keep your eyes focused straight ahead. Choose a spot that is slightly above head level and keep your eyes fixed on that point.
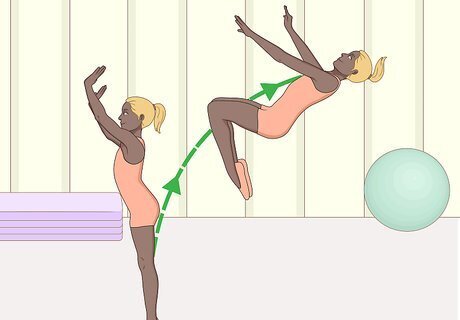
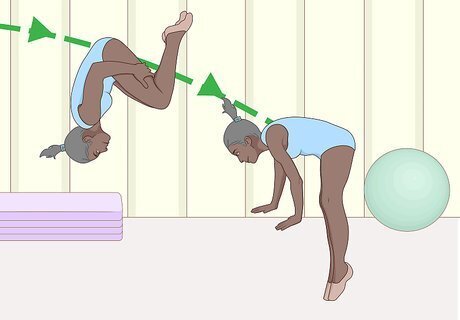
Jump straight up into the air and tuck your legs. Really push with your legs as you jump. After your feet leave the ground, bring your legs up to your chest as you continue to jump upward. The momentum of bringing your legs into your chest will help make the backward rotation much easier. Concentrate on jumping quickly rather than jumping with as much force as possible.
Completing the Tuck
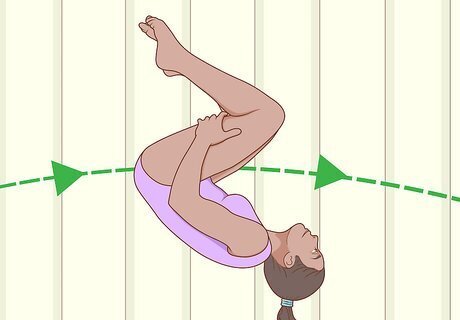
Tuck yourself into a little ball as you start rotating backwards. If you can, try to make yourself "small" at the top of your jump—this is the "tuck" part. A tight tuck will give you the rest of the momentum you need to complete the rotation. Keep your arms out straight and next to your knees. Once you fully rotate in the air, find your fixed point straight ahead and focus on it.
Extend your knees toward the ground for your landing. As you extend your knees, also start extending your lower back to fully "untuck." Try to land with your knees bent so that they can absorb some of the shock of the landing. Never land with straight knees! You can seriously hurt yourself this way.
Land with both feet at the same time. As your feet get close to the ground, make sure to land with your heels and then flatten your feet on the ground to steady yourself. Avoid landing on your toes. If you continually land on your toes, that means you need to jump higher or tuck faster so you have time to strike your heels to the ground.
Snap up into the starting position right after you land. Quickly get your balance by straightening your bent knees and thrusting your arms back up into the air. Your final stance should look almost identical to the way that you started, with your arms straight up in the air. Avoid buckling your knees when you land.
Keep practicing with a spotter until you've mastered the back tuck. Don't practice back tucks alone if you haven't mastered the move yet. Continue using a spotter until you feel good about your back tuck. Have the spotter step to the side (but still within reach if anything happens) and try it all by yourself!


Comments
0 comment