
Running Diagnostics

Make sure that everything is plugged in. It's entirely possible that a cord could just slip out from the outlet while you're working, so check if the power cable is connected to the wall socket and to the power supply. If power is present to the monitor and other peripherals, yet there is no power to your computer, there is likely something wrong with your power supply.

Hit the power button. The most obvious clue is that the system will do absolutely nothing when you hit the power button. If there is no sound and no monitor activity of any kind, the power supply has probably died. While this can also be caused by a faulty switch, it is usually the result of a burned-out power supply. A lot of power supplies have an external switch on the back of the unit. Before moving on, check to see if it hasn't been switched off by accident or by another person.

Look at when your computer boots up. Noticeable changes in how long it takes for your computer to boot up and shutdown, as well as spontaneous rebooting, could be a sign that something is wrong.

Check for beeps. If the system makes rapid, short beeps repeatedly and does not boot when you try to get it to, this could be linked to the power supply. It's usually a good idea to also check inside your build — with the computer disconnected from the wall socket — to ensure that there are no loose or malfunctioning cables on the inside as well. This process will depend on your specific computer, so follow the manufacturer's instructions to reach the inside of your PC.

Observe any computer failures. If there are system startup failures or lockups, memory errors, HDD file system corruption or USB power issues, this is often directly related to your power supply. It's possible that HDD issues are not related to a faulty power supply. If you recently moved or hit your PC, check to see if you didn't jostle anything on the inside that may be giving you errors.

Check the fan on your computer. If the fan in your computer is failing to spin, it could lead to overheating and smoke in the system, all of which can cause a failed power supply.
Removing a Failed PC Power Supply
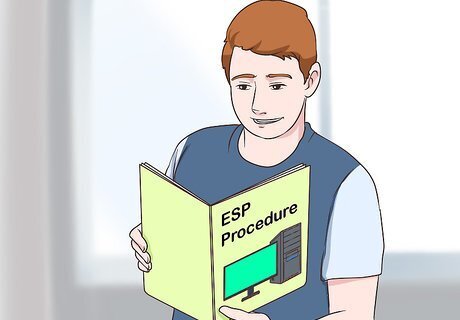
Familiarize yourself with proper ESD procedures. This should be done before doing any kind of PC repair work which requires opening a computer. If you neglect this step, you may damage your computer.

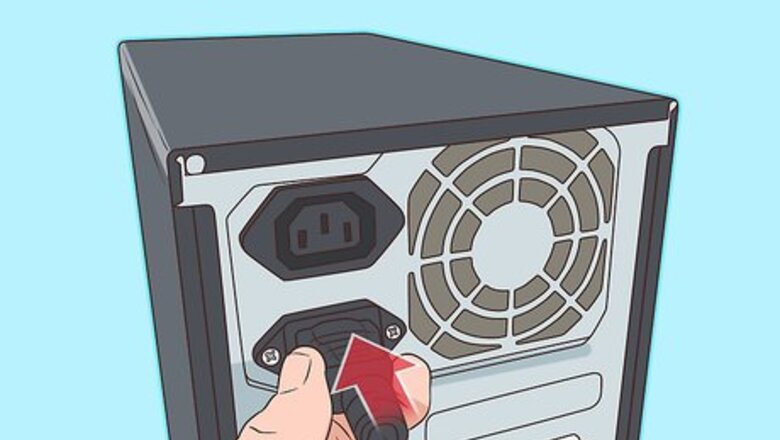
Disconnect all external connectors (including the power cord) from the machine. This may include keyboard, mouse, network cable and speakers.
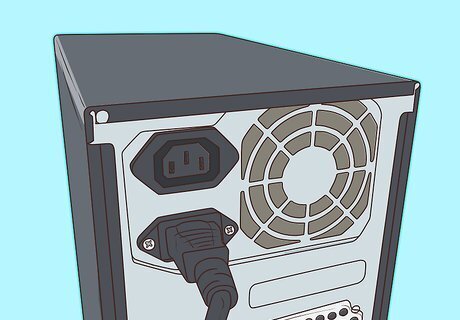
Identify the power supply unit. It will be connected to almost every component inside the computer case and will look something like this:

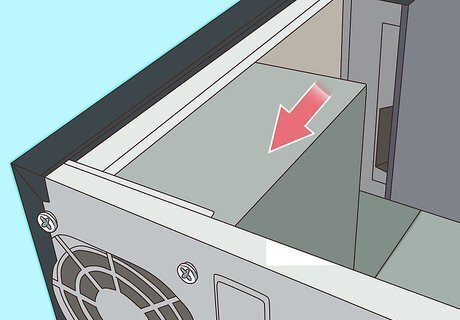
Remove the case cover. Unscrew the mounting screws on the back of the case which hold the power supply in its housing. Place the screws in a handy location.

Gently remove the old power supply from the case. This is usually a simple process, but if there is little room in your PC, it may be necessary to remove other components to get the power supply out. If you don't feel comfortable removing other components, replace the mounting screws and enlist the help of a PC expert before continuing. Do not try to yank a power supply out by force.
Installing Replacement

Purchase a new power supply of the same type as the old one. Most power supplies used in modern computers are of the "ATX" variety, but if you aren't sure, take the old unit to the store with you to compare. The simplest rule of thumb is that the new unit should be exactly the same width as the old one. It's fine if the new unit is a bit longer, as long as it will still fit into your case. Do not hesitate to ask the salesperson or technician for help in identifying the correct unit to purchase.
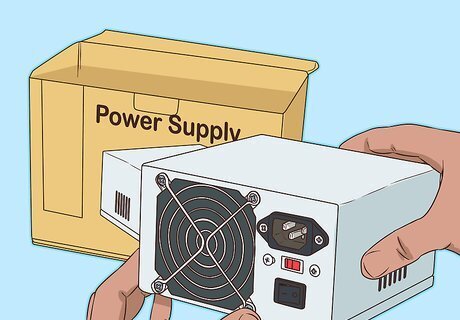
Unpack the new power supply and make sure it physically fits correctly. If the new unit has a large bottom mounted fan, the bottom rear bottom flange on some cases might get in the way. Add it to the case in the same place the old unit was, and use the mounting screws to fasten it down.

Using proper ESD procedures, connect the devices in your PC to the new power supply. The connections should be made exactly the same as they were before. It can require a bit of force to insert power connectors correctly, but if you have to strain a great deal to push them in, you may be trying to connect them backward. It is very difficult to connect most Molex connectors improperly, but if you are determined (and strong) enough, it can be done. If you have to force too hard, try turning the connector around.

Verify that no cables or unused connectors are stuck in the CPU fan or touching other moving parts. If the CPU fan is stopped by a loose connector (or any other obstruction), the processor can be destroyed very quickly. You may wish to restrain unused cables to prevent them from getting tangled up in fans.

Replace and fasten down the case cover.
Replace all external connections to the back of the computer (power cord, mouse, keyboard, monitor, network cable, speakers, etc). Power up the system and enjoy your new power supply. If your system doesn't start up correctly here, your failing power supply could have taken out the motherboard.


Comments
0 comment