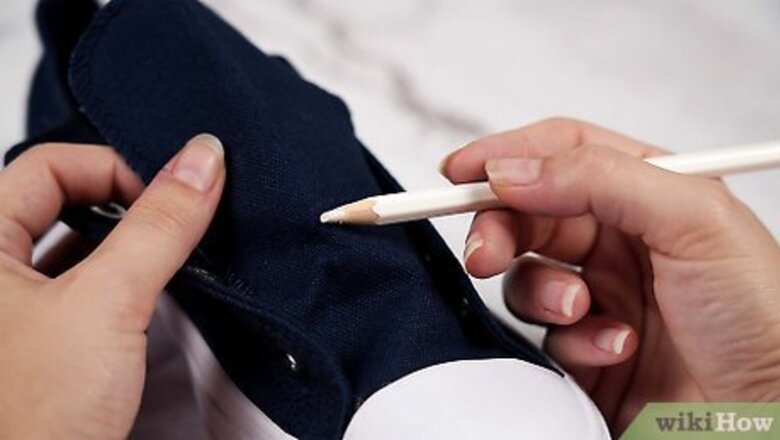
views
Drawing on Them
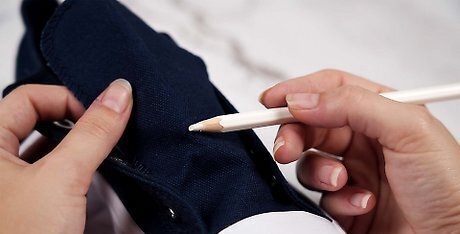
Plan your design carefully. Because you are planning on permanently altering your shoes, ensure that your design is one you’ll want to wear for some time. Also consider all the different places you wear your shoes. You may want curse words on your Converses at a music show, but not when you meet your new girlfriend’s parents. If you’re feeling stuck for ideas, take a look at your room. What kinds of colors and patterns do you like? Is there a favorite band or collectible you love? Drawing inspiration from your own life will ensure your Converses reflect you. You can never go wrong with classic patterns like stripes, polka dots or chevrons.
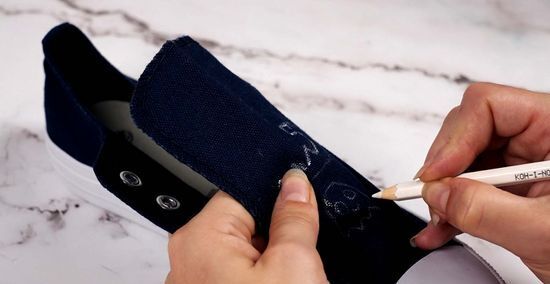
Trace your design with pencil. Once you’ve settled on a design you like, take a pencil and outline your illustration on the canvas top and/or rubber toe of the Converses. Designs on the rubber of the toe can stand up a bit better over time than the canvas, but it’s up to you. By tracing with pencil first, you can edit your design as you see fit. If you decide you don’t like your idea and want to start over, you can even wash your Converses on low in your washing machine to wash the pencil out.
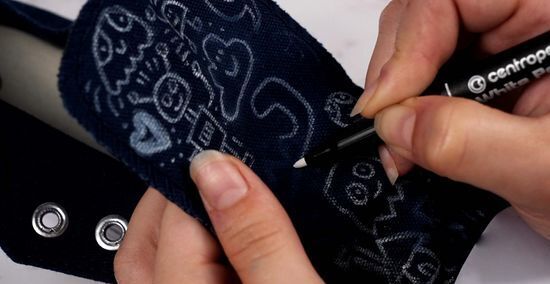
Use a thin-tip permanent marker. When you’re happy with your pencil outline and want to move forward, be sure to draw with a permanent marker so your design will last. Thin-tip permanent markers will provide a little more control and bleed less if you are drawing on canvas. Keep in mind that all colors will fade a bit over time. If you prefer a vibrant look, be sure to use very bright colors from the start. They may become more muted. It can be helpful to color with lighter markers first. If you make a mistake, you can always fix it by coloring over with a darker marker.
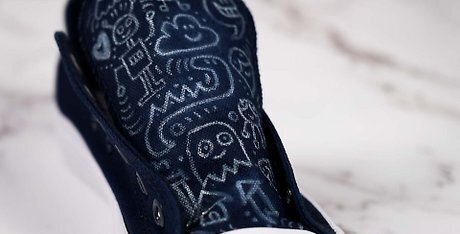
Let the shoes cure for a day. When you are finished, let the Converses cure for at least 24 hours so the ink can fully sink into the material and set. During this period of time, it makes sense to place your shoes in a clean, dry place where you won’t accidentally get water on them.
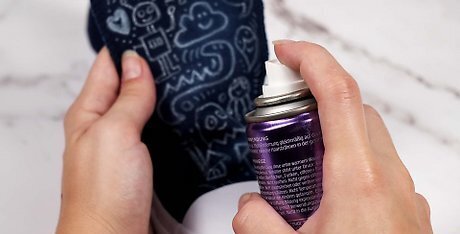
Set your design with waterproof acrylic spray. It is critical to set your new design with waterproof acrylic spray such as 3M Scotchgard Fabric Protector or Nikwax Fabric Waterproofing Spray. These will weatherproof your illustration. If you don’t have access to these sprays, you can rub the canvas of your Converses with beeswax. Then set the wax by blowing it with a warm hairdryer to seal your design.
Bedazzling Them
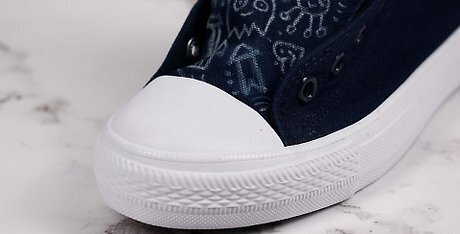
Plan to decorate the rubber toes of the Converses. The canvas tops of Converses are less ideal than the toes if you’re looking to adhere embellishments such as crystals or metal studs. The material is simply too porous. To get the most longevity of out your design, plan on bedazzling the toes. Need some ideas? Draw inspiration from color families. Try warm colors, cool colors, jewel tones or classic black and white. Animal prints make a big statement. You could bedazzle a leopard print or zebra stripe for a wild look.

Rough up the toe with fine sandpaper or a nail file. Creating micro-abrasions on the toes of the shoes will allow embellishments to adhere more fully. This will keep your design intact longer. Get a fine-grained piece of sandpaper from the hardware store or use the rougher side of a nail file to scratch the toes. Work in smooth circular motions, covering the toe area completely.
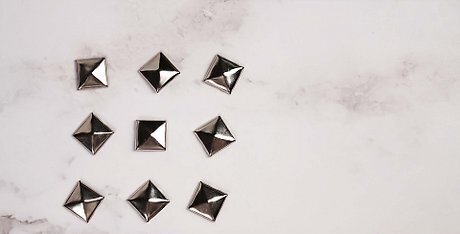
Use flat-back metal studs or crystals. Crystals or studs that have metal teeth can damage your shoes and compromise the water-resistance of the rubber toe. Opt for flat-back embellishments to keep your Converses (and your special design) lasting their longest.
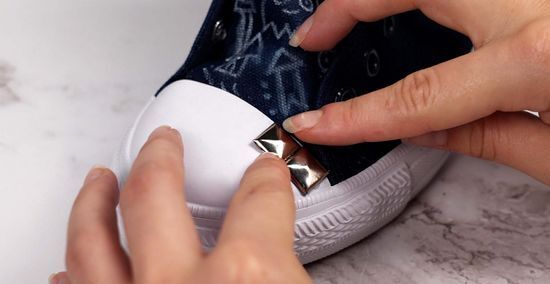
Adhere your embellishments with E6000 glue. This extremely strong specialty glue will keep the embellishments on your shoes for the long haul. Do not touch this glue with your bare fingers, as it cures very quickly. When you are ready to work, use an old pair of tweezers to dip the gems’ flat backs gently into the glue and place them where you want on the toes. Industrial glues such as E6000 tend to have strong fumes. Be sure to perform your decorating in a well-ventilated area. Outside is ideal.
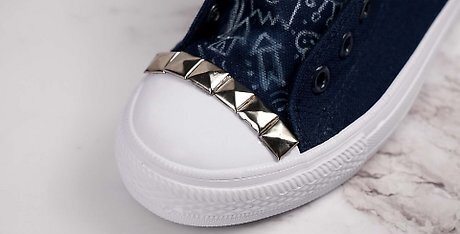
Let the glue set fully. Once you have completed your design, let your glue set for 48-72 hours to keep the embellishments from coming off. The longer the glue is able to sit undisturbed, the more fully it will harden.
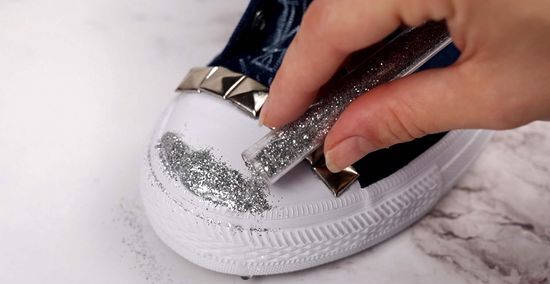
Don’t forget glitter. If you want to decorate with glitter rather than gems or studs, use the same E6000 glue. Since you can’t apply glitter with tweezers, use a popsicle stick to the spread a small amount of glue over the toe of the shoe. Then use a cup to sprinkle your glitter over the desired area. Let cure for the same 48-72 hours. Glitter is more prone to “shedding” so keep this in mind as you consider how you want to decorate your Converses.
Embroidering Designs on Them
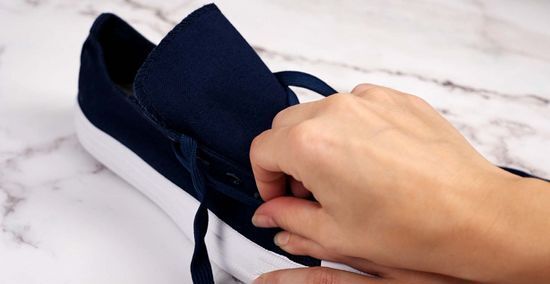
Remove the shoelaces of the Converses completely. This will open the shoes up more and give the tongue more flexibility. It will allow you more space to maneuver inside the shoes as you stitch your designs.

Sketch a design on the canvas with a pencil. The rubber toe of your Converses is not suitable for embroidery, but the canvas is ideal. When you have a design in mind, use a pencil to sketch an outline onto the canvas. If you decide you don’t like your idea and want to start over, you can even wash your Converses on low in your washing machine to wash the pencil out. Embroidering lends itself to lettering. If you’re stuck for ideas, you could embroider your birthday or initials.
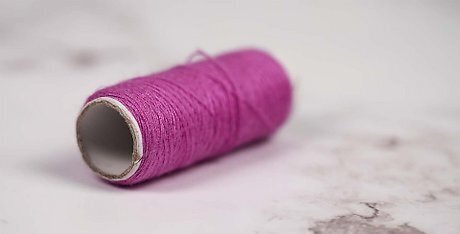
Pick a durable thread. A strong, vibrant thread, such as DMC’s Pearl Cotton, will make your design stand out and last for a long time. When selecting thread, consider that thicker gauge thread will be more difficult to push through the canvas than a thinner thread.
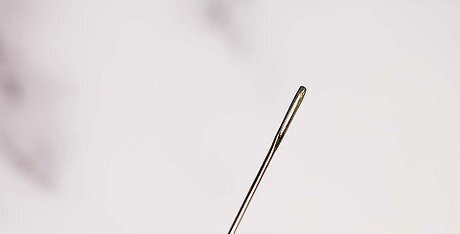
Use a chenille needle. Chenille needles have very sharp tips and a larger eye. The sharp tip will be better able to penetrate the stiff canvas of your Converses more easily, and the larger eye will make threading thicker thread easier. The needles of most home sewing machines will be too fine to successfully sew through the side of your Converses. To keep from wrecking your sewing machine, embroider an item like this by hand.
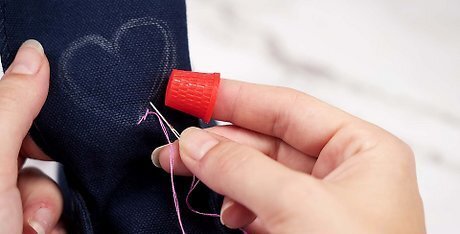
Use a thimble and needle nose pliers to protect your fingertips. It’s wise to use a thimble to protect the sensitive pads of your fingers whenever you are sewing. Needle nose pliers will help you pull the chenille needle through the stiff canvas of your shoes more easily, too. Take your time while stitching. It is easy to injure yourself when sewing thick or difficult materials. When you’re ready to wrap up your stitching, perform an anchor stitch—a stitch that runs parallel to the stitching surface back through the last several stitches—to secure your work.





Comments
0 comment