
Making Papier Mâché

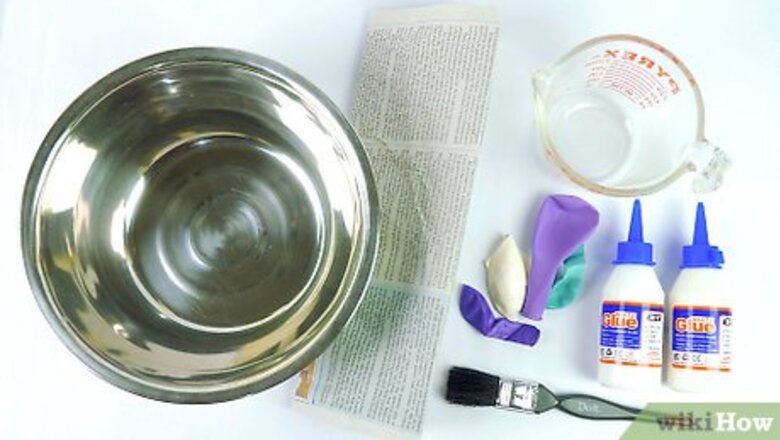
Clear an area and gather the materials you'll need to do papier-mâché. Papier-mâché can get a bit messy (like any DIY worth your time), so to protect your grandma's beloved dining table, lay down a few newspapers or other scrap material to keep clean up at a minimum. While you are grabbing newspaper, also get a hold of: A bowl or large container Flour, wallpaper powder/paste, or white glue Water Your base structure Paintbrush Newspaper (for your project -- not for clean-up duty)
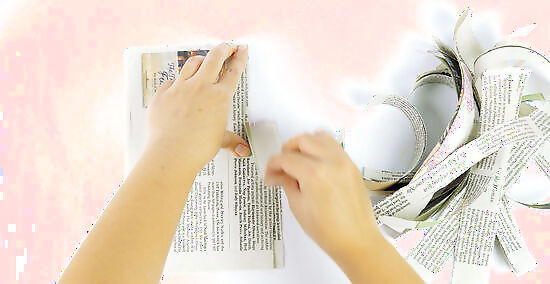
Tear the newspaper into long strips. The ideal width would be around one inch (2.5 cm) thick, but each project requires different shapes and sizes. In addition, you will want to go around your project three times, so tear quite a pile. Don't opt for the scissors -- a torn edge blends better than a cut edge. There is no wrong size your strips could be. In fact, if you want to add volume to your structure by molding the strips, you will need different sizes. So tear away freely.

Choose your method to make papier mâché. A few slight variations will result in the same product. Use what you have at your disposal. Glue mixture: Pour 2 parts white glue and one part water into a mixing bowl. These quantities can be changed to suit the size of your project. Or, if you have a stronger bonding glue, 1 part white glue and 1 part water will do the trick. Flour mixture: Combine 1 part flour with 1 part water. Easy as pie! (But also liable to mold. Use caution!) For super large and intense projects, you may want to substitute white glue for the water. Wallpaper powder: Pour 2 parts wallpaper powder and one part water into a mixing bowl. This method is good if you're thinking seriously long-term -- it can last years.
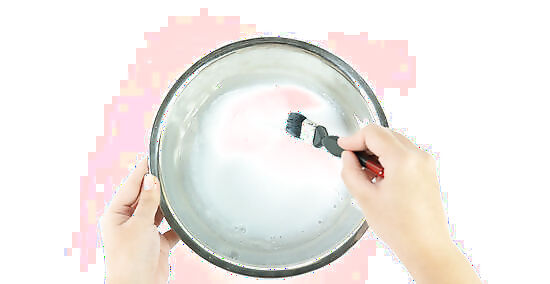
Blend your choice of mixture. Do this using a paintbrush, a mixing spoon or mixing stick. Blend until it forms a smooth consistency. If it's too thin or thick, adjust accordingly. Add more adhesive base if it's too thin, water if it's too thick.

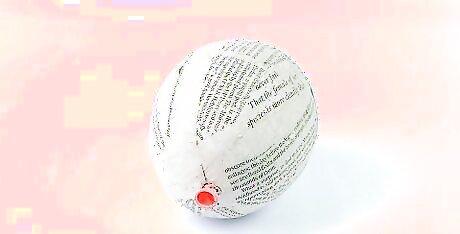
Find a surface you want to papier-mâché. Examples include a balloon, cardboard or a molded figure. In addition, you can papier-mâché two objects together to form a creation! The mixture will take to anything. If you're using a balloon, consider painting it with cooking oil beforehand -- that way, when it's dry, you can slide it out easily.
Creating Papier Mâché Crafts

Dip a strip of newspaper into the mixture. You're going to get your fingers messy! The messier you get, the better job you're doing.
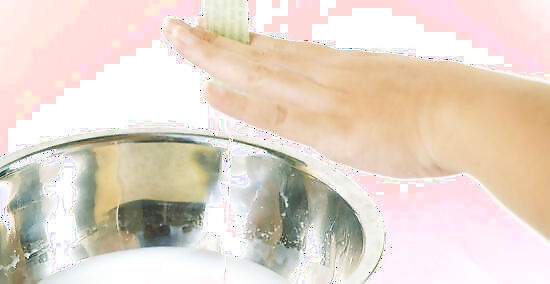
Remove any excess mixture. Do this by lightly sliding two fingers from the top to the bottom of the strip of paper. Hold it over the bowl so it drips back into the container.

Lay the strip over the surface or figure. Smooth it out, using either your fingers or a paintbrush. Be sure to get as many of the creases and bumps out as you can. You are aiming to get a very smooth surface for painting and decorating. If you'd like to create a shape (a face, say), bunch the strip into the form you want, place it on your surface, and then layer another strip on top to smooth it out. This can create volume, texture, and detail quite easily.

Repeat laying strips. Do this until the entire surface or figure is covered three times over. This is especially important if you're removing the base when it's dry -- it needs to be sturdy and hold its own. Put your first layer on horizontally, the second vertically, and so forth. It will help show you where you have been before and strengthen the piece.
Place the object on a covered surface to dry. It will need a day or so to completely dry, depending on the size of your piece. Leave it untouched until tomorrow, then see if it's ready for painting.

Start coloring. Paint or decorate as desired. Enjoy! (And be sure to tell everyone you did it yourself.) Some schools of thought say to start with a white primer. If you're using a light color on the piece, you may want to use this method (otherwise some print may stick out). Make sure not to cover to top part in order to take the balloon out.


Comments
0 comment