
Enabling Developer Options
Open a Microsoft Office program. Macros can be created for most Office 365 programs, so open the program in which you want to create a macro. If you want to record a macro, open Word or Excel. If you want to program a macro using VBA, open Word, Excel, PowerPoint, Outlook (Windows only), or Publisher (Windows only). You cannot add macros to Access or OneNote.
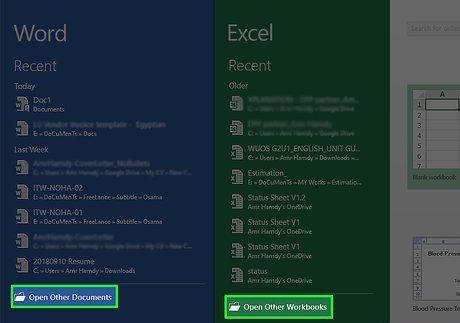
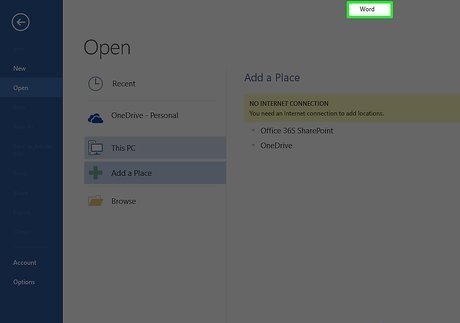
Click Open other documents. It's a link in the lower-left side of the program's window. This will open a list of options on the left side of the window. On a Mac, click the name of your program in the upper-left corner of the screen to prompt a drop-down menu.
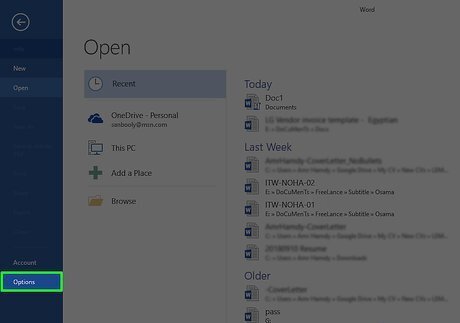
Click Options. You'll find this on the left side of the window. On a Mac, you'll click Preferences... in the drop-down menu.
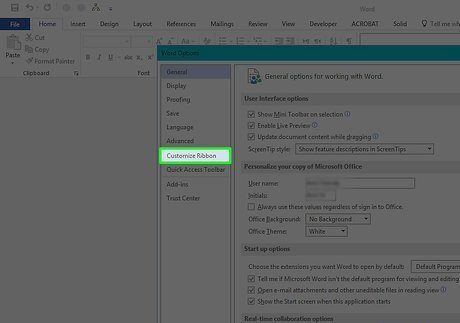
Click Customize Ribbon. It's on the left side of the Options window. On a Mac, click Ribbon & Toolbar in the Preferences window.
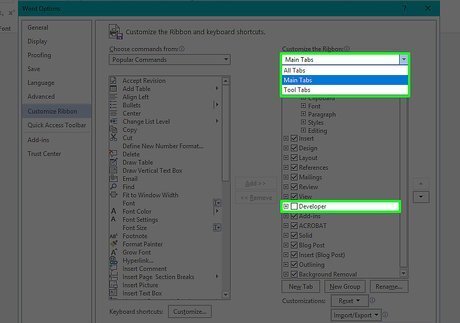
Check the "Developer" box. This box is near the bottom of the "Main Tabs" list of options. Depending on your selected program, you may first have to place your cursor in the "Main Tabs" pane and then scroll down to find the "Developer" box.
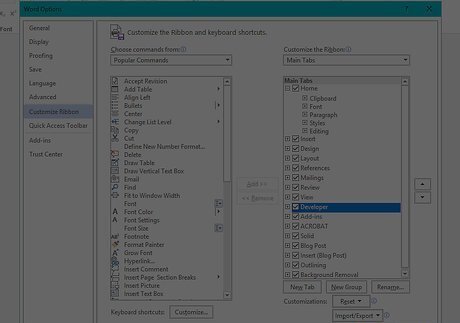
Click OK. It's at the bottom of the window. This will add the Developer tab to your selected program. On a Mac, you'll click Save here instead.
Recording a Macro
Make sure you have Word or Excel open. Microsoft Word and Excel are the only two Office 365 programs in which you can create macros by recording steps.
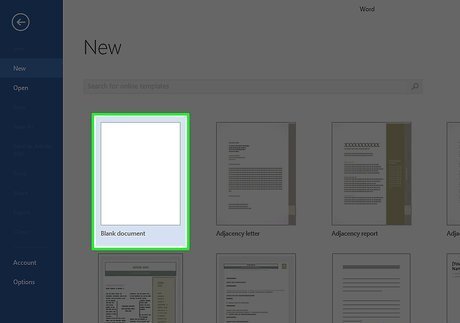
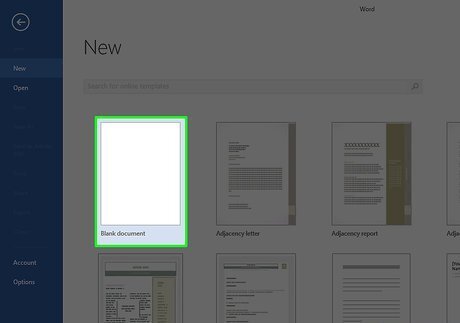
Open a document. Click the Blank option in the upper-left side of the window to create a new, blank document, or select a document from your computer. You can also double-click a document to open it in its respective program (e.g., double-clicking a Word document will open it in Word).
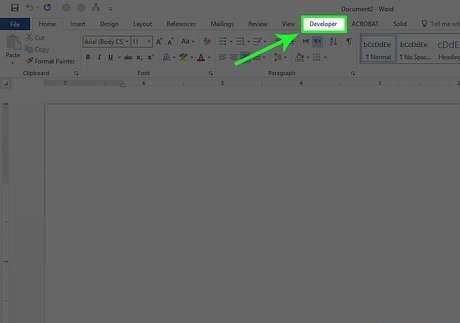
Click Developer. As long as you enabled it in the last part, this tab should be at the top of the window.
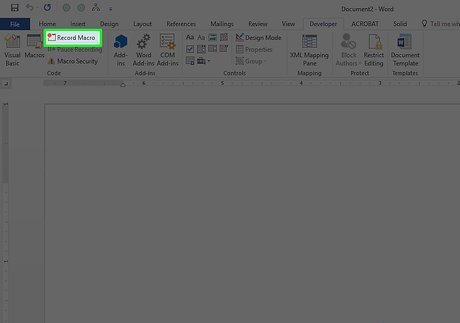
Click Record Macro. It's in the top-left side of the window in the Developer toolbar.
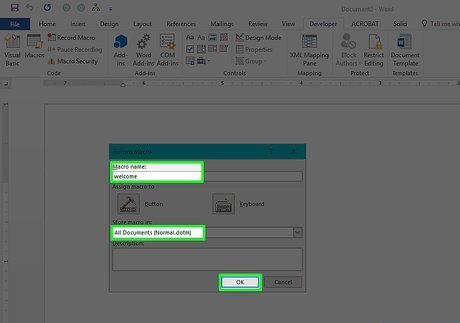
Enter your macro's information. This process will vary slightly depending on your selected program: Word — Enter a name for the macro, select All documents as the "Store macro in" value, and click OK. Excel — Enter a name for the macro, add a keyboard shortcut if you like, select This Workbook as the "Store macro in" value, and click OK.

Record your macro. Once you click OK, any steps you take (e.g., clicks, typed text, etc.) will be added to your macro.
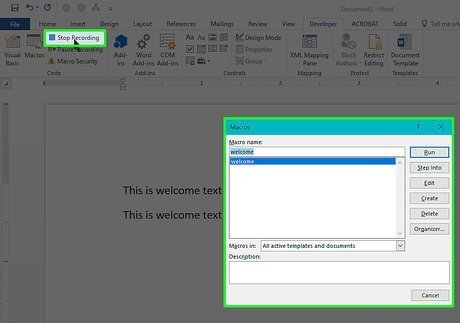
Click Stop Recording. It's in the Developer toolbar. This will save your macro and add it to your document's macro list. You can implement the macro by clicking Macros, selecting your macro's name, and clicking Run.
Writing a Macro
Make sure you know how to code in VBA. Visual Basic for Applications (VBA) is a programming language used by Microsoft Office 365 programs to run macros. If you don't have a solid grasp on VBA, you may be able to find the code for an existing macro. If so, you can copy the macro's code and paste it into the VBA window later in this part.
Open a Microsoft Office 365 file. Double-click the file for which you want to create a macro. This will open the file in its respective program. You can also open the program you want to use and click the Blank option in the upper-left side of the window to create a new file. You cannot use Access or OneNote to create macros.
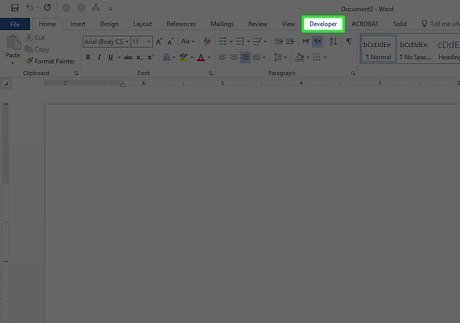
Click Developer. This tab is at the top of the program's window.
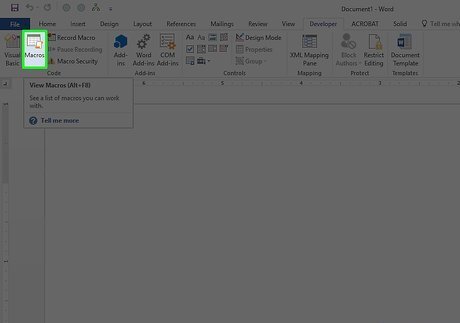
Click Macros. It's in the upper-left side of the window. Doing so opens a pop-up window.
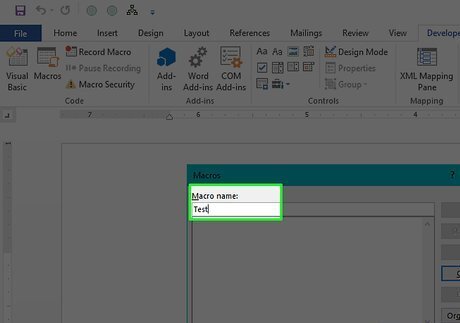
Enter a macro name. Click the "Macro name" text box at the top of the window, then type in the name that you want to use for your macro.

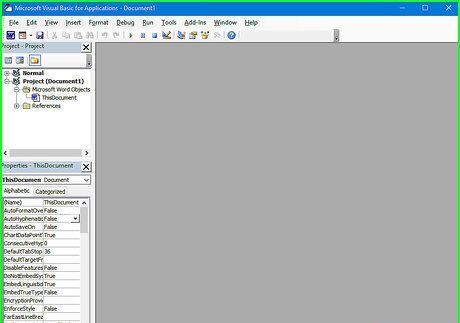
Click Create. It's on the right side of the window. Doing so prompts the VBA window to open.
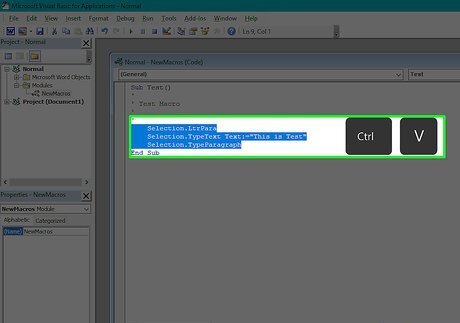
Enter your macro's code. Once the VBA window opens, type in the code for your macro. If you copied a macro's code, paste it into the VBA window.
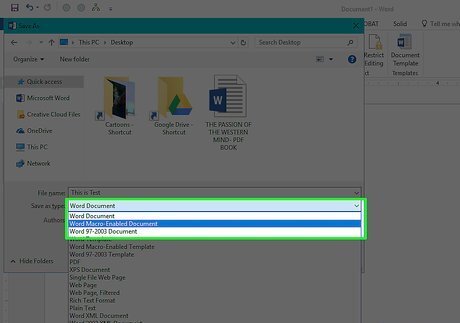
Save your file as a macro-enabled format. Press either Ctrl+S (Windows) or ⌘ Command+S (Mac), then enter a file name, click the "Save as type" (Windows) or "Format" (Mac) drop-down box, and click the Macro-Enabled option in the resulting drop-down menu. You can then click Save to save the file with the macro enabled. You can implement the macro by clicking Macros, selecting your macro's name, and clicking Run.


Comments
0 comment