views
Cleaning the Interior of Your Grill
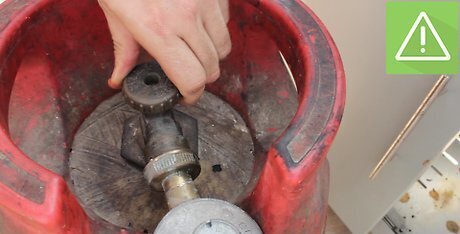
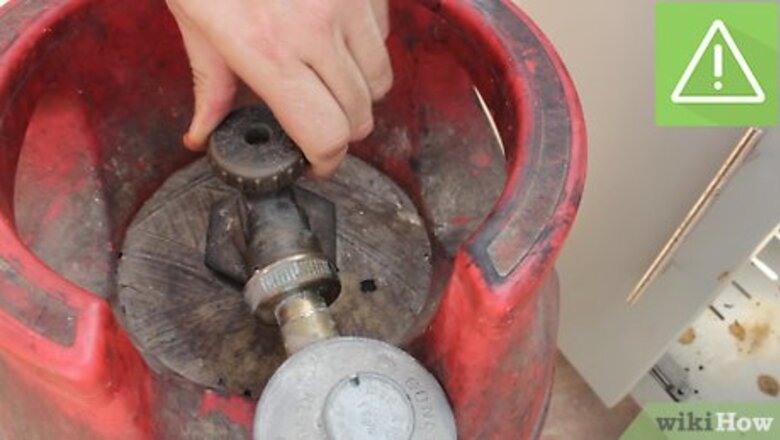
Turn off the gas supply to the grill. You do not want to have dangerous gasses build up during the cleaning process that can lead to injury. Locate the gas supply valve on the propane tank for LP grills and where the grill connects to the house for LNG supplied grills. Turn the knob or lever clockwise to shut off the gas supply running into the grill. Remember "righty-tighty, lefty-loosey" to close and open valves.
Remove the grates and scrub with a wire brush and soapy water. Grill brushes can be purchased from your local supermarket that have wire bristles, an acrylic scrubber, and a metal scraper. Invest in a grill brush for easy cleaning. Fill a bucket with soapy water made from teaspoon of liquid dish soap for every quart of water. Dip the wire brush in the water and scrub away any grimy build up present on the grates. Be sure to clean both sides of the grates.
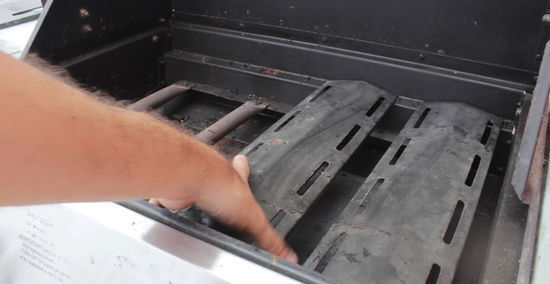
Remove any metal plates or coverings over the burners and scrub clean. The plates protect the burners and help to disperse the heat to allow for even cooking. Clean the burner protectors by scrubbing with sponge or scouring pad dipped in soapy water.
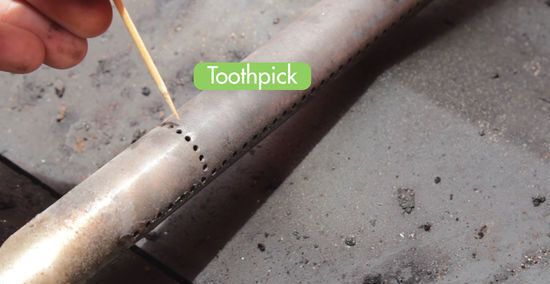
Gently wipe any grime off the burners. Check the holes in the burners for clogs and use a toothpick to dislodge any objects that may be blocking the flow of gas. In some grill models the burners are easy to remove for cleaning; if yours do not come out easily, you can wipe them clean while they are in place.
Scrape any charred drippings from the bottom of the grill surface. If your grill has a removable bottom pan, you can take it out to scrape all the debris away. If the bottom pan is secured in place use a metal spatula or grill scraper to push any burnt scraps through the grease hole and catch them in a trash bag.
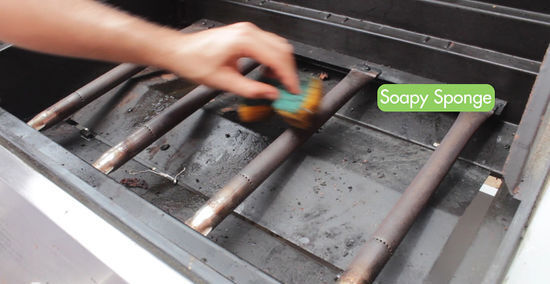
Clean the bottom of the grill with a soapy sponge. Once all the chunks are gone, scrub the bottom with a sponge or scouring pad and soapy water to remove any built up grease or grime. Lots of drippings and food scraps tend to build up under the burners of the grill. Pay close attention to this area and clean it as much as possible to avoid corrosion.
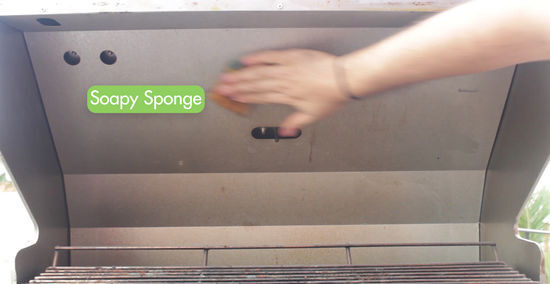
Check the sides and underside of the lid for flaking paint or caked on food. Use the grill scraper to gently clean any flecks off the underside of the lid and wipe it clean with a soapy sponge. Be careful not to scratch the metal or scrape any undamaged paint off the lid as this may lead to rusting or corrosion.
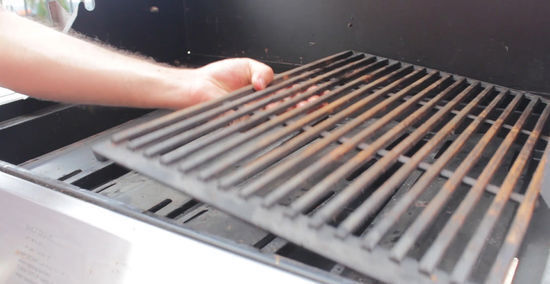
Replace burner covers and grill grates. Reassemble your grill by putting everything back in the reverse order you removed it. Burner covers and grill grates usually rest in place. Look for groves or ledges to place these items back in the proper location.
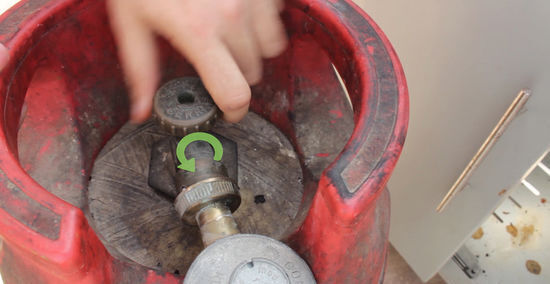
Turn on the gas and fire up the grill. Turn the grill on high and close the lid for 15 minutes to burn off any remaining soap or cleaners you used on the interior surfaces of the grill.
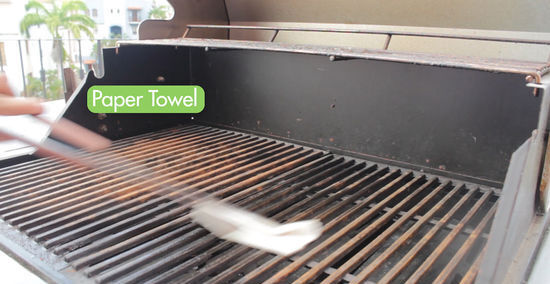
Turn off the burners and oil the grates. Oiling the grates will help to prevent your food from sticking to the surface. Dip a paper towel in canola oil. Use tongs to rub the oily towel over the surface of the hot grates.
Cleaning the Exterior of Your Grill
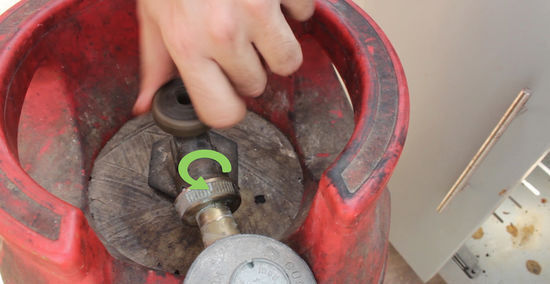
Turn off the gas before beginning to clean the grill. Make sure that the gas valve is completely closed to avoid filling the grill with dangerous flammable gas during the cleaning process.
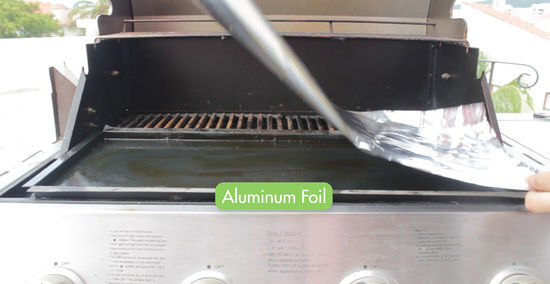
Check the drip pan under the grill and replace as needed. Most grills have a disposal drip pan or cup. Clean the surface of the drip pan holder, and replace the liner with a fresh aluminum pie plate or tin can. If your drip pan is not disposable, wipe out the grease with paper towels. After removing as much grease as possible rinse the drip pan with a solution of soapy water.
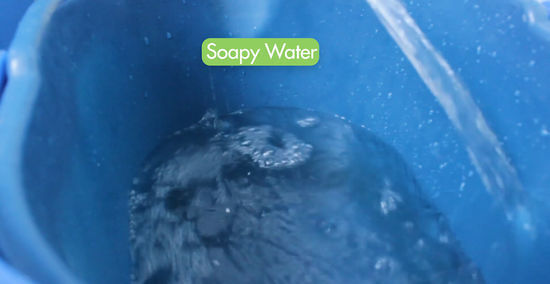
Fill a bucket with soapy water. Make a soapy solution to clean the outside of the grill with 1 teaspoon of dish soap per quart of water.
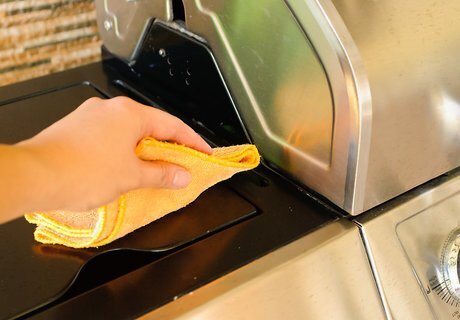
Wipe the exterior surfaces with an old rag dipped in soapy water. Clean all surfaces of the grill thoroughly to minimize the chances of corrosion due to food bits clinging to the metal. Pay close attention to the areas around the knobs to remove any drips that may have accumulated. Wipe the side panels or burners with the soapy water as well.
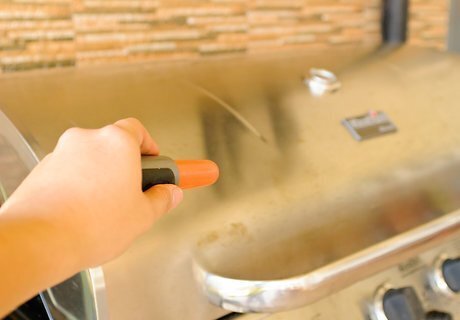
Rinse any soap away with a gentle spray from a hose. Keep spots from forming due to soap bubbles by thoroughly rinsing the outside of your grill after cleaning.
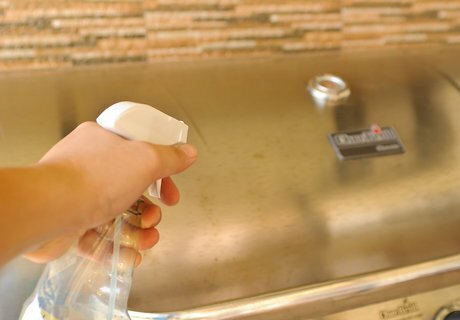
Use glass or stainless cleaner to polish any stainless steel surfaces. If your grill has a stainless steel lid or cabinets, spray a glass cleaner on the surface and wipe with a paper towel to keep the surfaces looking shiny.
Maintaining your Grill
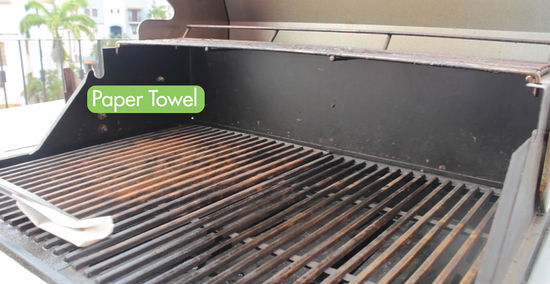
Oil the surface of the grates before each use. Keep your grill grates cleaner by oiling them prior to each use with an old rag or paper towel dipped in vegetable oil. Use tongs to rub the oily towel on the hot grates before placing food on the grill.
Clean the grates with a wire brush after each use. It is easiest to clean the grill grates while they are still hot. Use a wire grill brush to scrape away any remaining food bits by rubbing the wire bristles along the length of the grates.
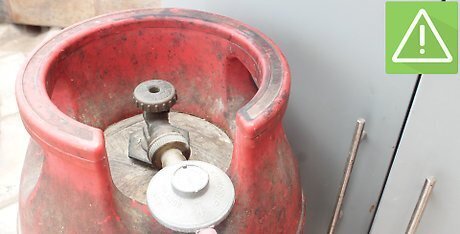
Check your gas line for leaks. Regularly inspect the gas lines connecting your grill to the gas tank by applying a small amount of soapy water to the surface of the line and connectors. This should be done each season you are using the grill and monthly during periods of high usage. Use a rag or brush to apply soapy water along the length of the gas line. Make sure to apply soapy water liberally around the connections and valves. Look for any bubbles that indicate gas is leaking causing a potentially dangerous situation.
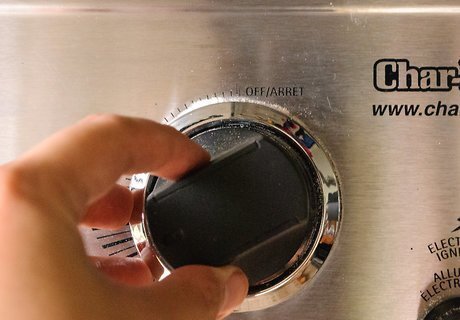
Burn off any drippings to prevent grimy build up. In between every 3-4 times you grill, heat up the grill without any food present. Turn the burners on high. Close the lid to burn up any drippings that have fallen on the burner protectors. Allow the heat to build up inside the grill for 10-15 minutes.
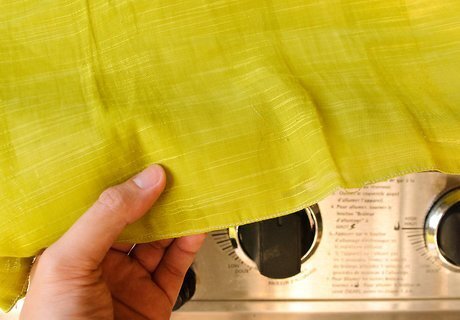
Cover your grill in between uses. Invest in a cover for your grill to protect it from the elements when it is not in being used. Keeping rain and debris from piling up on your grill will help keep it from rusting and extend the life of your grill.
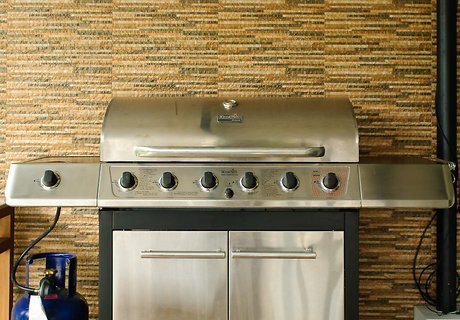
Finished.









Comments
0 comment