views
Removing Earbud Tips
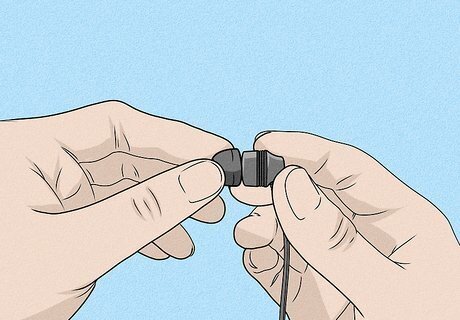
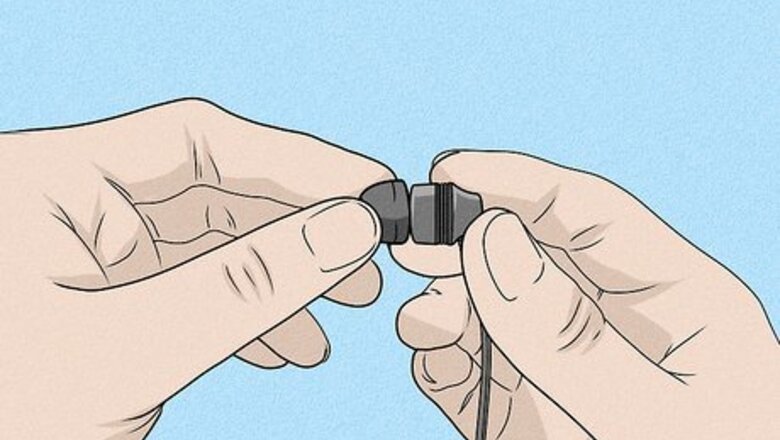
Grip the soft tip on the first earbud. Hold the back of the earbud with your nondominant hand to keep it still. Pinch the top of the earbud with your index finger and thumb. If you can feel a small piece of hard plastic underneath, that’s the connector that holds your earbud tip in place. This process is identical for rubber, foam, and silicone earbud tips. It’s also the same across every major brand. The only exception here is Apple, which have some unique designs that make this slightly trickier. For Apple earbuds, you typically need to grip the tip at the base where it connects to the driver, which is the harder portion of the earbuds that produce sounds.
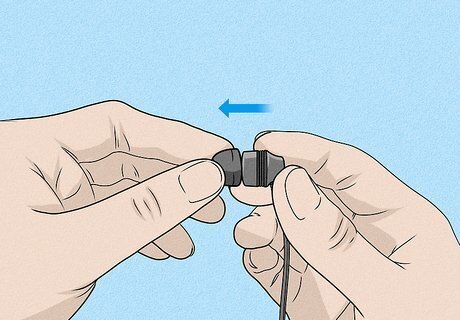
Tug gently on the earbud tip to try pulling it out. Hold the earbud’s tip and slowly tug the earbud away from the connector. The vast majority of the time, the earbud will pull right off. If it doesn’t come off easily, don’t keep pulling on it. You’re unlikely to damage anything, but it’s better to just play it safe. If your old earbuds aren’t damaged and you’re just moving up or down a size, keep the old ones as an emergency substitute in case something happens to your new tips or you don’t like the way they feel. You may hear a small pop when you take Apple tips off; this is totally normal, so don’t worry about it. Sony, Samsung, Beats, Bose, and every other major brand makes tips that should just slide right off.
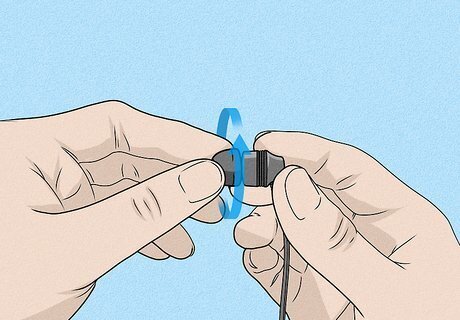
Twist and pull the earbud off if it doesn’t come straight out. If the earbud doesn’t slide right off when you tug on it, try rotating the earbud counterclockwise while pulling it away from the connector. If pulling straight out didn’t work, this should do the trick. Some headphones have threading where the tip attaches to the connector, but sometimes there’s just some gunk on the connector and rotating the tip will loosen it up. You may run into this occasionally with higher-end Sony and Bose headphones. Even then, they occasionally slide right off since the tips are kind of malleable and flexible. If this doesn’t work, look online, or refer to your instruction manual. Pulling straight out or twisting and pulling should work for basically every brand out there, but there may be some unique instructions if you have an obscure brand.
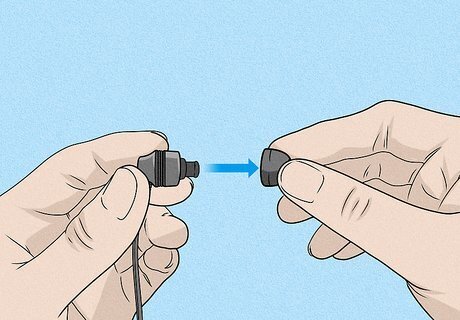
Use the same process to remove the second earbud. However, the first earbud tip came off, use the same process to remove the second earbud tip. If you pulled the first one straight off, pull the second tip off the same way. If you had to twist the first one off, twist the second tip off. This is a good opportunity to clean the connectors. Just gently wipe them with a dry paper towel to take any earwax or grease off.
Replacing Earbud Tips
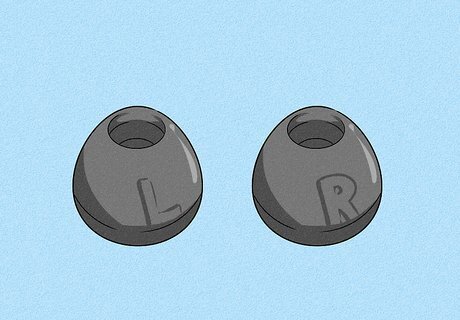
Check for an “L” or “R” on the new tips before you start. Take your new tips out of the packaging. Before you reattach them, inspect every portion of the tip to look for an “L,” for left, or “R,” for right. If you find either of these letters, your earbuds are not identical, and they go on a specific side. For these tips, you must put the “L” tip on the earbud with an “L” on it and vice versa. This process is identical regardless of the material. Rubber, foam, and silicone tips are all installed the same way. If there aren’t any “L” or “R” labels and your tips look identical, it doesn’t matter which tip goes on which earbud. This is the case for the vast majority of earbuds out there. You normally only see an L or R on higher-end earbuds.
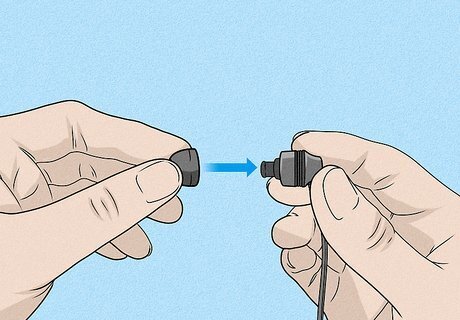
Slide the new tip over the connector sticking out of the earbud. Inside of the earbud tip, there is a matching slot for the connector. Hold the earbud in your non-dominant hand and the new tip in your dominant hand so the part that slides into your ear is pointing away from the driver. Line the slot on the tip up with the connector and gently push it down. This is usually as easy as it sounds. With some tips, it helps to squeeze it a little bit while you’re doing this to get the slot on the connector. If you had to twist the old earbud off, you may need to rotate the earbud tip gently as you push it down. For Apple earbuds, look inside of the tip for two ovals. Once you find those, look at the connector for two matching ovals. You must line these ovals up to connect the new earbuds.
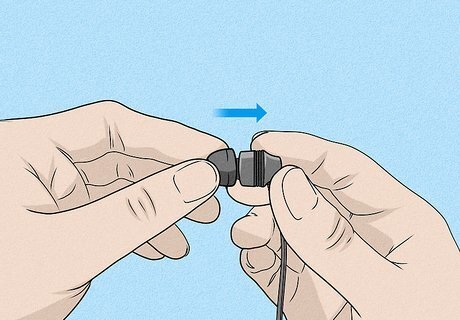
Push the new tip down all the way to finish replacing it. Usually, you can just push the tip down all the way. If it gets stuck at all, just wiggle it a little while you’re pushing it down. Once the tip is flush with the driver (the round, hard part of the earbud), you’re done! Repeat this process with the second earbud. Apple earbuds will click once they’re fully in place, but most earbuds won’t make any noise.
Options for Replacements
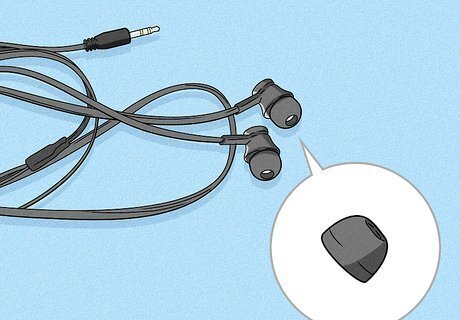
Find replacement earbud tips for your specific brand and model. Earbud tips are not universal. You’ve got to find a pair of replacement tips for your brand so that they match your specific model. While you obviously know your brand, search your brand’s website to find the specific name of your headphones. Then, look online for replacement tips that match your earbuds. It’s always safer to buy tips for Apple earbuds from Apple, Sony earbuds from Sony, and so on. If you can’t find them online, call the company’s customer support number and ask where you can find replacements.

Pull up a compatibility chart to find aftermarket tips for your brand. You can find compatible replacement tips made by a company other the one that made your earbuds if you’re looking for something different. When you’re looking at a different company’s tips, consult their compatibility chart to make sure your brand and model number are listed. Manufacturers often publish these charts online on their website. Earbud tips aren’t interchangeable, so your specific model must be listed as compatible for them to work. The main reason you’d want to do this is if you want earbud tips made out of a specific material and the original manufacturer doesn’t make tips in that material.
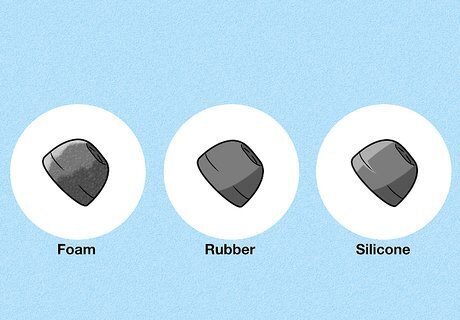
Select foam replacement tips if you prioritize comfort and sound clarity. Foam will easily fill your ear canal, which will keep outside sounds out and help you focus on what you’re listening to. However, foam tends to absorb ear wax and these tips can be hard to clean. If you’re buying earbud tips from a company other than the manufacturer, your main consideration after compatibility is the material that they’re made out of.
Choose rubber if you want durable, harder tip for your earbuds. Many people don’t like rubber tips since they tend to be the least comfortable. However, if you want super durable earbud tips and you prefer a harder material, rubber tips may be for you. They’re also fairly easy to clean!
Pick silicone tips for a popular, easy-to-clean option. Silicone is hands-down the most popular option. Silicone tips are easy to clean and they usually last a long time, although they may not last as long as rubber tips. The main downside is that they don’t do a great job of keeping ambient sound out. There are flanged silicone tips out there that have a built-in lip to help keep outside sounds out. Silicone is also an inert chemical. This means that it won’t irritate your skin.
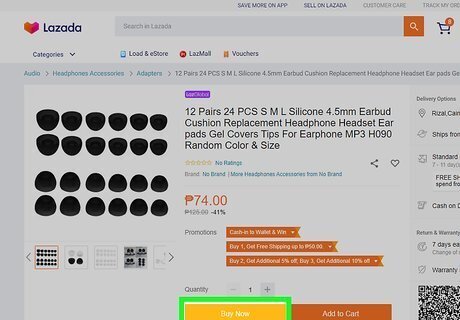
Buy the same exact tips if you were happy with how they fit. If your tips are torn or really dirty but you liked the way they fit, buy the same exact tips from the manufacturer. Replacement tips rarely cost more than $4-10, so this shouldn’t be too costly. If you can’t find the exact same tips online, call their customer support number and ask to buy them over the phone. If your tips are just a little dirty, you may be able to clean them to bring them back to life. If this is the case, you may not to replace them at all!
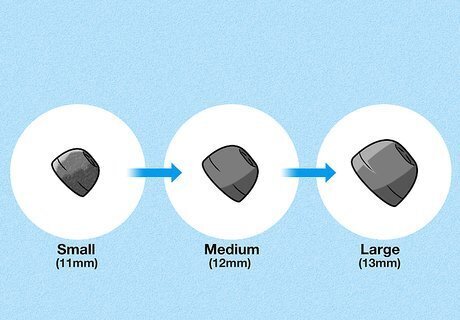
Go up a size if your previous tips always fell out. Most manufacturers make different tip sizes for their headphones. For a comfortable fit, the earbuds should completely cover your ear canal without putting any pressure on your ears. If your earbuds are always falling out, buy tips that are slightly larger than your previous set. You can measure the size of your earbuds if you want find dimensions for the replacement sizes, but it’s usually just easier to go off of feel. Most companies use the small-medium-large scale for tip sizes. The medium tip is almost always the default size when you buy a brand-new set of earbuds.
Move down a size if your old tips made your ears hurt. If your old earbuds hurt your ears when you wore them for a longer period of time, buy smaller replacement tips. Smaller tips will make it much easier for the tip to sit inside of your ear canal without putting a ton of pressure on your ears. If you want bigger or smaller tips but the manufacturer doesn’t make different sizes, you may need to purchase aftermarket earbuds made by a different company.



Comments
0 comment