views
Burning an Audio CD with Windows Media Player
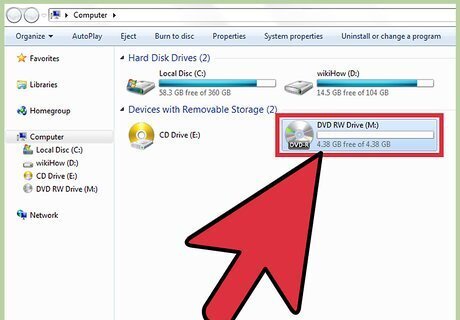
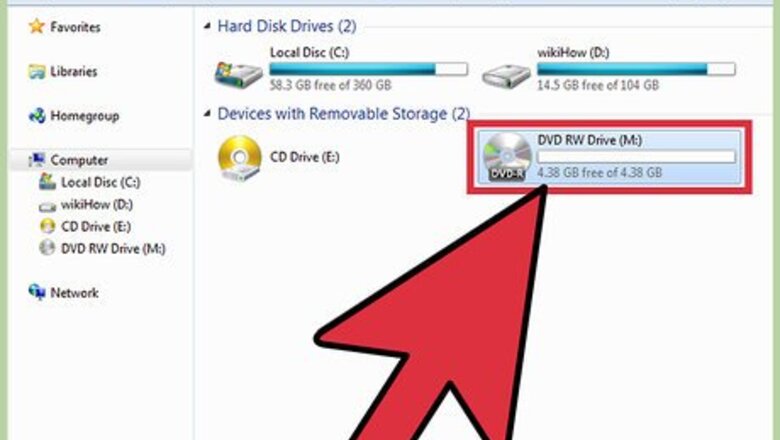
Insert a blank CD into the disc drive of your computer. Make sure the drive is either CD-RW or DVD-RW. The ‘W’ stands for writeable, and is necessary to burn information to the disc. The type of drive is usually printed on the front, but the information can also be found in Control Panel > Device Manager > Disk Drives.
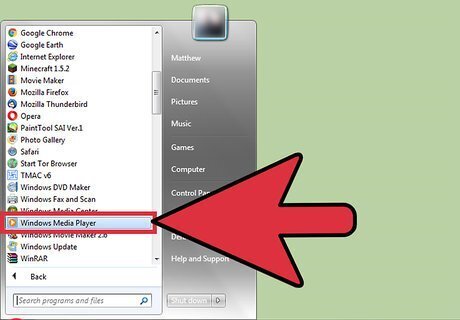
Open Windows Media Player (WMP). This can be accessed from Start > All Apps (All Programs in Windows 7 and earlier) > Windows Media Player. This is the stock media player that is supplied with Windows. This guide’s steps refer to WMP 12. Other versions of the software will also work, but button locations may vary. Other types of programs that are easy to use include G Burner.
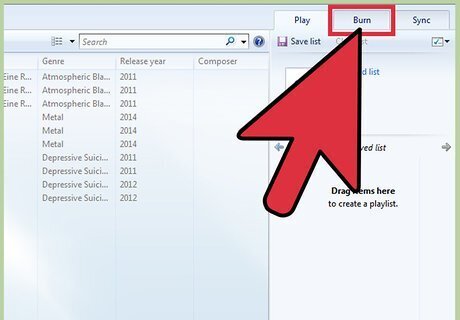
Press the Burn button on the right. This opens a panel on the right to create a burn list.
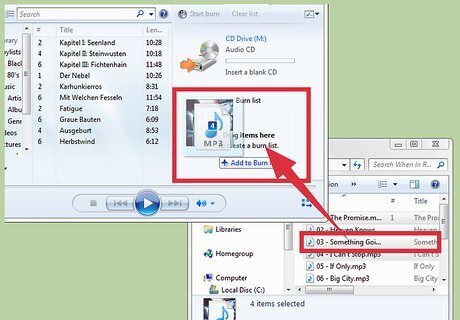
Drag and drop audio files into the burn list. The files will need to be a filetype supported by WMP (.mp3, .mp4, .wav, .aac, are among the most common). When burned to a CD, the software will transcode the files to a lossless format. Audio CDs are limited to an 80 minute playtime. This is an industry standard set by manufacturers. This means that the number of songs you can fit onto the CD will vary depending on the length of the track. CD packaging may also mention a 700MB capacity, but this measurement is used for making data CDs. A data CD works like a storage device and can only be read by computers.
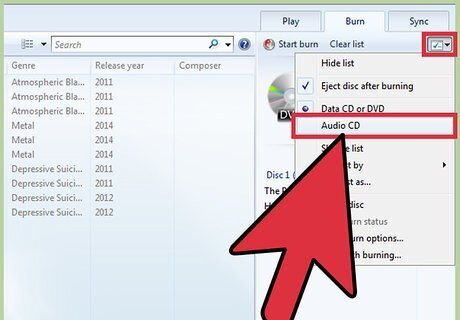
Click the menu in the Burn panel. This opens a menu with different burn options. Select “Audio CD” from the menu.
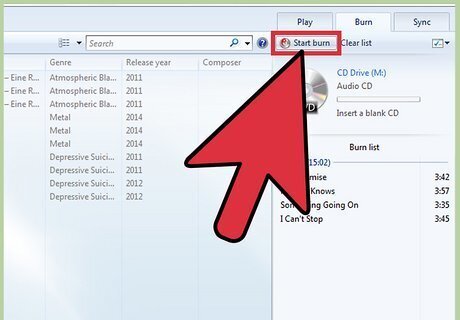
Press the “Start Burn” button. The CD burn process will begin. After completion the disc will eject automatically and be ready for playback. If you cancel the burn process or it fails you will need to use a new CD to try again.
Burning an Audio CD with iTunes
Open iTunes. This can be accessed in Applications > iTunes or from the application dock. On Windows you can launch from Start > All Apps (All Programs on Windows 7 and earlier) > iTunes. This is the stock media player that is supplied with OSX, but is very common across platforms due to the popularity of Apple mobile devices. This guide’s steps refer to iTunes 12. Other versions of the software will also work, but button locations may vary.
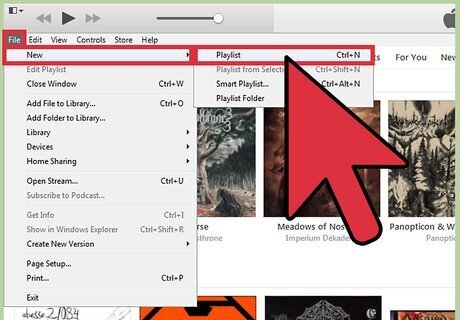
Create a playlist. Go to File > New > Playlist, enter a name for the playlist, then drag and drop the desired songs into it. Make sure that the checkboxes on the left of each song remains checked. Only checked songs on the playlist will be written to the disc.
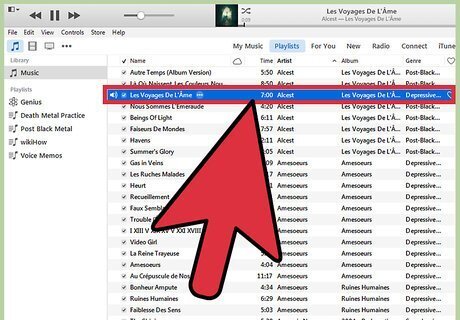
Ensure all the songs in the playlist are authorized for this computer. Songs purchased from the iTunes store are linked to your iTunes account. Double-click each song to make sure it plays. If it is not authorized, a popup will appear asking for the username/password of the iTunes account used to purchase the song. Once that information is entered, the song will playback normally and be available for CD burning. iTunes limits a song to authorization on 5 different computers.
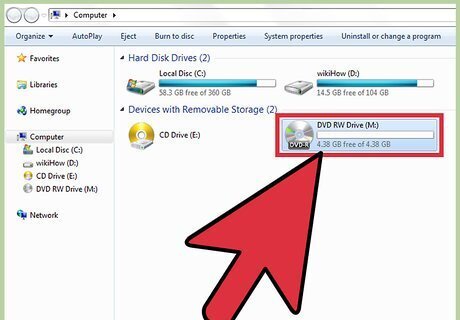
Insert a blank CD into the disc drive. The computer will automatically recognize it as a blank disc. You can check the compatibility of your disc drive in the “Burn Settings” menu. If you see the drive listed on the top, under “Disc Burner”, then it is compatible.
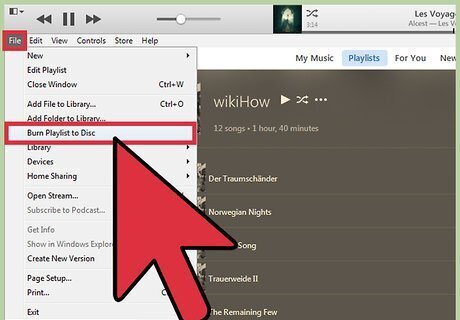
Open the “File” menu and select “Burn Playlist to Disc”. This will open the “Burn Settings” menu.
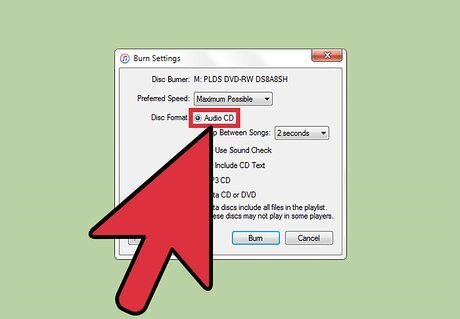
Select “Audio CD” from the format list. This will ensure that the CD will play on any regular CD player. If you select “Data” as the format, the CD will be used as file storage and will only be playable on computers. If you select “MP3 CD” as the format, then you will need to use a CD player that is capable of reading that format. This can be confusing because MP3 files are such a common format, but Audio CD is the desired format for universal CD player support.
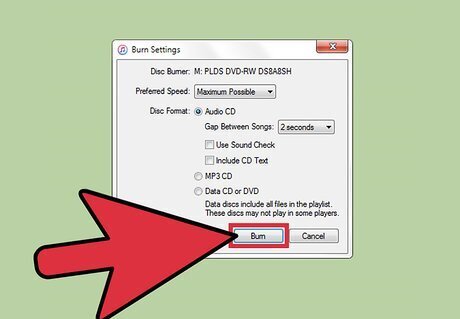
Press the “Burn” button. The CD burn process will begin. After completion the disc will eject automatically and be ready for playback. If you cancel the burn process or it fails you will need to use a new CD to try again.
Using Other Free Software to Burn an Audio CD
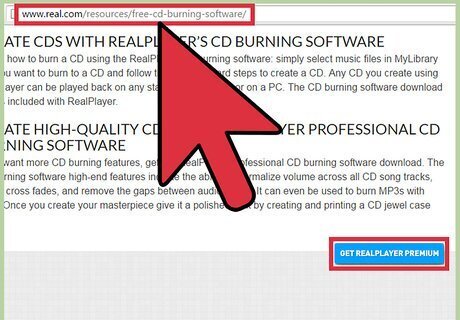
Pick the right software for you. If you do not want to use iTunes or WMP, there is a plethora of third-party software out there. Perhaps you are dedicated to open-source software or just prefer the feature set of another media player, or maybe you don’t use your computer for music listening and have no need for a media player at all. When downloading any software, it is always best to get it from the original developer website. This helps to ensure that the installer has not been tampered with or loaded with extra software or malware. If a developer does not host the file for download on their own site, there is usually a list of trusted mirrors to use instead.
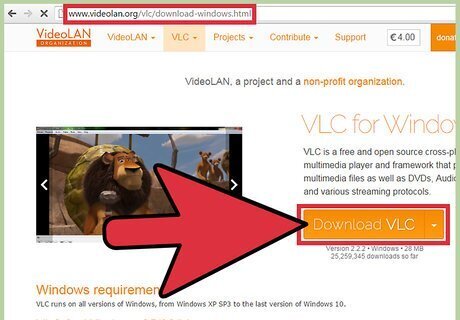
Try a different media player. VLC Media Player and Foobar2000 are two free media players that are popular for their speed, customizability, and broad codec (filetype) support. Since these programs are still media players, the process of burning an Audio CD will be very similar to using WMP or iTunes. Foobar2000 is for Windows only.
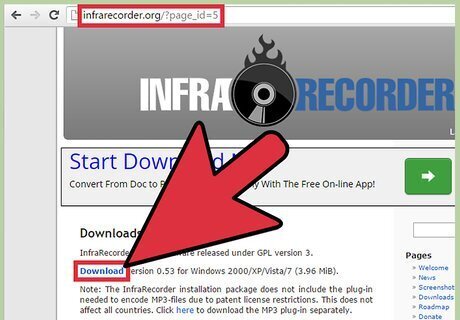
Try a dedicated burning program. InfraRecorder and IMGBurn are two free, no-nonsense burning programs for those who do not need playback support. These programs boast a more comprehensive array of burning options, like mixed mode, which allows user to create hybrid audio/data CDs. Because these programs support more complex burning features, this options is recommended for more advanced users or those who really don’t want the extra weight of a media player. Both InfraRecorder and IMGBurn are Windows-only. “Burn” is a strong, simple option for Mac users.








Comments
0 comment