
Preparing and Measuring Your Space
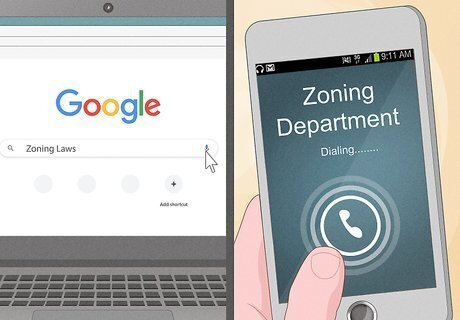
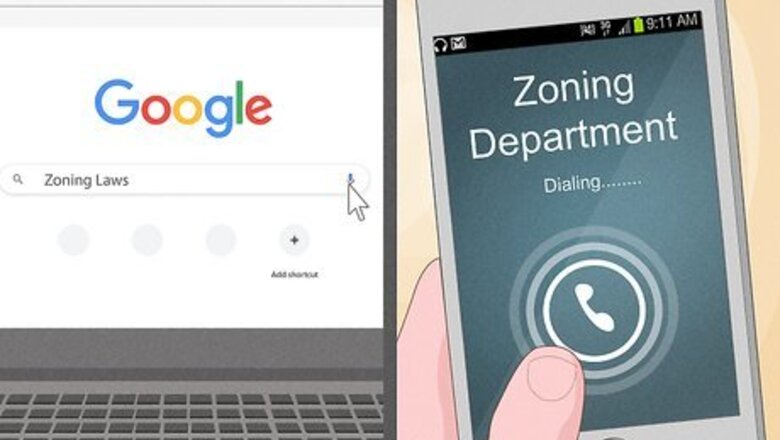
Research zoning laws in your area. States and towns have zoning laws that restrict certain kinds of construction. Call your local building commission or zoning department to make sure that you can build a pergola on your property. You can also find zoning ordinances on your local town’s website. In some cases you’ll have to get a permit before you can start building. If you're in an urban area, you'll have to consider the "setbacks" set by the cities. A setback is the minimum distance structures have to be from streets, roads, rivers, and other protected areas.

Contact local utility companies before you dig holes. If you’re building your pergola in your yard, you’ll have to dig deep holes which can damage pipes or power lines under the ground. Look at your utility bills to find the phone numbers for your utility companies. Call them and ask about any pipes or lines that may be running underground. If you live in the United States, you can dial 811 to contact your local utilities. In Australia you’d dial 1100 to contact local utility companies.
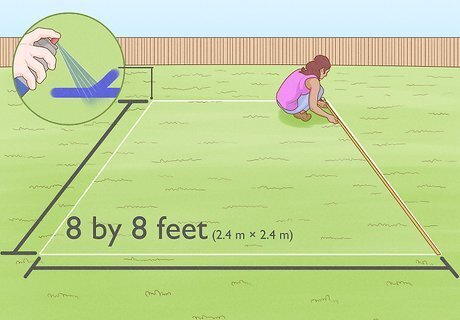
Measure and mark an 8 by 8 feet (2.4 m × 2.4 m) square in your yard. Mark each corner of the square with spray paint. This will be the length and width of your pergola. Measure and mark a different sized square if you want a larger or smaller pergola. This is an average size for a pergola. If you measure a space that's larger or smaller than 8 by 8 feet (2.4 m × 2.4 m), you'll have to adjust the size of your wooden posts accordingly. If you are installing the pergola on a patio, use chalk instead of spray paint to mark your measurements.
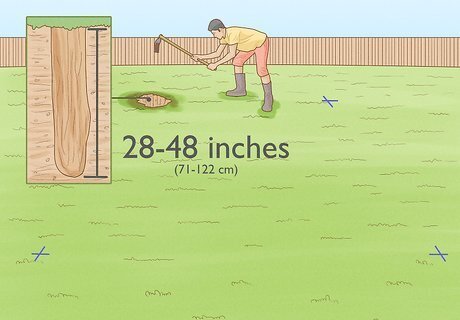
Dig a hole in each corner of your measured space. Each hole should be 28–48 inches (71–122 cm)-deep. These holes will hold your posts in place and ensure that your pergola stays together. Make each corner hole 8 by 8 inches (20 cm × 20 cm) so that they are large enough to fit your pergola’s posts. Make each hole the same depth. If you are placing your pergola over a patio, you have to screw metal post anchors into the patio instead of digging holes.
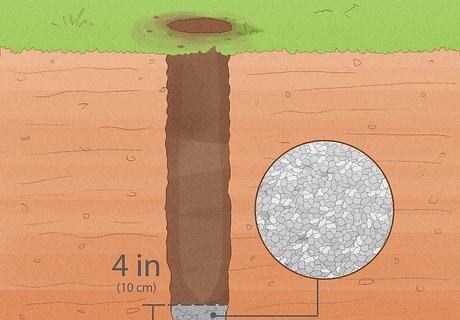
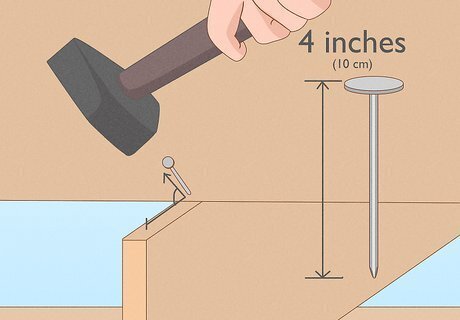
Pack the bottom of the hole with 4 inches (10 cm) of gravel. Pouring gravel on the bottom of the hole will give your posts something to rest on. If you don’t do this, they will sink into the dirt. You should now have a total of four holes packed with gravel.
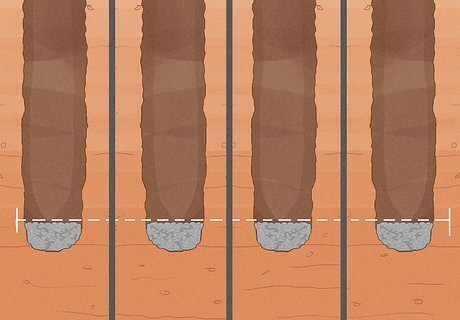
Measure the depth of each hole and remove or add gravel to level them. Use a tape measure to measure the walls of each hole. If they aren’t the same size, remove or add gravel so that all the holes have a uniform depth. If you don’t do this, your pergola will be lopsided.
Laying Down Foundation Posts
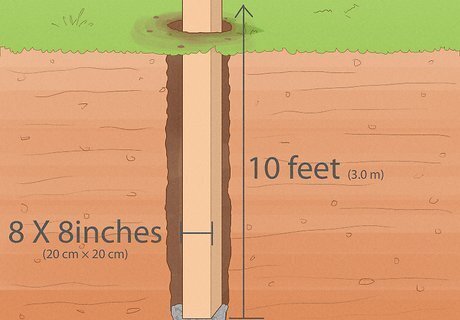
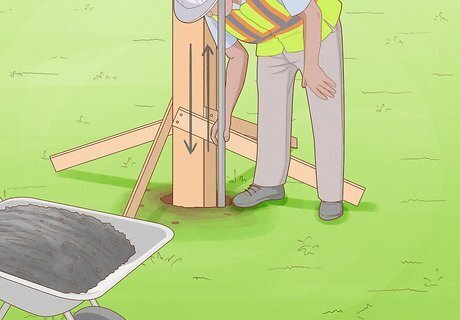
Place a post into the first hole. You’ll want to use posts that are at least 8 by 8 inches (20 cm × 20 cm) thick and 10 feet (3.0 m) long. Work on each post one at a time until it's secured to the ground. Put one end of the post into a hole and make sure that it rests flat on the gravel. Hold the post in place as you move onto the next steps. Posts shouldn't go straight into the ground, because you want to minimize wood rot. Pour them in with rapid set quickcrete, or if you're on a flagstone or paved patio, use brackets that create a gap between the surface and the post. Then the brackets are poured into the concrete, and the posts are bolted into the brackets. EXPERT TIP Maggie Moran Maggie Moran Home & Garden Specialist Maggie Moran is a Professional Gardener in Pennsylvania. Maggie Moran Maggie Moran Home & Garden Specialist Choose pressure treated pine for an affordable construction option. Horticulturalist Maggie Moran says, “While there are several kinds of wood available for constructing a pergola, the most popular and economical option is pressure-treated pine.”
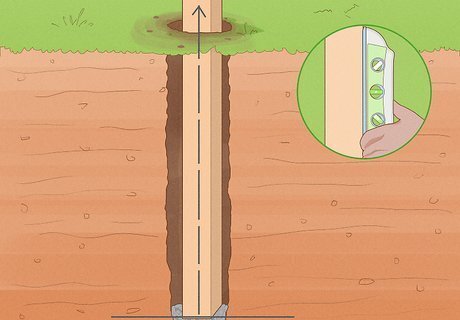
Make sure that the post is level. Hold a level vertically against the post. The bubble in your level should line up in the middle of the level indicator. If your post is on an angle, readjust it. Hold the level against the post as you adjust it so that you know when the post is level.
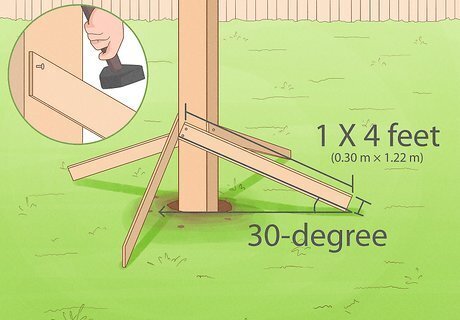
Nail smaller boards to your post to brace it. Have a friend hold the posts in place while you nail 1 by 4 feet (0.30 m × 1.22 m) planks of wood on a 30-degree angle to each side of the post. Angle the brace boards so that one end of the brace is wedged against the ground and the other end is pushed up against your post. Then, drive a nail through the brace and into the post to hold it in place. Place the other posts into the holes and brace them all. You can use scrap wood or purchase additional planks for the braces. You can stop holding the posts in place once you brace them.
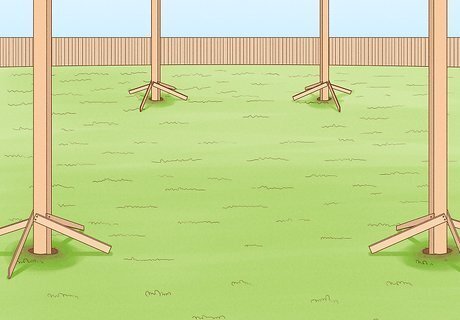
Level and brace the rest of your posts. Repeat the steps on the next three posts. Once you're done, each foundation post should stand vertically and form the foundation for your pergola.
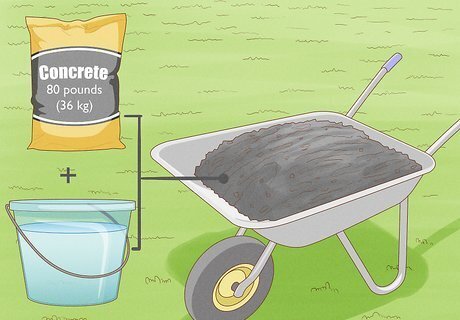
Mix a bag of concrete with water. Purchase an 80 pounds (36 kg) bag of concrete and pour the dry concrete dust into a wheelbarrow. Read the instructions on the packaging so you know how much water you’ll need to add to the powder. Slowly pour the water into the concrete dust and mix it together with a shovel. This will create concrete that you can use to close up the holes for your posts.
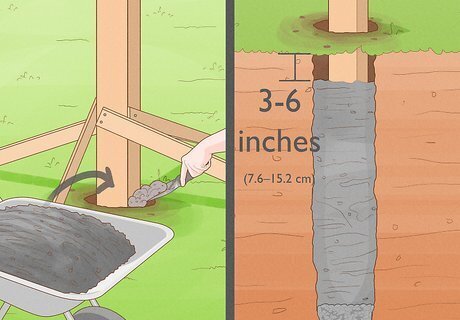
Pour concrete into each post hole. Continue to pour concrete into the hole until it's 3–6 inches (7.6–15.2 cm) from the top of the hole. Make sure that the concrete doesn't overflow or it will look messy.
Stir the concrete in the hole to aerate it. Use a stick to mix the concrete while it's still wet. This will remove air bubbles.
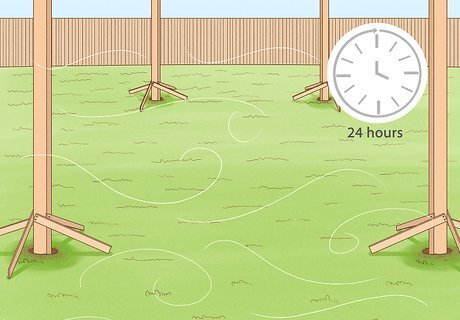
Let the concrete dry for 24 hours. After 24 hours have passed, the concrete should be solid enough to hold the foundation posts of your pergola in place.
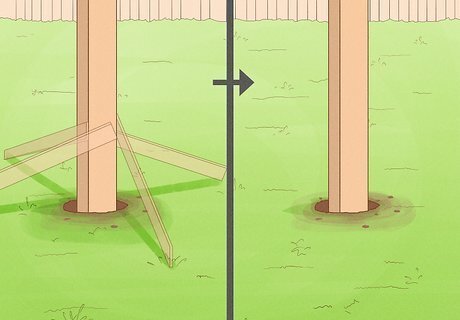
Detach the braces from the posts. Remove the nails from the braces on your posts. They should now stand vertically and be firmly implanted in the ground.
Building the Roof
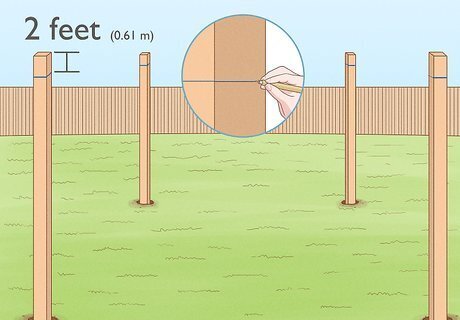
Mark 2 feet (0.61 m) from the top on both sides of each post. Draw an X in the center of both sides of each post. Mark the side that is pointing inward, towards your pergola. Then make another X on the opposite side of the post. These markings will give your cross beams something to rest on as you nail them in. Make these markings on all four posts.
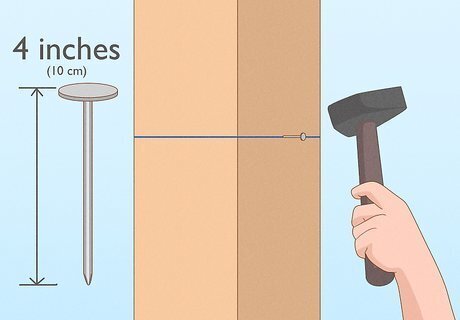
Hammer nails halfway into the posts. The nails you use should be 4 inches (10 cm) long. Place the nails where you made your marks. These nails will temporarily hold up the girders or cross beams that will run horizontally across your pergola. Drive the nail halfway in on each side of all 4 posts.

Rest 2 by 10 feet (0.61 m × 3.05 m) cross beams on top of the nails. Use the nails to hold your cross beams in place and keep them level. Each post should have 2 sets of cross beams on opposite sides of the post. Place a level on top of the cross beams to make sure that they are level, then clamp them to your foundation posts to hold them in place.
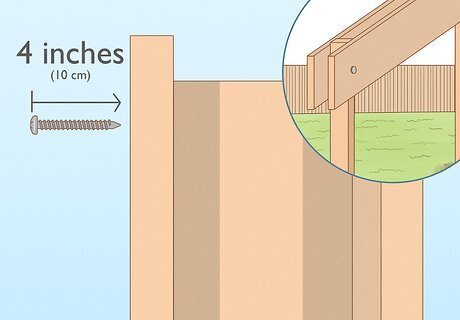
Screw or bolt the cross beams to the posts. Screw the cross beams into the posts with bolts or 4 inches (10 cm) screws. Place 2 screws on each end of the cross beam to secure them tightly. Your pergola should now have 2 cross beams running parallel to each other on each side of the structure. If the beams aren't level, remove the nail and adjust their placement. You can make slightly angled cuts on the end of your cross beams and rafters to give your pergola a more customized look.
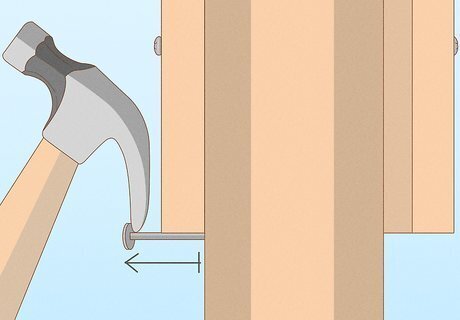
Remove the nails that you used to steady the crossbeams. Use the back of the hammer to pull out the nails that you used to steady your cross beams. They should stay in place if you screwed them into your foundation posts properly.
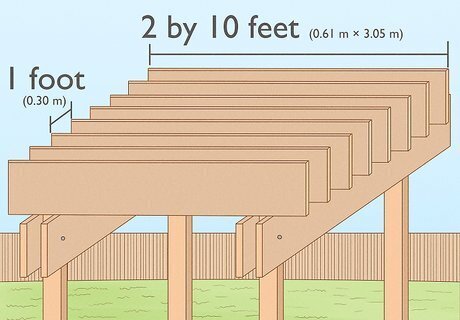
Lay 8 rafters across the cross beams. Your rafters should be the same size as your cross beams, or 2 by 10 feet (0.61 m × 3.05 m). Arrange the rafters so that they lay perpendicular to your cross beams. Each rafter should be spaced 1 foot (0.30 m) away from the next rafter. Configure the rafters onto the cross beams so that they look how you want. You can add more rafters and space them closer together, or add fewer rafters and space them further apart.
Hammer one nail into each end of each rafter. You'll want to use nails that are at least 4 inches (10 cm) long. Angle your nail so that it goes through the side of the rafter and down into the crossbeam. Do this once on each side of the rafter to hold it in place.

Nail 8 top slats into the rafters. The top slats can be thinner pieces of wood, or 1 by 2 inches (2.5 cm × 5.1 cm) thick and 8 feet (2.4 m) long. Line all 8 of the slats a 1 foot (0.30 m) apart and drive a nail into each end of the slats. This will finish the roof of your pergola.


Comments
0 comment