
Hot Bluing
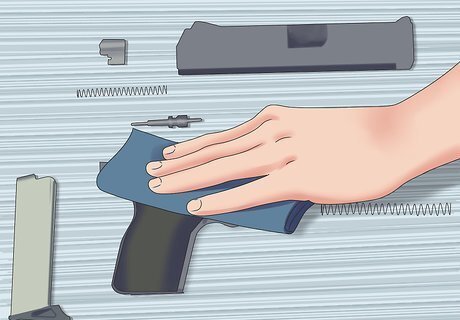
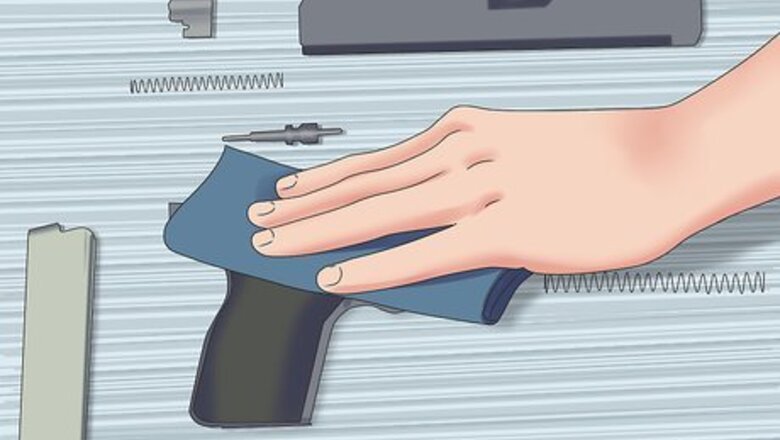
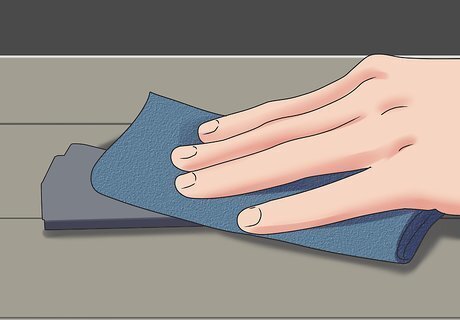
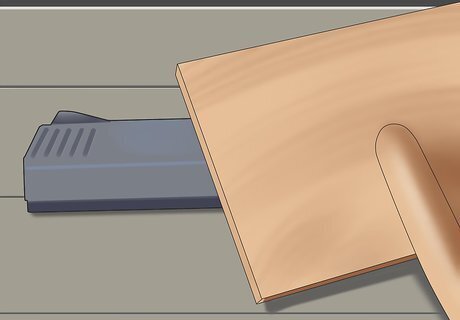
Polish the gun barrel and other parts to be blued. This is to remove any surface rust and other red oxides that would flake off during the process, as well as any pits or scratches that may exist. You can use either 000 steel wool or 600 to 1200-grit sandpaper to polish the metal.

Ready the parts to be dipped in the cleaning and bluing solutions. The chemicals that are used in the bluing process proper are caustic chemicals. Depending on which chemical you use to clean the gun metal prior to bluing it, it may be caustic as well. In addition to wearing rubber gloves when working with these chemicals, it's helpful to rig up the parts before dipping so they can be easily removed from the bluing bath. Cut a length of soft wire longer than the gun barrel so that it is long enough to protrude from either end. After threading the wire through the barrel, bend both ends into hooks that can be grasped without touching the barrel and be suspended on hooks or a length of cord or wire outside of the chemical baths. Smaller parts can be held in a stainless steel basket.
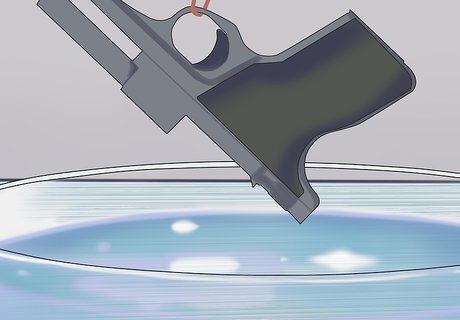
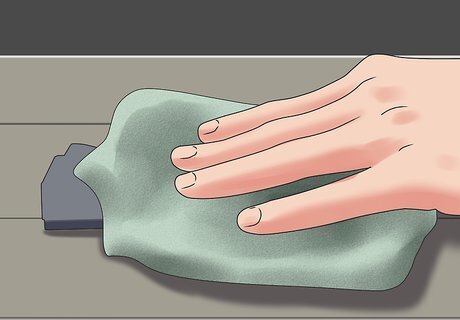
Dip the gun parts in a cleaning solution bath. Parts should be immersed in the bath for 10 to 15 minutes and scrubbed while being immersed to remove any oil, dirt, or grease that could get in the way of the bluing process. You can use any of the following chemical cleaners, provided you read and follow all directions for its use, handling, and disposal: One chemical cleaner that was reportedly discontinued contained sodium metasilicate, found in a number of commercial floor strippers. A cleaner that can be used in its place is sodium triphosphate, a component of a number of commercial detergents. Some bluing product manufacturers recommend using naphtha, followed by washing the metal in a mild dishwashing detergent. Some hobbyist 'bluers' use a special cleaning oil, followed by acetone (nail polish remover) to clean the metal, while others use denatured alcohol. (One such cleaning oil, a mixture of mineral and vegetable oils, alcohol, alkaline salts, and benzyl acetate, is sold commercially under the name “Ballistol.”)
Rinse off the cleaning solution in cold water. Rinsing should take no more than 2 to 3 minutes. If you've used dishwashing detergent to remove the cleaning chemical, you may instead need to use hot water to rinse.
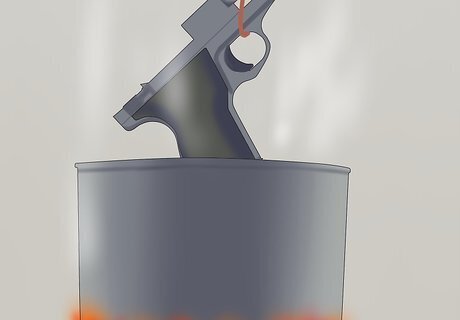
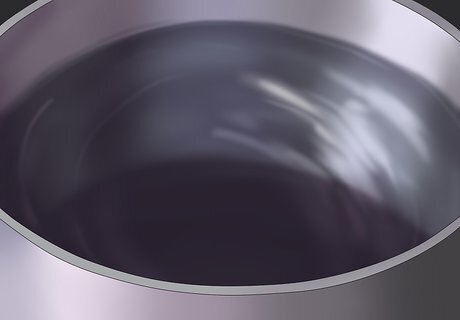
Dip the gun parts in the bluing solution. The bluing solution used in hot bluing is a caustic salt mixture of potassium nitrate and sodium hydroxide known as “Traditional Caustic Black.” This solution must be heated to a temperature of from 275 to 311 degrees F (135 to 155 degrees C), depending on the makeup of the bluing solution. Before heating the bluing solution, stir it thoroughly to break up any clumps of bluing salt that may occur on the surface or at the bottom of the tank holding the solution. When dipping gun barrels in bluing solution, dip them at an angle to allow any air bubbles that may form to escape. Be sure to immerse the barrel completely. Swirl the metal basket containing smaller gun parts around in the solution to ensure the parts are completely coated with the bluing solution. Leave the gun parts in the bluing solution from 15 to 30 minutes. Check to see when the metal has reached the desired shade of bluing and remove it from the solution at that time. Stainless steel gun parts are immersed in a different chemical solution, this one made of a mixture of nitrates and chromates. It is heated to temperatures similar to the nitrate-hydroxide mixture.
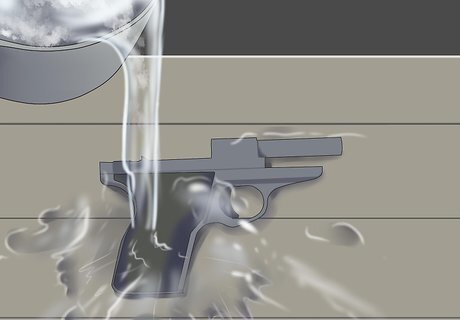
Rinse off the bluing solution in cold water. Swirl the parts through the cold water to help wash away the bluing salts.
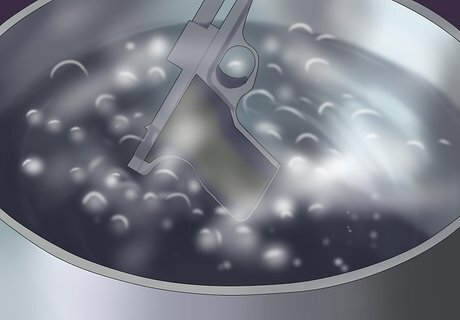
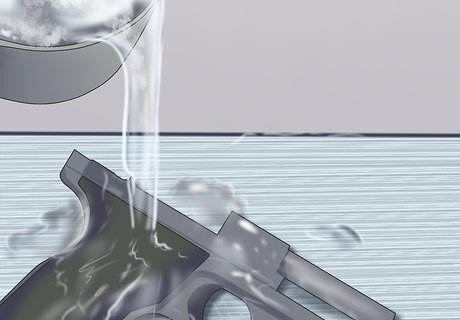
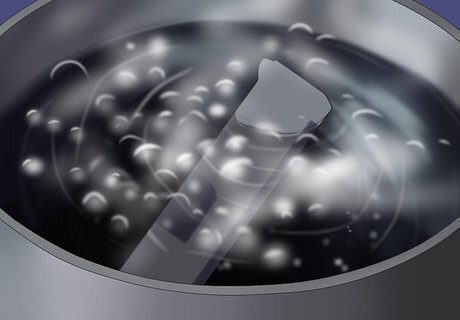
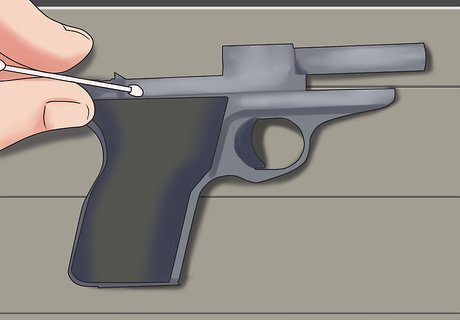
Immerse the gun parts in boiling water. This will boil off any remaining bluing solution residue. Simple parts need to be immersed for 5 to 10 minutes, while complex or ornate parts may need to be immersed for up to 30 minutes. If the gun has any soldered parts, you can apply a chemical to these parts that will color the soldering to match the rest of the metal. Use a cotton swab for this.
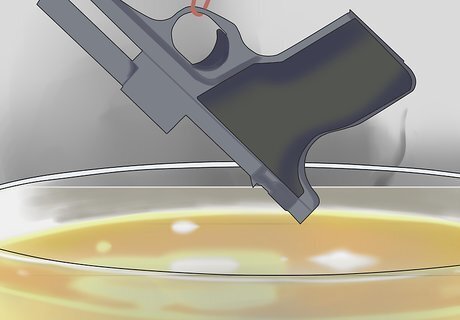
Immerse the treated parts in a bath of water-displacing oil. This will protect the finish from rust, sweat, and body oil. Leave the parts in the oil bath for 45 to 60 minutes, until they have cooled.
Rust Bluing
Polish the parts to be blued. Again, steel wool or 600 to 1200-grit sandpaper will work to remove any loose rust, scarring, or pitting from the gun metal. If you plan to remove the gun's finish from the factory before bluing, some recommend using a phosphoric acid-based automotive rust remover to do so. Others use white vinegar, which contains acetic acid, for this purpose.
Clean away any dirt, oil, or grease that remains chemically. The 19th-century gunsmiths who used this process likely did not have access to the chemicals used to clean gun metal for hot bluing, but the chemical cleaning improves the effectiveness of the bluing. You can use any of the chemicals described in the cleaning step for hot bluing and then rinse the cleaner off in the manner described in the rinsing step.
Coat the gun metal parts with a mixture of hydrochloric and nitric acid. The acid solution actually encourages the metal to rust, but to do so uniformly. Instead of coating the parts with the acid solution, you can instead place an opened container of the acid solution with the gun parts in a cabinet and seal it for a period of 12 hours. The acid evaporates from its container and condenses around the gun metal. This method is called fume bluing. Another variation is to coat the gun metal parts with the rust bluing solution and then put them into a fume cabinet (or, in this case, a damp cabinet) for the same 12 hours. Often, a first layer is applied as a primer before coating the parts a second time and then placing them in the damp cabinet.
Immerse the gun metal parts in boiling distilled water. This stops the rusting process by removing the acid solution.
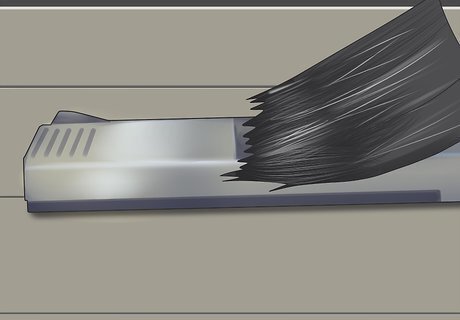
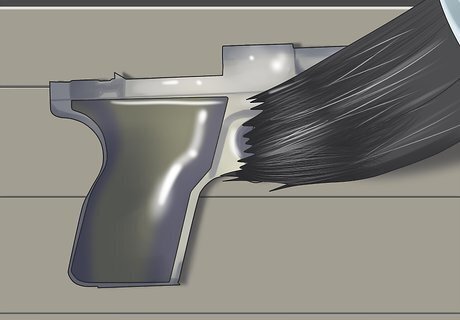
Scrub away the red oxide rust that has formed, leaving the black oxide finish underneath. The surface rust is normally removed with a carding brush or wheel, which features very soft and thin wire bristles.

Repeat the acid treatment, boiling, and scrubbing until you have achieved the desired level of bluing. In some cases, the metal may develop as deep a coloring as it can, making further bluing treatments unnecessary and ineffective.
Coat the gun parts with oil. The oil inhibits the formation of rust and protects the metal finish from dirt, sweat, body oil, and wear. Once you've applied the oil, let the parts stand overnight before assembling.
Cold Bluing

Polish and clean the gun metal. You can polish the metal with steel wool or sandpaper as you would with either of the other bluing processes, but how you choose to clean the metal depends on whether you plan to blue the entire gun or touch up existing bluing. If you plan to blue the entire gun, you may want to immerse the metal in a cleaning solution as described for the hot bluing process. If you plan to just touch up existing bluing, you can apply cleaning oil to the places where you want to remove the old bluing and prepare the metal for cold bluing. (The cleaning oil will dissolve existing bluing if applied excessively.) Use acetone on cotton balls to remove the cleaning oil. You may have some scarring from this process that will require sanding or polishing out.
Heat the metal gently. Although this process is called cold bluing, gently heating the gun metal before applying the bluing can help it absorb the bluing better and create a better finish. Heat the metal by leaving it out in the sun for several hours, with a heat gun or blow dryer, or in a conventional oven set to its lowest setting.

Apply the bluing solution. Slowly apply the solution to the area to be blued as evenly as possible, using a clean applicator. Apply the solution in a single pass to cover small areas, or in sections no larger than 2 to 3 inches (5 to 7.5 cm) when covering large areas, then smooth it out using steel wool. This will prevent the bluing from appearing mottled. For applying the bluing to large areas, old all-cotton T-shirts or new toothbrushes are recommended. For smaller areas, use a cotton ball, cotton swab, or flat toothpick no larger than the area to be covered. You can soak small parts like screws or hard to cover areas in the bluing solution. If you don't have enough bluing solution to soak a recessed area, put it in a clean spray bottle and spray it liberally on the part over a glass pan or plastic tray. After the part is completely covered, you can pour the overspray back into the bottle and reuse it.
Apply the solution several more times until you have the level of bluing you want. Apply each layer with a fresh applicator, and use a fresh piece of steel wool to smooth out each new layer. The more layers you apply the darker the bluing will be; however, each new layer is progressively less effective than the layer before it. Seven layers should be enough, in most cases, to achieve a dark blue-black finish. If you have spots that won't darken, start the process over by sanding the spots with 320 to 400-grit sandpaper before applying the solution again. Try to sand no more than the stubborn spots themselves.
Season the finish with gun oil once you have the level of bluing you want. Apply a layer of gun oil every few hours, using a cotton ball to remove the previous layer before applying a new layer. (In essence, you're washing off the bluing solution with the gun oil instead of with water.) Do not use the cleaning oil for this process, as it will take off the bluing you worked so hard to put on.


Comments
0 comment