views
Priming Your Eyes
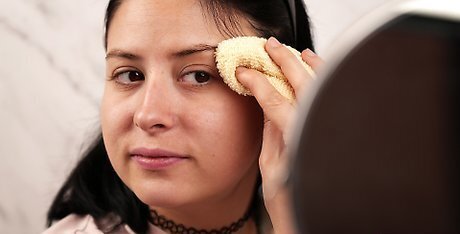
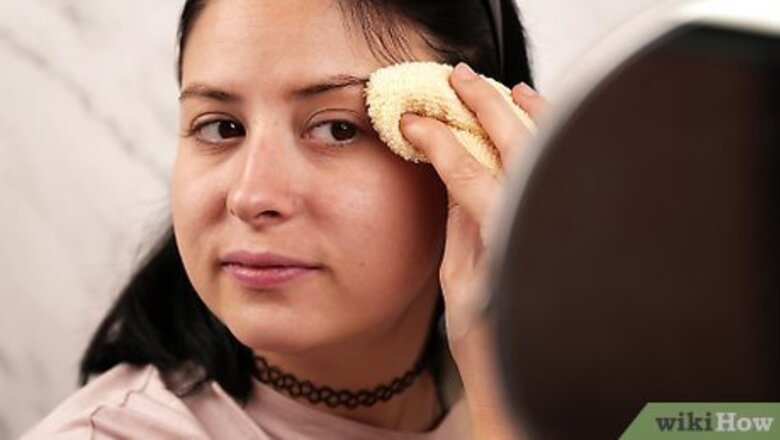
Wipe your eyelids with a damp washcloth to remove any dirt and oil. All you need is a little bit of water and a clean washcloth. Wet your washcloth in your sink using warm water, and gently rub the cloth over your eyelids.
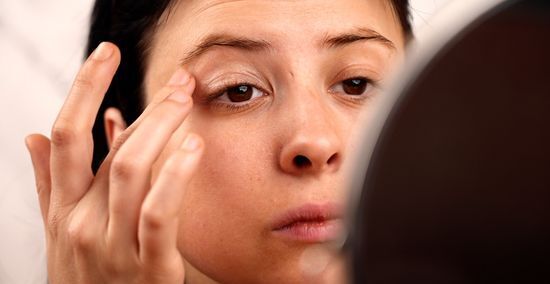
Use an eyelid primer so your eyeshadow stays on all day long. Squeeze a small dollop on your palm, and dab it onto both of your eyelids using your finger. Rub it in using your finger, and make sure to cover along your brow bone as well. A little bit of eyelid primer ensures your eye makeup looks neat and attractive all day! If you don’t have specific primer for your eyelid, you can apply facial primer to your eyelids as well as your face.
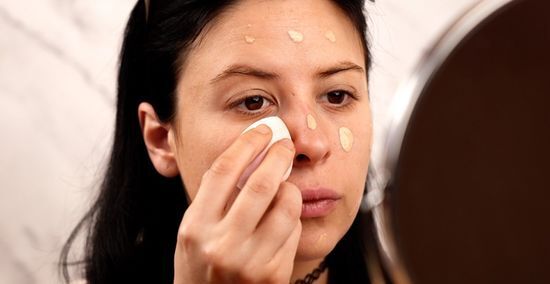
Apply a liquid foundation. If you have deep set eyes, you want to avoid shadowy areas on your face. To do this, apply liquid foundation onto your face, including on your eyelids and under your eyes. Foundation evens out your skin tone and brightens up your face. When selecting your foundation color, pick a shade that is closest to your natural skin color. If your concealer or foundation are too dark, it will make the dark circles under your eyes look deeper.
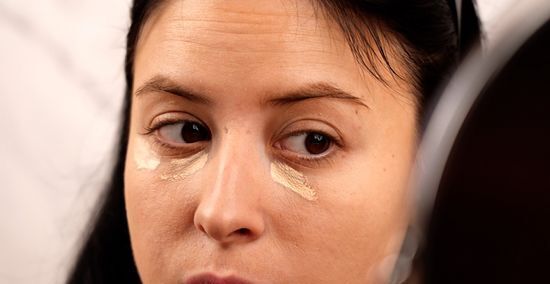
Cover dark under eye circles with concealer, if you have them. You can apply a small amount of concealer under both of your eyes after you apply foundation. Choose a color that is 1 shade lighter and slightly warmer than your skin color. Apply the concealer in a triangle shape below your eye for the most flattering look. Then use the pad of your finger or a makeup brush to pat the concealer until it's blended into your foundation. If you have fair skin, use a lighter peach-colored concealer to cover circles under your eyes. If you have a deeper skin tone, opt for a deeper orange. As an alternative, you could apply a yellow concealer across your entire lid for a brightening effect.
Applying Eyeshadow
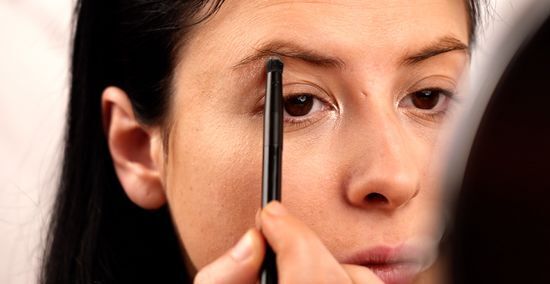
Dab a highlighting shade on your inner corners and along your brows. When applying eyeshadow to deep set eyes, you want to increase the appearance of highlights. Light colored eyeshadows add brightness to your face, toning down the appearance of contrasting shadows. Using your rounded brush or your finger, dab a bit of eyeshadow just past your tear duct. In addition, run your brush along your brown bone for extra highlight. You can use a shade like white, light pink, peach, or beige. Just make sure your highlighting shade is lighter than your skin tone. This adds a bit more highlight to your face, distracting from the natural shadow over your eyelid.
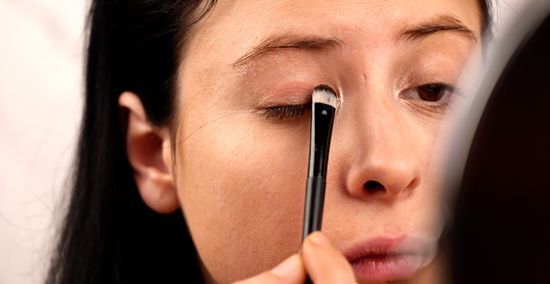
Apply a light-colored eyeshadow over your eyelid as your base shade. If you have deep set eyes, it is best to use light shade of eyeshadow. Dip your rounded brush into your shadow, and lightly dust your eyeshadow over your entire eyelid. You can gradually add more pigment to your eye by applying multiple light layers of shadow. Use eyeshadow colors like peach, pink, or golden brown, for example. If you want a bold look, select eyeshadow colors in highly saturated pigments like purple, blue, and pink. These bright colors will add a pop of color to your face, perfect when styling a bold, nighttime look. If you're worried the color looks too dark, you can dab a little white eyeshadow on the center of your lid and blend it into the color to lighten it. For an eyeshadow choice you can wear casually or professionally, choose neutral colors like tan, gold, or nudes. This adds a bit of color and shine to your eye, while still looking naturally beautiful.
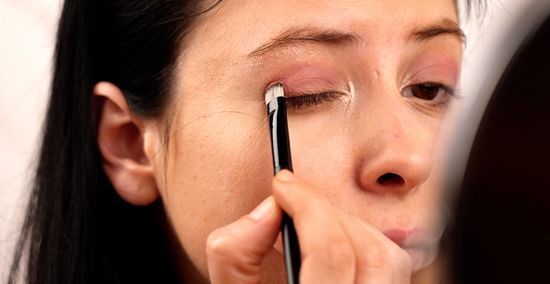
Use a darker shade on the outer corners of your eye. To add some interest to your eye makeup, you can add an additional shade of eyeshadow to your lids. Use your flat-edged makeup brush, and swipe a darker shadow over the outer half of the upper lash line, following the shape of your lid. Use colors like grey or navy blue for a neutral look, or go with a pop of color like purple or bright pink. Avoid putting dark shades of shadow directly to the crease of your eye. If you don’t have a brush handy, you can also use a cotton swab. Apply the darker shade with your pinky finger to easily run the shadow along your crease.
Using Eyeliner
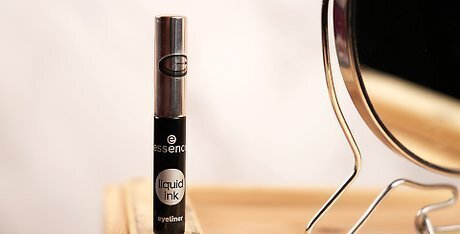
Choose between pencil liner or liquid varieties. Oftentimes, pencil eyeliner is easier to apply because you use it just like a writing utensil. Simply draw tiny overlapping lines along your lash line with a sharp pencil. Liquid liner is a popular choice because you can create smooth, precise lines. You essentially paint the line on with a thin applicator brush, rather than drawing it onto your eyelid. If you are just starting, try the pencil eyeliner until you are comfortable. You can use either eyeliner for both casual and nighttime looks. Alternatively, you can also use gel eyeliner. To apply, dip your applicator brush into the pot of pigment, and draw on your line with the brush.
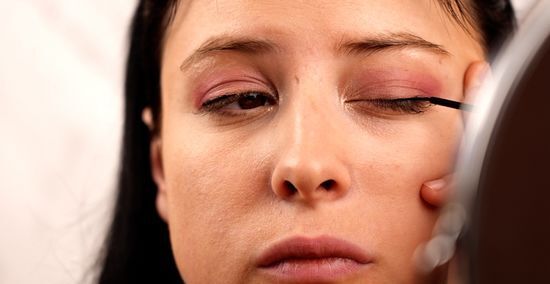
Start your line at the outer corner of your eye to frame deep set eyes. With deep set eyes, it is best to avoid applying eyeliner in the inner corner of your eye so your eyes look bright and open. Stop your line 1/2 or 2/3 of the way across your lid. Try to make as thin of lines as possible on your upper lash line. Lining your entire lid can make your eyes look small. Try skipping the liner on your bottom lid, and just use mascara on your lower lashes, instead. In addition you can apply eyeliner to your bottom eyelid starting at your lash line for nighttime looks. This adds a bit of depth to your eye, perfect for a night out!
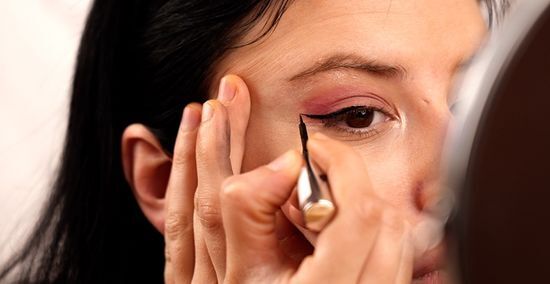
Draw a diagonal line from the outer corner to do winged eyeliner. After you’ve drawn your line on your upper lid, continue the line outward slightly. Angle your line upward so it points towards the end of your eyebrow. Then, use the same curve to draw the wing on your other eyelid so they are even. While this isn't required, it helps brighten up your eyes. It also looks great with nighttime looks! If you don’t get your wing right the first time, you can dab it with a cotton swab and try again. There are tons of online tutorials to help you if you get stuck.
Applying Mascara

Choose a mascara based on what kind of lash enhancement you’d like. Nowadays, there are many varieties of mascara to meet all of your lash needs. When applying mascara to deep set eyes, select a variation that adds definition and length to all of your lashes, like a voluminous or lengthening type. You can select waterproof varieties, if you’d like. Use a lengthening mascara if you have short eyelashes or want extra definition. Select a voluminous mascara if you want a full, sexy nighttime look. Go with a defining mascara for casual and professional styles.
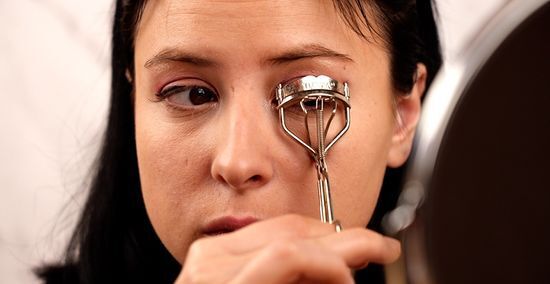
Use an lash curler before you apply mascara if you want extra lift. Eyelash curlers are small beauty tools that help give your lashes additional curl and definition. To use them, simply open up your curler, line it up with your top lashes, and press down to curl them. Hold the curler up to your eye for about 10-30 seconds, then release. Slide the curler halfway up your lashes and press again to create a softer curve in your lashes. Do this for both of your eyes, and they will look even more fabulous when you apply your mascara! Additionally, eyelash curlers make it easier to apply mascara because your lashes are already lifted. Avoid tugging on the eyelash curler when you use it so you don’t damage your eyes.
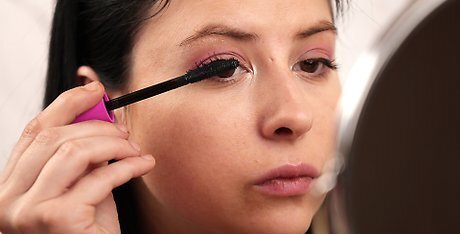
Place the applicator brush at the base of your lashes. When you are applying eyeliner, it is best to start close to the root of your lashes and extend the product to the tip. This creates definition between your lashes and increases the appearance of length.
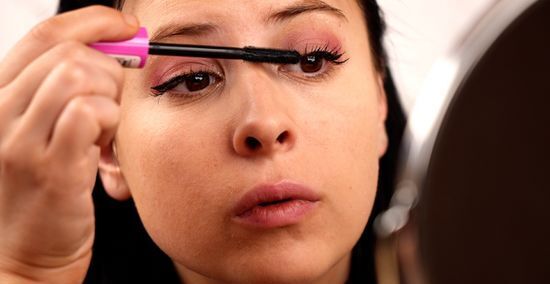
Move the applicator brush in a zigzag motion. After you place brush at the root of your lashes, simply wiggle it to the tips. Mascara helps your eyes appear more open and bright, which is helpful when you have deep set eyes. You can do this for both your upper and lower lashes.
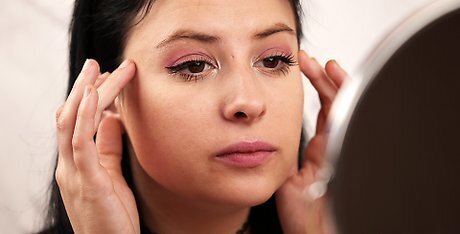
Apply a minimum of 2 coats so your eyes pop! After you apply your first coat, run your applicator brush through your lashes another time to get the ultimate lift. Place your brush near the roots of your lashes, and move it upwards to curl your lashes. For best results, avoid dipping your brush back into your mascara. This can make your mascara look clumpy. If you want to apply mascara to your bottom lashes, stick to the roots of the lashes. Extending the mascara to the ends of your bottom lashes can make you look like a doll.





Comments
0 comment