
- Rub your drawing with the side or tip of the blending stump to smooth transitions between light and dark values.
- Drag your blending stump in a single direction using short strokes to smudge the values and create small details.
- Use your blending stump over charcoal or graphite to darken and fill in gaps of paper still showing through.
Trying Different Techniques
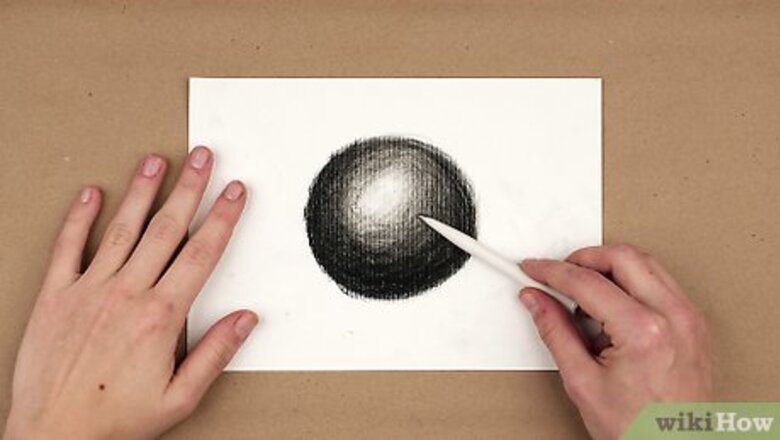
Rub the side or tip of the stump on your drawing to blend tones. If you want to create a smooth transition from light to dark shades, hold your blending stump at an angle. Start by blending areas of light value with the side or tip of the stump and work your way into the darker values to remove rough sketch lines or edges. Keep working the blending stump in small circular movements or short, straight strokes to soften the edges and blend the tones together. For example, try drawing a ball and shade it so it’s darker on one side and light on the other. Then, blend the light values into the dark values so the ball looks smooth and rounded. If you want to create a soft edge, push down on the tip of the blending stump to dull it. Then drag the tip of the stump across the paper to make the edge.
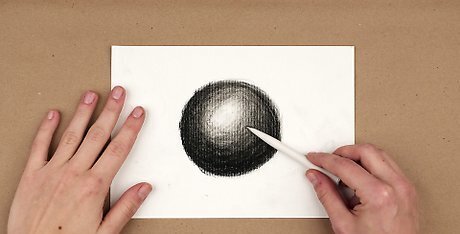
Dab your drawing with the tip of the stump to make detailed smudges. If you just want to soften a portion of your drawing or just blend a small area, push the tip of the blending stump into the charcoal or graphite. Gently move the blending stump in short, straight lines to create soft smudges and blend in hard lines.Variation: Create streaks or patterns by dragging the blending stump from the charcoal or graphite away from it. This will make the charcoal or graphite smear in any direction you like. For example, if you're drawing an eye, smudge the iris so it doesn't appear sharp or lined. You can also use short smudges between values to help mimic a woven pattern of fabric.
Spread graphite or charcoal with the stump to add soft shades. Press down with your graphite or charcoal more than you usually would while you’re sketching so a lot of material transfers to the paper. Then, rub the blending stump over the material so the graphite or charcoal transfers onto it. Rub the stump along the blank paper of your drawing to spread a lighter shade of the material and create depth. When your blending stump stops spreading material, rub the stump in the darker shade to keep applying more value to your image. For example, if you're drawing someone smiling with their mouth open, you might shade an even layer of a dark shadow inside the mouth and rub it with your blending stump. Then rub the stump near the corners of the mouth to add soft shadows where the skin creases.
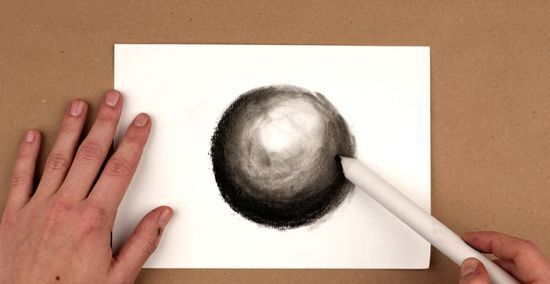
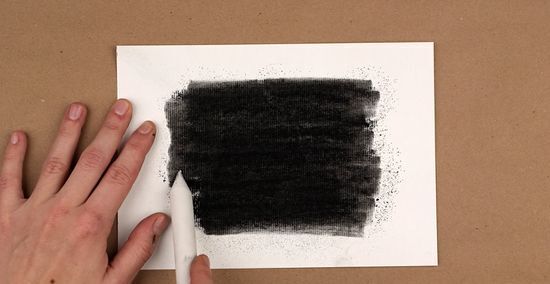
Rub the stump over thick material to completely darken the space. If you're using charcoal or graphite to draw something that appears black, tiny points of the white paper may still be visible through the shading. Take the side of your blending stump and gently rub it over the charcoal or graphite. The stump will move the material so it fills in the very tiny gaps in the paper. If you still see bits of white, try adding more charcoal or graphite before spreading it again with the blending stump.
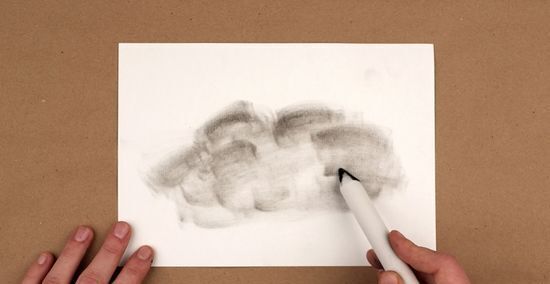
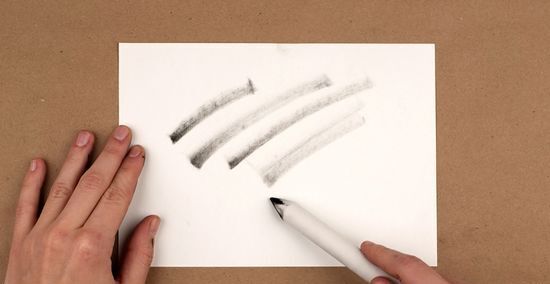
Draw with a dirty blending stump to create softer lines and edges. Instead of smudging or blending charcoal or graphite that's already on your paper, work with a dirty blending stump on clean paper. Apply graphite or charcoal onto a separate piece of paper, and rub the side of your blending stump in it. Then, use the tip and side of your blending stump on a fresh sheet of paper to draw. The dirty stump is already loaded with charcoal or graphite, so it will transfer the material to clean paper. For example, if you'd like to draw a wispy cloud or a shadow, use the blending stump as though it were your charcoal or pencil. Rub firmly to get the darkest shade, and reduce pressure when you want to have a lighter tone on your image.
Maintaining Blending Stumps
Wipe the blending stump on scrap paper to remove excess graphite. After using your blending stump, it will turn dark and hold onto the graphite or charcoal from your drawing. Rub the blending stump on a spare sheet of paper every few minutes to prevent it from dropping charcoal or graphite onto your paper. The excess graphite or charcoal will transfer to the scrap paper instead of your drawing.
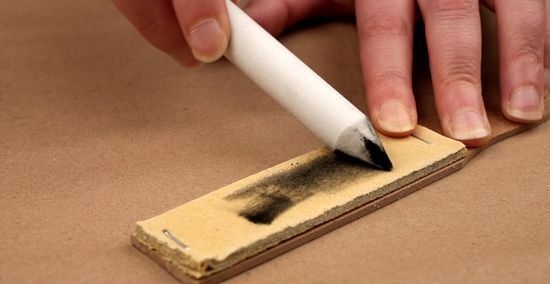
Rub the blending stump against fine-grit sandpaper to clean it. After a few uses, your blending stump will darken as it's loaded with more charcoal or graphite. Lay a piece of fine-grit sandpaper down with the abrasive side up. Rub the tip of the blending stump against the sandpaper until you remove all the darkened areas and reveal a clean layer of paper.Tip: Try using a nail file if you need to lightly clean your blending stump. A nail file may be easier to handle than a sheet of sandpaper. You may try using coarse-grit sandpaper to clean your blending stump more quickly, but it may fray the edges.
Sharpen the tip of the stump with a craft knife. When the tip of the blending stump gets dull or flattens out, hold the tip against a cutting board so it points away from you. Carefully cut the end of the tip with the craft knife, moving the blade away from you. Continue slicing off the end of the stump until it comes to a sharp point at the end. Toss all the pieces you cut off into the trash. Work slowly so you don’t accidentally cut yourself.
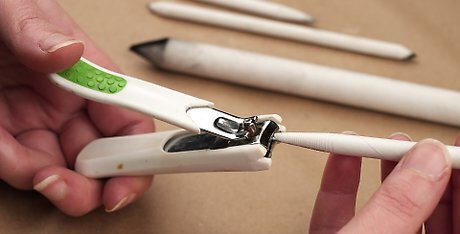
Clip frayed tips with a nail clipper. As you use your blending stump, the tips and sides of the may fray and tear apart. Take a pair of nail clippers and trim the frayed ends as close to the blending stump as you can. Alternatively, slice off the fraying ends with a craft blade. Work slowly, hold the blending stump steady, and move the blade away from your body so you don't cut yourself.
Use different blending stumps based on the drawing material. If you rely on just 1 blending stump, it will become dirty faster and wear out quickly. Instead, alternate between 2 or 3 blending stumps depending on what drawing medium you’re using and what colors you were blending. For example, use 1 blending stump for dark values. Since you don’t want to smudge lighter areas of your drawing, use a different stump for the light or medium values. When you need to blend tight detailed areas of a drawing, use a tortillon with a finer point instead of a blending stump.
Making a Blending Tool
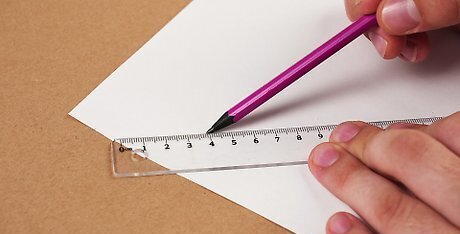
Cut a piece of paper diagonally 1 in (2.5 cm) from the corners. Measure 1 in (2.5 cm) down one side of your paper. Then, flip your paper and measure 1 in (2.5 cm) down on the opposite side. Draw a line between the 2 points with a ruler and use a pair of scissors to cut along the line. A standard sheet of paper makes 2 blending stumps.
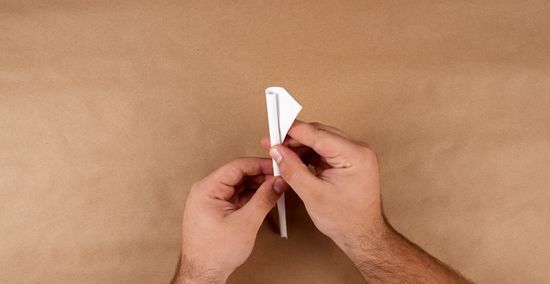
Roll the paper as tightly as possible from the short end to the wide end. Start on the shortest side and tightly roll the paper to start making your blending stump. Slowly continue to roll the paper until you reach the opposite side. Pinch the edge of the paper once you finish rolling it so it doesn’t come undone.
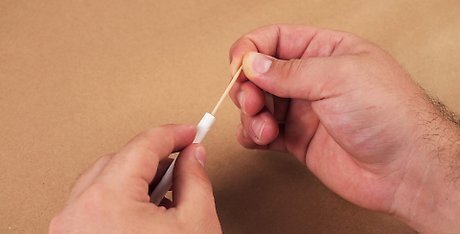
Stick a toothpick inside of the roll to form a point on the stump. Poke into one end of the tightly rolled paper with your toothpick. As you push the paper, it will naturally form into a pointed rip on the other end. Once the stump forms into a solid tip, take out the toothpick. If you don’t have a toothpick, try poking the paper with the tip of a pencil.
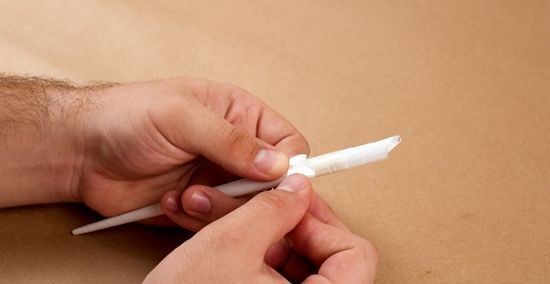
Tape the rolled paper to secure it. Rip a few short strips of tape off the roll and wrap it around the base of your drawing stump. Place another strip along the loose edge of the paper to hold it down.
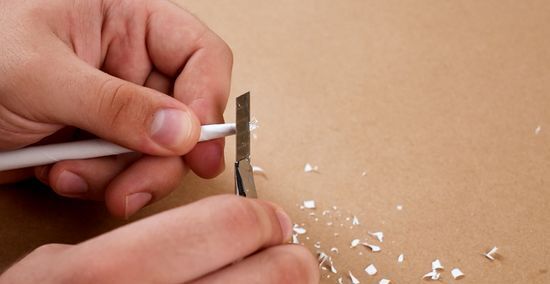
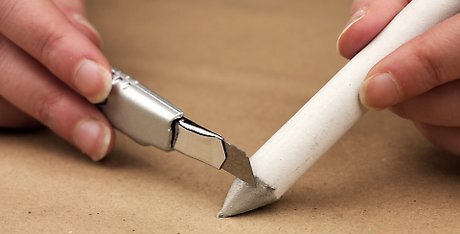
Sharpen the end of the stump with a craft knife. Point the tip of the blending stump away from you, and cut away the outer layers of the stump. Continue slicing layers of paper off the stump until it forms a sharp tip. Once you’re finished, you’re ready to use it for shading your drawings. Whenever your blending stump gets dirty or dull, re-sharpen it with your craft knife again.


Comments
0 comment