views
- Drill a small hole on the side of a die opposite of the number you want to favor. Insert a nail or lead pellets, glue the hole shut, and paint it over to hide your work.
- Melt a die by placing it on a foil-covered baking tray with a favored number facing up. Heat the die for 10 minutes at 250 °F (121 °C), then drop it in icy water to cool it.
- Drill and hollow out a die, filling it with paraffin, coconut oil, and pellets. Seal and paint it, then hold it to melt the contents so pellets sink to one side, changing the center of gravity.
Drilling Dice
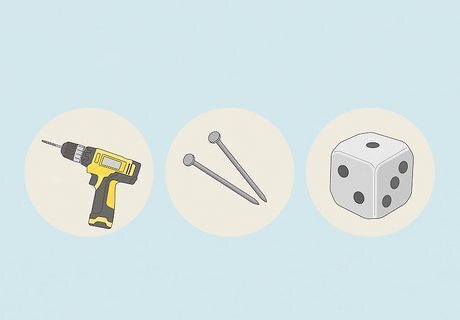
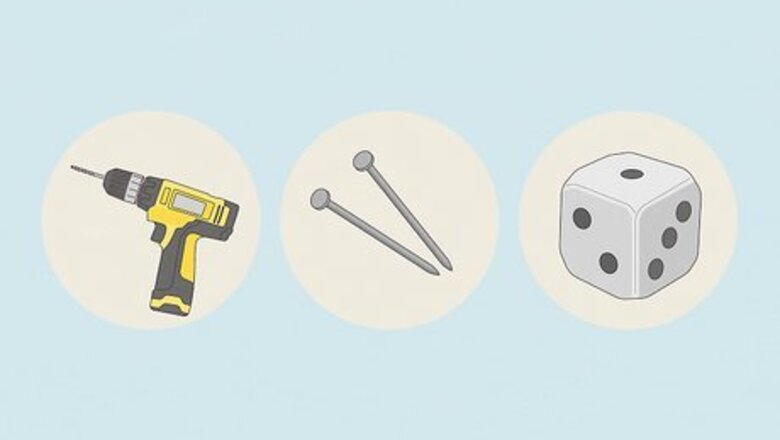
Obtain an electric drill, drill bit, nails, and package of 10 or more dice. Choose a “micro” drill bit sized 1/32 inches (0.8mm) or smaller. Buy nails that are smaller than the dice dots. You’ll use this drill and nails to weight the dice. Purchase super glue and white paint to cover drill marks. Buy a large package of dice so you can practice drilling and weighting them. You can purchase a small electric drill online for under $100, or rent one from a local hardware store. For simplicity, opt for a drill that takes ¼ inch (.63 mm) “hex” style drill bits. Your drill bit needs to be smaller than the dots on your dice. 1/32 inches (0.8mm) should be small enough for most dice. You can use small lead pellets instead of nails. Both are effective for weighting dice.
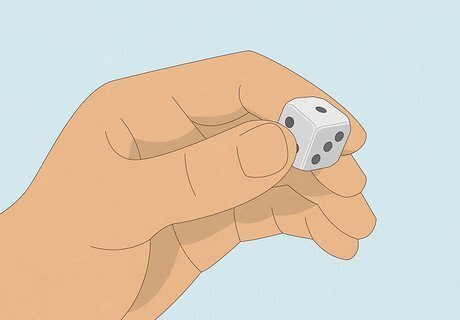
Find the face on the die opposite to the number you want to “favor.” This is the face you’ll drill into. For instance, if you want to favor the number 6, you’ll be drilling into the face showing the number 1, on the opposite side of the die. If you want to favor 5, you’ll drill into the 2-face. For 4, the 3-face. Choose a number that’s advantageous in the dice game you want to play. For example, in craps, you can make a one-roll bet on getting a 12—that is, rolling 6 and 6 with two dice. To maximize your chances, drill into the 1-face on both dice to favor the number 6. In theory, favoring any number gives you an advantage over your opponent (as long as they don’t know the dice are weighted) since you can predict which numbers are more likely to be rolled.
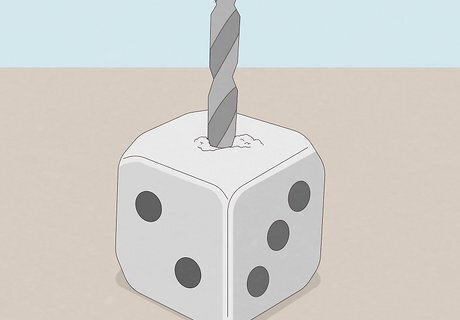
Drill straight into the center of the face you selected. Make the hole as small and round as possible, keeping the edges of the hole smooth. Carefully drill about halfway through the die. Depending on the side you chose, the center might be on the white surface (like for the "2" side, for instance), or it might be on a black pip (like for the "5" side). Clamp the die in a vise to protect your fingers. It’s best not to hold the die while you drill, since this could lead to injury.
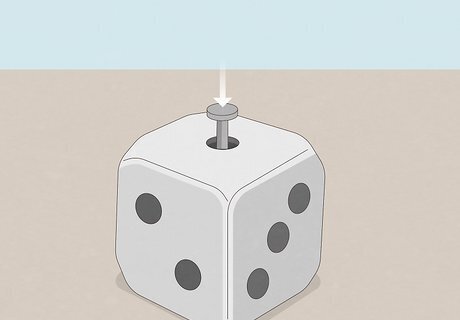
Insert a small nail or 3-4 lead pellets into the hole. Use a 1/32 inch (0.8 mm) nail or pellets that are the same diameter as your hole, or smaller—otherwise, they won’t fit. Use wire cutters to snip the end of the nail if it’s too long to slide completely into the die. If you use lead pellets, use a needle to push them into the hole. If you use a nail, use a metal file to file down the end of the nail so it doesn’t stick out of the die.
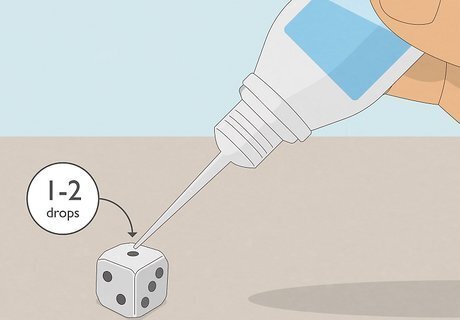
Insert 1-2 drops of super glue into the hole. This will glue the nail or pellets in place. Use enough glue to plug the hole completely, then let it dry according to the directions on the glue container. Once it’s dry, use fine-grain sandpaper to smooth out any bumps caused by the glue. Position the die hole-side down as the glue dries. This helps the glue and nail (or pellets) settle near the face, keeping the weight off-center. Place the die on two flat parallel toothpicks as it dries so that the hole is not flush against any surface. This prevents it front getting stuck to something. If some of the glue drips from your die's hole, that's okay. You'll be able to fix that later on in the process.
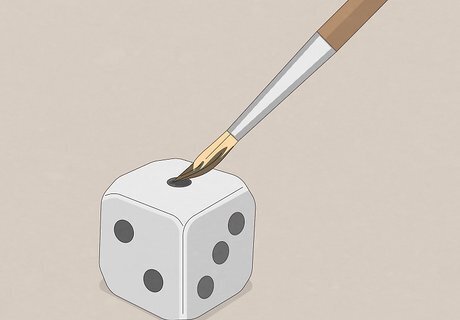
Paint over the hole with white or black paint. Use white paint if you drilled into the white part of the die, or black paint if you drilled into one of the dots. Choose paint that matches the die’s color exactly. Paint carefully to ensure the finish die looks normal. Use a fine-tipped brush to paint black dots. Your dots will need to match the others on the die, or else it will be obvious that the die has been tampered with. Test the color of your paint by first putting a small amount on another die and letting it dry. Make sure the dry paint matches the die. If not, you’ll need to use different paint that matches.
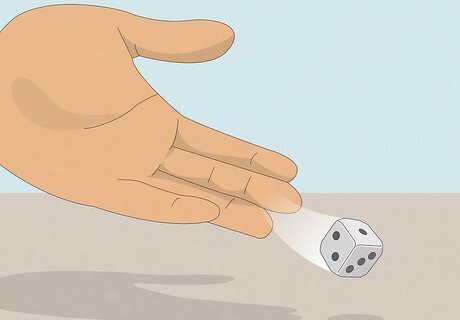
Test your die by rolling it many times. Once the paint is dry, roll your die a few dozen times to see how often your number comes up. If the die is properly weighted, your number should come up more than ⅙ of the time. So for instance, if you drilled on the 1 side and you roll your die 120 times, you should roll a 6 more than 20 times. The more times your roll, the more certain you can be that the die is biased in favor of your number. If your die doesn’t seem to be biased in favor of your number, drill another die and add more weight to one side. For example, you could add more lead pellets.
Melting Dice
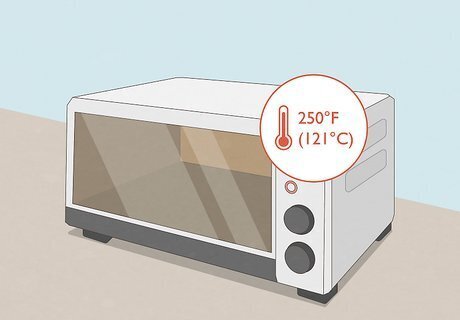
Preheat your oven to 250 °F (121 °C) and put aluminum foil on a baking tray. Then place a die on the baking tray with the number you want to favor facing up. For instance, if you want to roll a 6 more often, place the die with the 6-side facing up. If you don’t have a full-sized oven, you can use a toaster oven, as long as you can precisely set the temperature to 250 °F (121 °C). Open windows and doors, or turn on your kitchen’s range hood to ventilate the area. This will dissipate the smell of melting plastic. Avoid setting the temperature higher than 250 °F (121 °C) to prevent the plastic from burning or melting too quickly. Don’t a microwave to melt dice, as the plastic is more likely to warp or melt in strange ways.
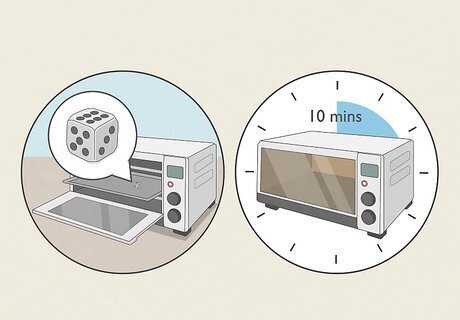
Place the tray with one die in the oven for 10 minutes. Be sure to watch the die closely the whole time, and remove it after 10 minutes. Remove the die from the oven and let it cool for 15 minutes. If the plastic starts to burn or bubble, or if the die begins changing its shape, remove the die immediately using an oven glove, then lower the temperature by 10°F (or 5 °C) and try again.
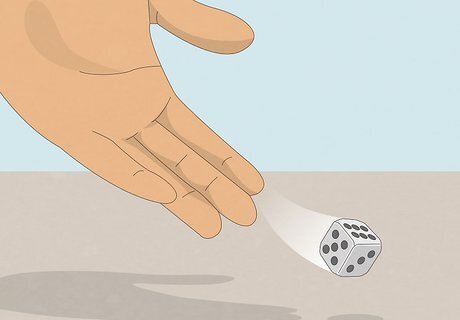
Roll the cooled-down die a few dozen times to test it. The die should have the exact shape and color as it did before, but it should land on your number more often than ⅙ of the time (because by slightly melting one side, you've changed the center of gravity on your dice). The more you roll the die, the more confident you can be that it’s biased in favor of the number you chose. For example, if you melted the die with the 6-side facing up, you should roll a 6 more than ⅙ of the time. So if you roll the die 120 times, you should roll a 6 more than twenty times (and a 1 less than twenty times). If all the numbers seem to be coming up ⅙ of the time, the die was not weighted right. Try melting a new die, leaving it in the oven for an extra minute.
Variable-Load Dice
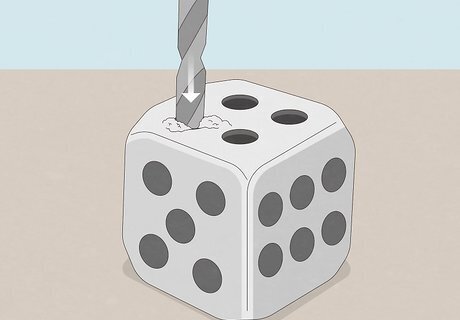
Drill out several dots on one face to access the inside of the die. This will allow you to hollow out a portion of the inside without altering the die’s outward appearance. Choose a side with many dots, like the 4, 5, or 6-side, drilling deeply and carefully to avoid cracking the die. You can also drill out dots on an additional face to make it easier to access the inside of the die during the next steps. But this increases the chance of cracking or damaging the die. Drilling the dots takes practice. Don’t worry if you break a few dice before getting it right.
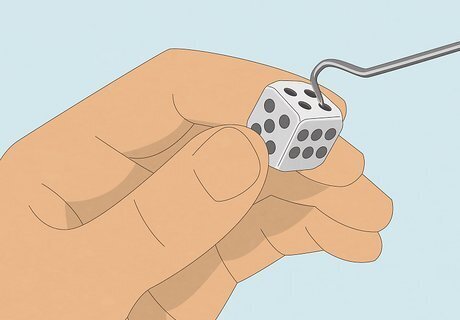
Use a curved metal pick to hollow out the inside of the die. Stick the metal pick through the drilled holes and gently scrape out the interior of the die a little bit at a time. Use different holes to scrape out material from different angles. Continue until the die is a hollow cube, with the sides of the die forming the walls of the cube. Use a dentist’s pick or similar tool to remove the material inside the die. The walls of your hollow die will be thin and fragile. To avoid crushing it, hold it lightly between your fingers as you remove the material inside. The goal here is to create hollow space near each side of the dice. Eventually, this is how you'll allow weights to reach the side of the dice you want to have the advantage. So if you don't scrape enough of the die on a given side, you might not have a reliable trick dice. For this step, it pays to be thorough!
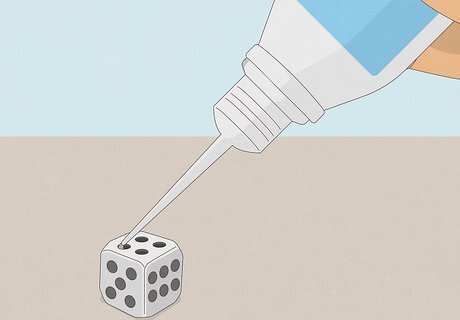
Use super glue to plug all the holes but one. Smear some super glue over the holes and let it dry, leaving one hole open. Once the glue is fully dry, use fine-grained sandpaper to smooth out any bumps or uneven surfaces left by the glue. Don’t pour glue into the holes directly. The inside of the die should remain hollow so that you can add weight to it later on.
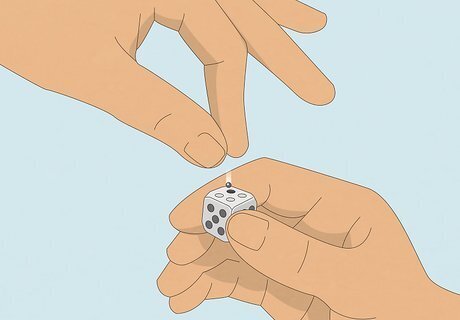
Drop a few lead pellets through the hole you left open. Use a food scale to make sure to check the weight of the die, and keep adding lead pellets until it weighs roughly 0.5 g (0.018 oz) less than the original. The remaining weight will be added later on. Weigh another unmodified die on the food scale, then add pellets to your die until its weight matches that of the unmodified die. Use a food scale that’s sensitive to 0.1 g (0.0035 oz). Dice are made with a precise weight, depending on their size and material, so you’ll need a scale that can measure tiny differences in weight.
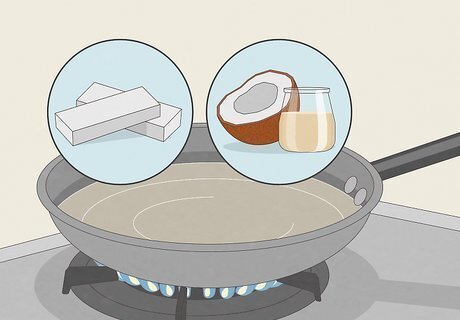
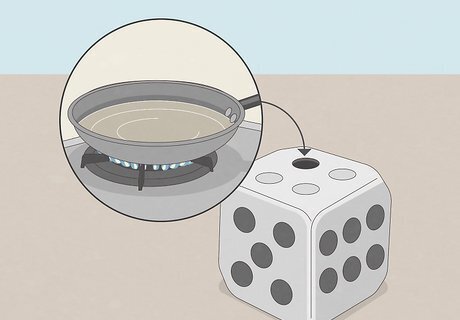
Mix paraffin and coconut oil in a saucepan over a stove. This mixture will be added to your die to hold the bearings in place. Add 5 oz (141 g) of paraffin to a saucepan and melt it over low heat. Then add 4 oz (113 g) of coconut oil and mix thoroughly. Transfer the mixture to a bowl and let it cool and harden. Once the mixture has cooled, test the consistency by holding a penny-sized amount in your hand and letting it melt. The heat from your hand should melt the mixture in 10-20 seconds. If the mixture doesn’t melt, heat it again in the saucepan and add another 0.5 oz (14 g) of coconut oil. If it melts almost instantly (or never fully solidifies) , add 0.5 oz (14 g) paraffin. Cool and test it again until the melt time is 10-20 seconds.
Add the coconut oil and paraffin mixture to your die. Pinch a small amount of the mixture between your fingers and place it over the hole in your die, letting it melt and seep into the hole. Do this again until the die is completely filled. Then weigh your die to make sure its weight matches that of the original unloaded die to within 0.1 g (0.0035 oz). In other words, if the original die weighed 10.5 g (0.37 oz), your weighted die should weigh between 10.41-10.59 g (0.367 - 0.374 oz).
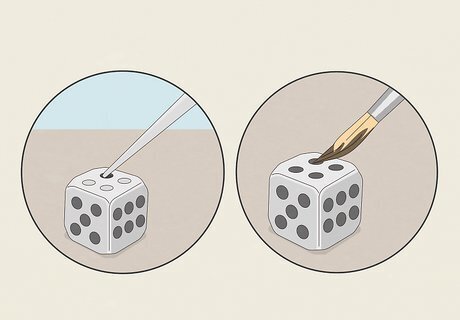
Seal the last hole with super glue and let it dry. Fill in any cracks, gaps, or leaks caused by your drilling. Once the glue dries, wipe away any oil residue and sand down any bumps left by the glue. Carefully paint the die so that the white surface and black dots look as they did originally. Use an unmodified die as a reference to make sure the shape, color, and appearance match perfectly.
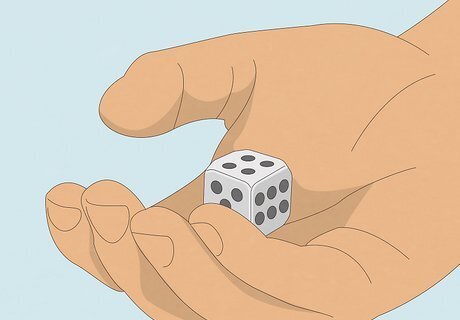
Test your die by warming it in your hand, then let it sit for 5 minutes. Leave it sitting with your desired number facing up. The material inside will melt, allowing the lead pellets to sink to the side opposite of the number you chose when let it sit and resolidify. After 5 minutes, roll the die a few dozen times. Your number should come up more than ⅙ of the time. So if you let the die sit with the 1 facing up, and then roll the die 60 times, you should roll a 1 more than 10 times. The more times you roll, the more confident you can be that the die is weighted properly. If the die doesn’t seem biased in favor of your number, melt its contents in your hand again, then let it sit for 10 minutes before rolling. You may need to load several dice this way until you find a few that work as expected.








Comments
0 comment