

- On a Mac, take a full screen screenshot with "Command + Shift + 3". For part of the screen, use "Command + Shift + 4".
- On Windows, hold the Windows key + "Print Screen" to take a screenshot. Otherwise, press "Print Screen", then paste into Microsoft Paint.
- On a Mac, screenshots will be saved to your desktop. On PC, they are saved to the "Screenshots" or "Pictures" folder.
Using the Keyboard Shortcut (Windows)

Prepare your screen for a screenshot. Using Print Screen can save a screenshot of your entire screen or a section of it. If you want to take a screenshot of an active window only, click the window. This method will only work if you have the proper hardware. Otherwise, you'll need to use the next method.
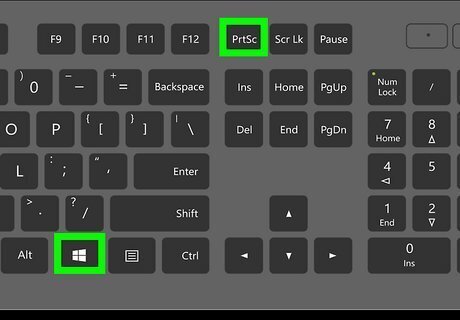
Take the screenshot. Press the Windows logo key + Print Screen (PrtScn) at the same time. If you want to take a screenshot of a section of your screen, press the Windows logo key + Alt + Print Screen(PrtScn) at the same time. If your device does not have a PrtScn button, you can use Function(Fn) + Windows logo key + Space Bar.
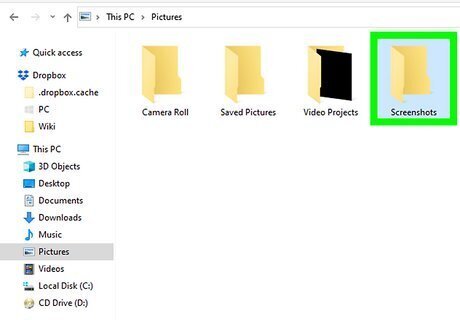
Locate your screenshot. Open the File Explorer and navigate to the Pictures folder. You can find your screenshots in the Screenshots folder. If you do not see a Screenshots folder, you'll need to use the next method to save your Print Screen.
Pasting a Print Screen (Windows)

Navigate to a screen that you want to screenshot. Open a page or go to a screen that you want to save as an image file. If you want to copy an active window only, click the window.
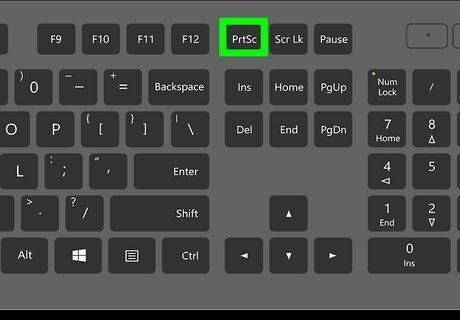
Press the "Print Screen (PrtScn)" key. To copy only the active window, press Alt + Print Screen (PrtScn).
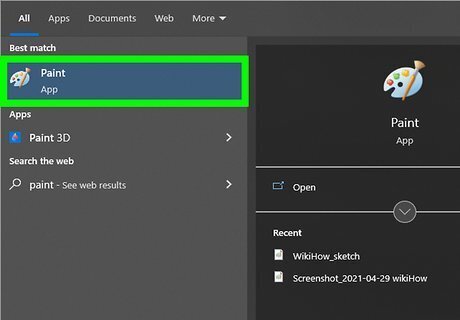
Open Microsoft Paint. You can use Microsoft Paint to edit and save your Print Screen image. You can also use an Office program. Paint should be an included app in your Windows device. If you don't have it, you can download it.
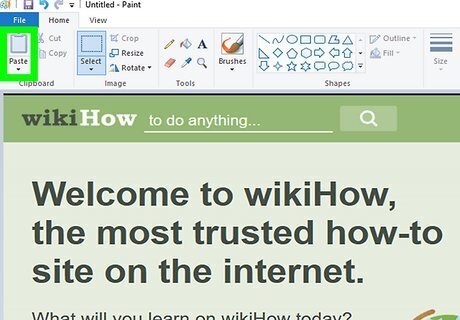
Paste the image into Paint. Press CTRL + V to paste. Your Print Screen image should appear in the application. If needed, you can use Microsoft Paint to crop the image.
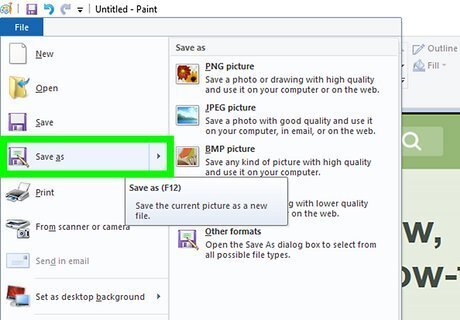
Save the image. Click File in the top-left corner, then Save as. Name your Print Screen image. Click the field next to Save as type to change the file type. In most cases, you should use JPEG or PNG for image files. Select a save destination, then click OK to save. You can also use the keyboard shortcut Ctrl + S to save.

View your Print Screen image. Double-click the image in the save destination. It should open in your default image viewer.
Taking a Screenshot (Mac)
Navigate to a screen that you want to screenshot. Open a page or go to a screen that you want to save as an image file. You'll be able to screenshot your entire screen or a section of your screen.
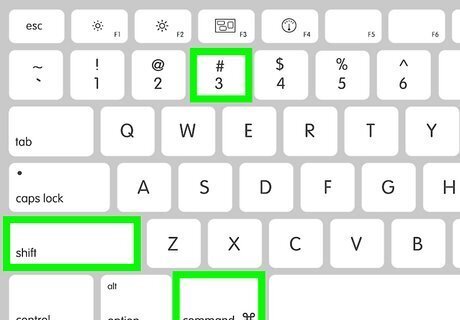
Take the screenshot. Press and hold Command + Shift + 3 at the same time. This will take a screenshot of your entire screen. To capture a portion of your screen, press Command + Shift + 4. The cursor will change into a crosshair. Click, drag, and release to capture the portion of the screen you want to save. To capture a specific Mac window, press and hold Command + Shift + 4, then press Space. The crosshair cursor will change into a camera icon. Hover over a screen to highlight it, then click to take the screenshot.

Locate your screenshot. On a Mac, screenshots will be saved to your desktop in the format Screen Shot [date] at [time].png. Double-click the screenshot to open it.


Comments
0 comment