
Makar Sankranti is right around the corner. It is celebrated with great pomp and grandeur across the country. This is the harvest festival, when people gather to make special dishes, fly kites, donate money, and worship the Sun God. It is usually celebrated on January 14 every year. Makar Sankranti, on the other hand, falls on January 15 every leap year. This year, the much-awaited festival will be observed on January 15.
Makar Sankranti, known by various names throughout India, marks the Sun’s transit into the Makara Rashi or Capricorn sign.
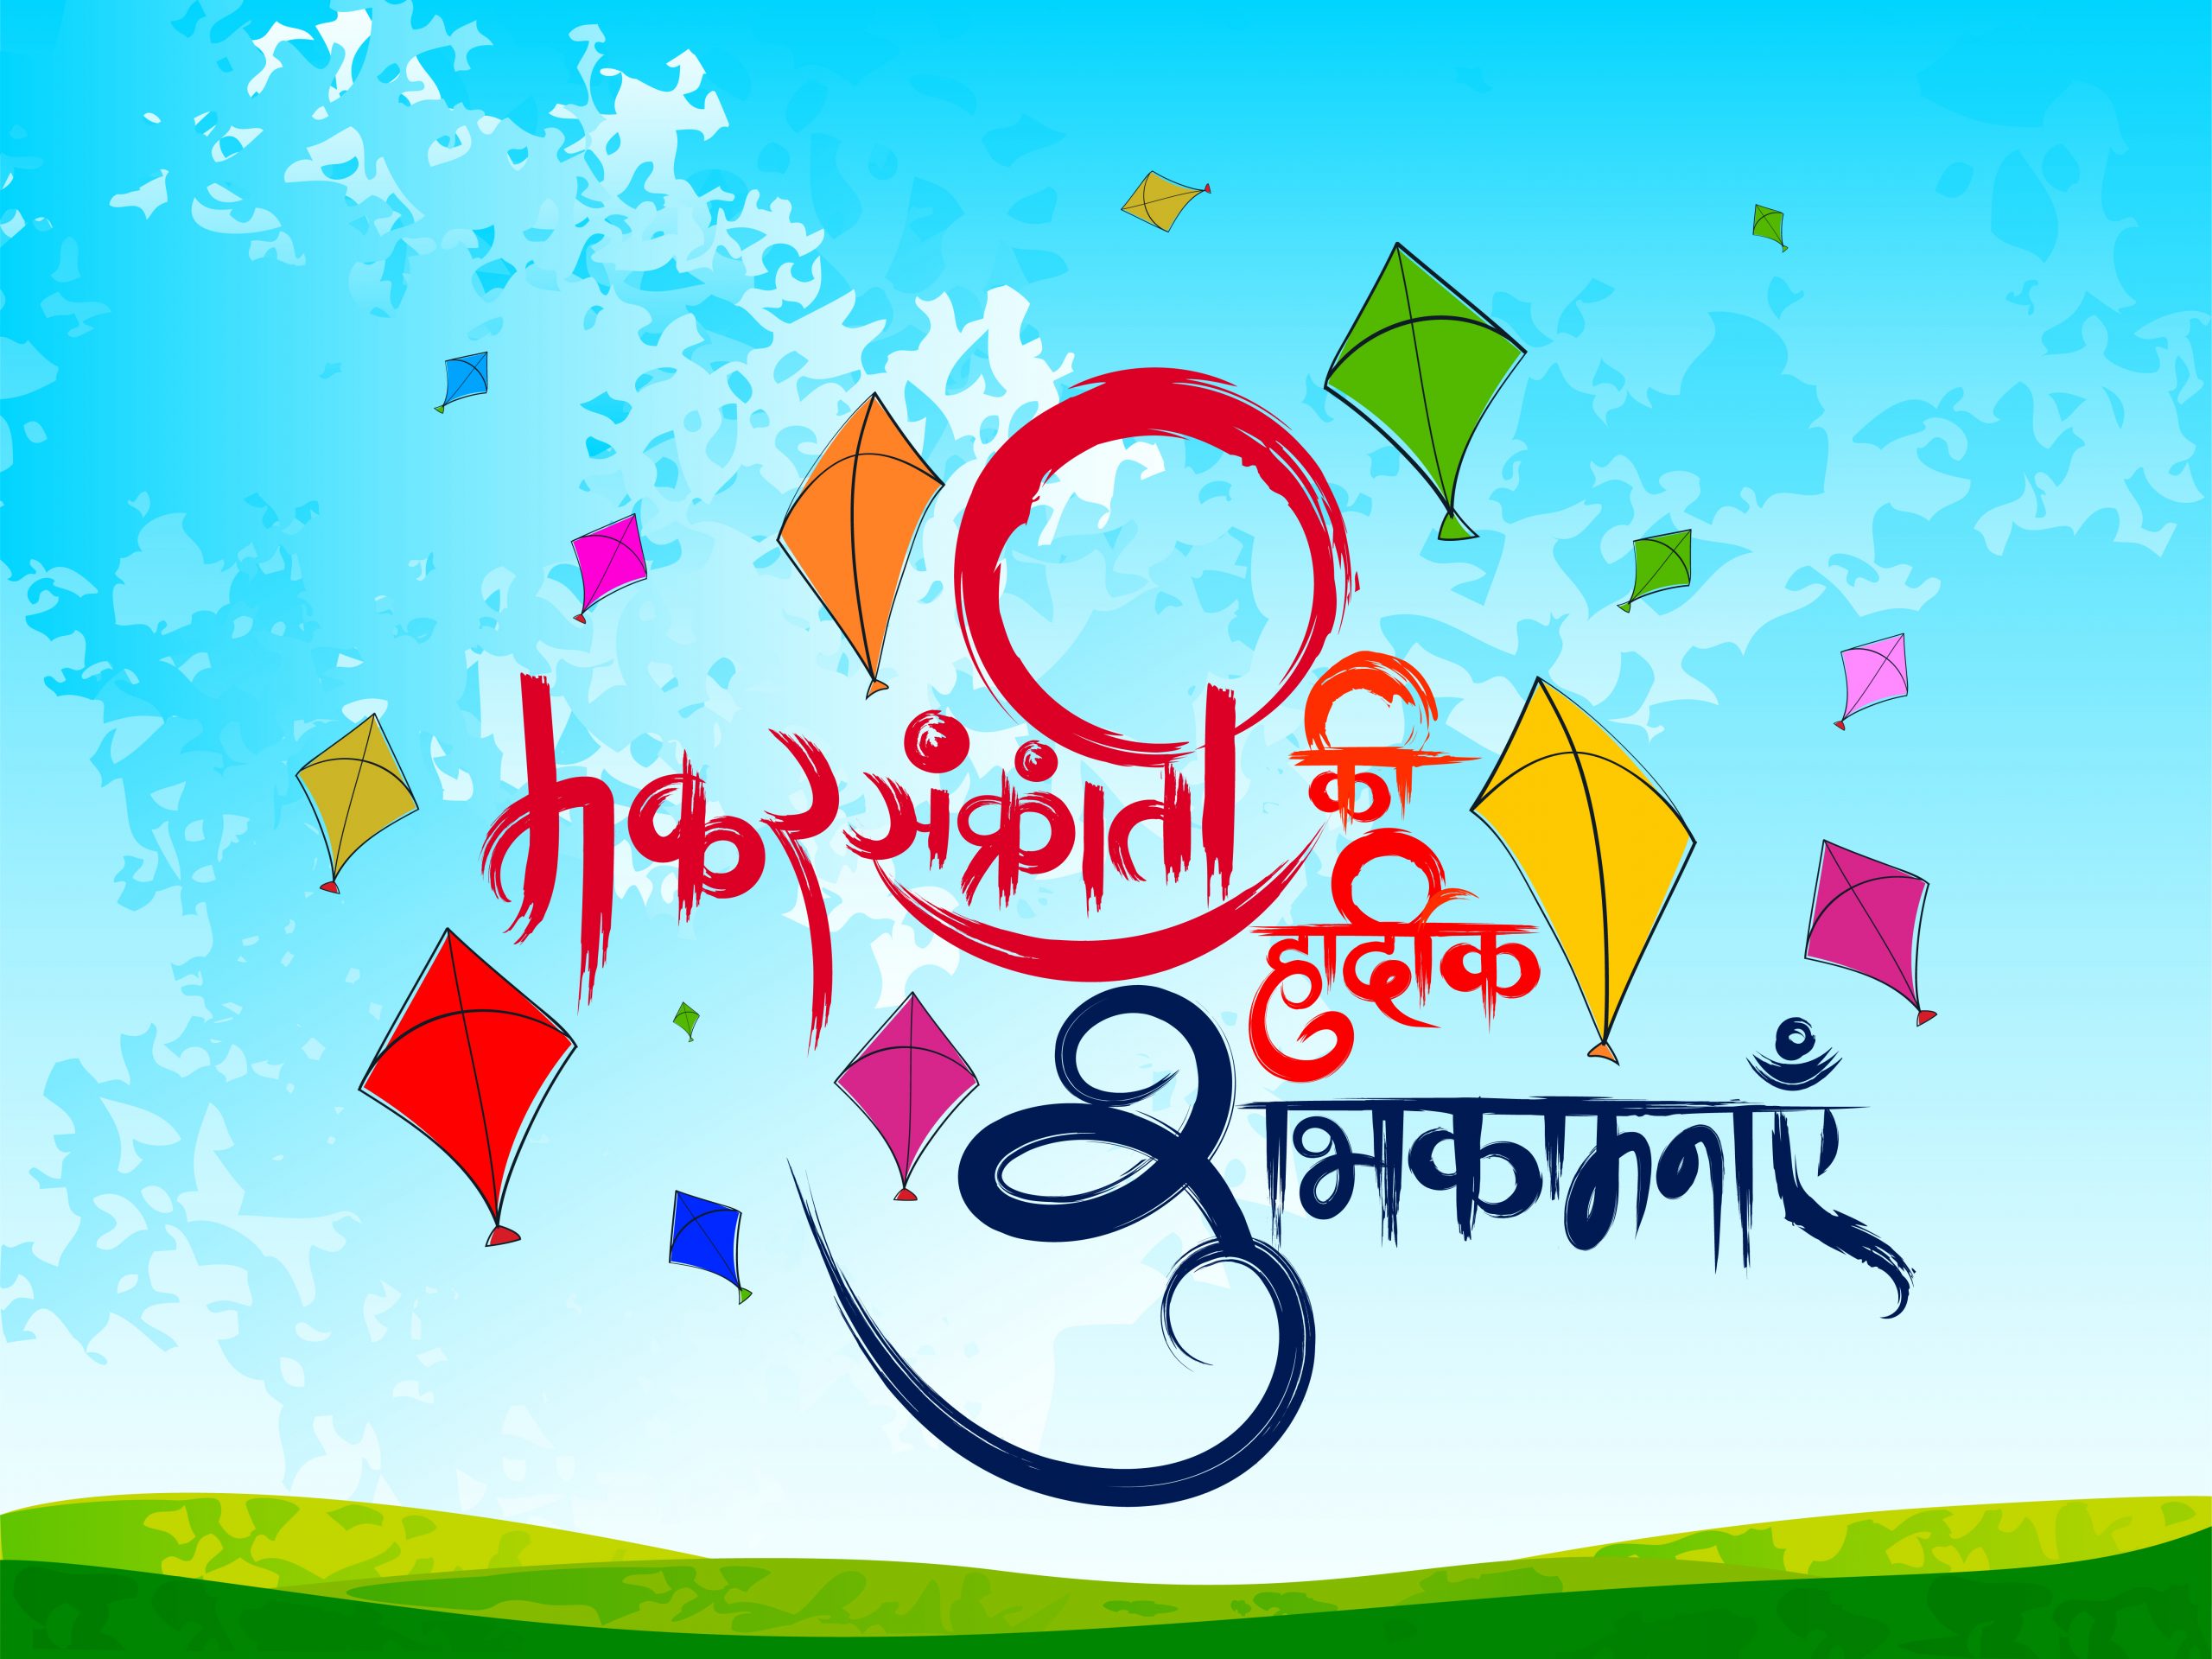
Makar Sankranti 2024: Tradition Of Kite Flying
The tradition of flying kites during Makar Sankranti is popular throughout the country and has recently spread to other parts of the world. However, this festival not only brings fun and excitement but also has several health benefits.
Flying kites provide us with healthy exposure to the Sun in the mornings and early sun rays are known to be high in Vitamin D. Because winter brings a lot of illness, sun rays are known to cure it all.
Makar Sankranti brings prosperity, joy, and hope for a better tomorrow. The Kite Flying Festival, on the other hand, is a great way to celebrate traditions with your loved ones.
The kite festival is a concept in which people gather to compete in kite flying competitions and games. This is the day when colourful kites fill the beautiful blue skies. Several people gather to watch the show and showcase their kite-making skills as well.
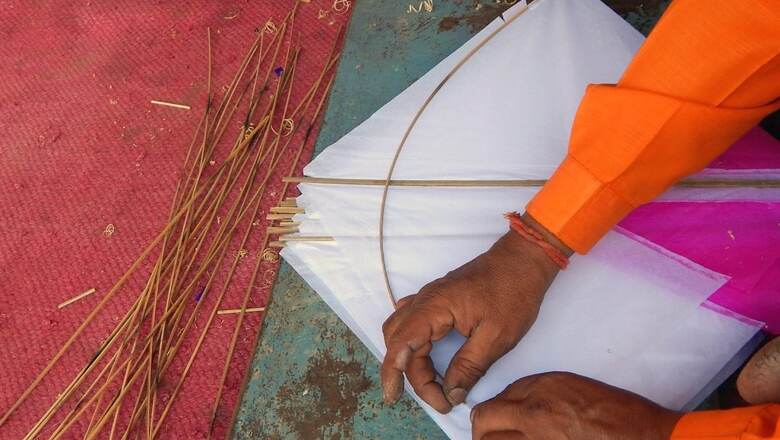
Makar Sankranti 2024: Step-By-Step Instructions For Making A Kite
- Cut wooden sticks into 20- and 24-inch lengths to form the kite’s basic structure and provide support as it cuts through the air.
- Make small cuts on the rounded ends of wooden sticks.
- Place both sticks in position, mark 6 inches on the 24-inch stick, and place the other 20-inch stick to form a T shape. Use tape or string to secure the joint between the two sticks.
- Next, wrap the string around the ends of the sticks and make sure it goes through the horizontal cuts on both ends of the sticks. The basic design of a diamond-shaped kite is visible once the string has passed.
- Keep the frame on top of the newspaper or colourful glazed paper that you have placed on a level surface.
- Make sure the joint between the paper and wooden stick is sturdy by folding the edges and taping them in place. Keep in mind that the kite will only take off when air passes through the sticks and paper.
- Cut 24 inches of string or manjha and tie it to the kite’s top and bottom edges.
- Create a ribbon tail, attach it to the kite’s bottom end, and make it colourful. Once this is completed, the kite is ready.


Comments
0 comment