views
- See if the self-adjuster is working by driving and stopping in reverse and engaging the parking brake several times.
- Start the manual adjustment process by safely jacking up the rear axle of the vehicle and removing the rear tires.
- Tighten the drum brakes by rotating the internal star wheels with a brake spoon, then put everything back and do a test drive.
Test the self-adjuster.
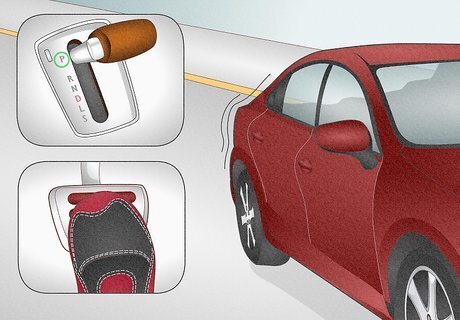
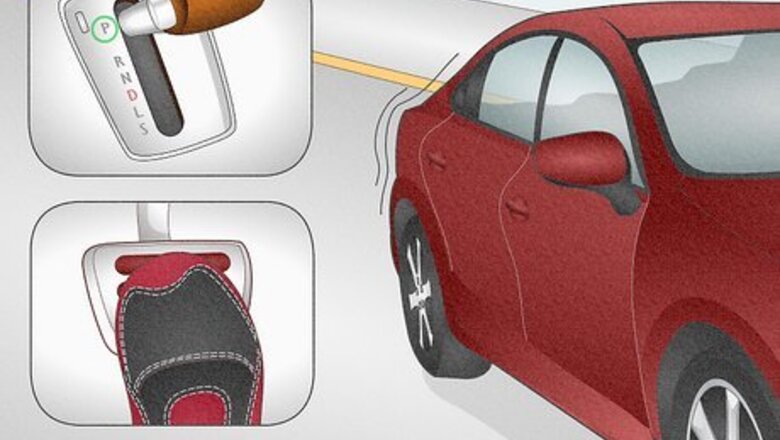
Drive and stop in reverse and use the parking brake. Rear drum brakes, especially on modern vehicles, are designed to automatically adjust under normal driving conditions. That said, things like wear-and-tear, rust, and dirt accumulation can interfere with this. To see if you can get your brakes to auto adjust, try one of the following: Put the vehicle in reverse, drive backwards, and stop abruptly several times. Set and release the parking brake several times. If the brakes feel more even and responsive when you press down on the pedal, the self adjuster is working and you don’t need to manually adjust the brakes.
Remove the rear tires.
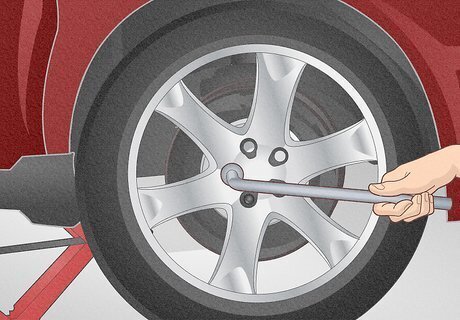
Safely jack up the vehicle so you can take off the tires. Technically speaking, you’re removing the rear wheels and not just the tires, but this is the same process as changing a tire (times two): Secure the vehicle. Park on a flat, level, solid surface and put the vehicle in park (automatic) or first gear (manual). Place chocks against the front of the front tires. Don’t engage the parking brake. Loosen the rear lug nuts. Grab a lug wrench (tire iron) and twist each lug nut counterclockwise until it just breaks free and begins to spin. Lift up the rear of the vehicle. Set the jack at one of the designated jack points and slowly lift one tire. Use a jack stand to hold up that side of the vehicle, then remove the jack. Jack up the other tire and insert a jack stand. Remove the rear tires. Loosen the lug nuts the rest of the way and set them aside in a spot where you won’t lose them. Pull off the tire (again, actually the entire wheel), then repeat the process with the other rear tire.
Locate the drum’s rubber plug.
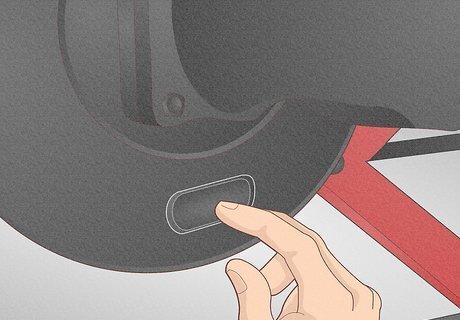
Look for this access point on the inner side of the wheel drum. Now that the wheel drum is exposed on the axle, run your fingers along the back side of it and feel for a small oval-shaped piece of rubber. Once you find it, rotate the drum forward (if needed) so that the rubber plug is close to the ground—this makes it easier to access. If you can’t locate the plug by feel, carefully slide your upper body under the vehicle and find it visually. As a novice, you’ll have to be in this position to adjust the drum brake anyway.
Identify the star wheel behind the plug.
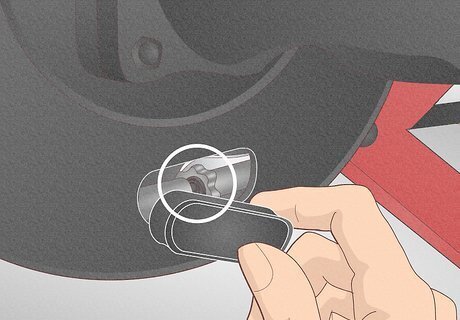
Pull out the rubber plug to access this small metal gear. Peel out the plug and set it aside in a spot where you won’t lose it. Use a flashlight to look into the opening and identify the small star wheel inside—it’s a small gear, that is, a small disc with lots of teeth around the perimeter. It’s best to reinstall the existing rubber plug, but if you do happen to lose it, you can buy a replacement!
Slot a brake spoon into the star wheel.
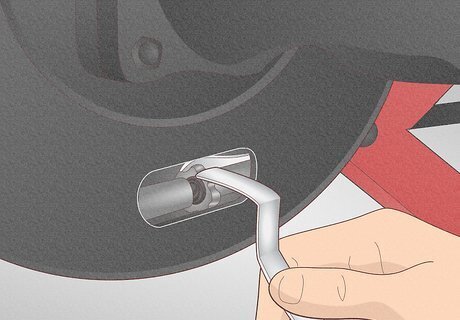
Insert the spoon through the opening and to the gear’s teeth. What’s a brake spoon, you ask? It looks like a flat-head screwdriver with the handle removed and the shaft bent in multiple spots. The angles caused by the bends make the spoon ideal for slipping into the brake plug opening—once it’s in there, slip the blade of at the end of the spoon between two of the teeth on the star wheel. If needed, use a flashlight to help you slot the blade of the spoon in place. Before long you’ll be able to slot the blade by feel. Yes, you can just use a flat-head screwdriver instead. But it’ll be a little trickier to get the screwdriver’s straight shaft in the right position to slot into the star wheel.
Rotate the star wheel downward.

Adjust the gear only 2 or 3 “clicks” to start out. Press the blade of the spoon downward to spin the star wheel that direction—you’ll hear a click each time one of the star wheel’s teeth slips past the catch lever. It’s far easier to further tighten the drum brake than it is to loosen it, so only tighten it slightly to begin with. Usually, but not always, turning the star wheel downward will tighten it. If, however, the star wheel doesn’t want to spin that way (because the catch lever is stopping it), try turning it upward. Whichever direction spins more easily is the way that tightens the drum brake.
Spin the drum forward by hand.
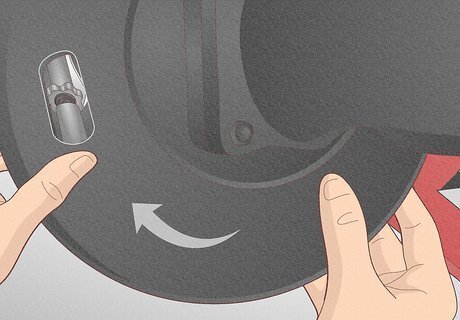
Rotate the drum to check the tightness of the drum shoes. Pull out the brake spoon and spin the entire drum like you’re driving forward. You should feel steady and even, but slight, resistance from the brake shoes on the inside of the drum—the drum shouldn’t catch or get stuck. If the drum spins freely without resistance, reinsert the spoon, move the star wheel 2-3 more clicks, and check how the drum spins again. If the drum spins with steady, even, slight resistance, move on to adjusting the drum brake on the other rear wheel. If the drum catches or sticks, move the star wheel in the other direction to loosen the brake (see the next step).
Loosen the brake, if needed.
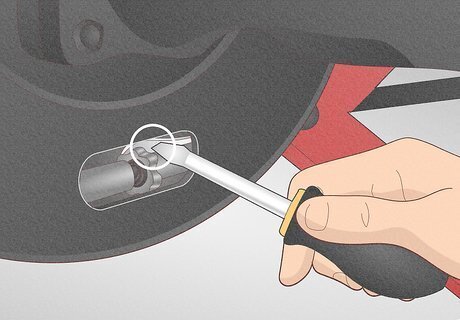
Push in the catch lever with a screwdriver to loosen the brake. Stick a flat head screwdriver into the rubber plug opening and press back on the catch lever (the thing that “clicks” against the moving gears) on the far side of the star wheel. Then, stick the spoon into the opening and slot it into the star wheel. Spin the wheel in the opposite direction as before the equivalent of 1-2 clicks (you won’t hear the clicking sound now). Test how the drum spins and make more adjustments as needed. There’s no denying it—this is a tricky maneuver, which is why it’s best not to over-tighten the brake in the first place.
Adjust the other rear drum equally.
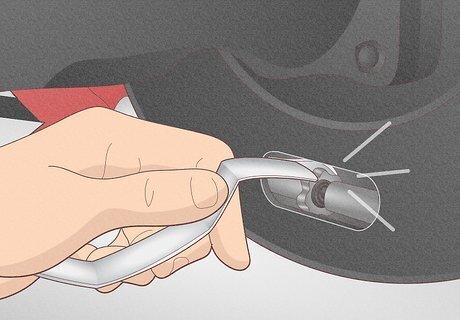
Follow the exact same process on the other rear wheel drum. For the best braking performance, aim to tighten both rear drum brakes equally. You can do this in part by counting how many clicks you tighten each star wheel, but also carefully compare how each drum feels when you spin it forward. When they both have the same level of resistance, you’re nearly done with the job.
Put everything back in place.
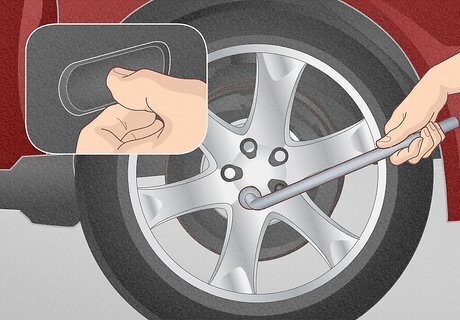
Repeat what you did earlier, but now in reverse: Press the rubber plug securely into place. Lift the wheel into place and slide it onto the mounting bolts. Tighten the lug nuts most of the way, but not completely tight. Repeat the process with the other wheel. Set up the jack on one side, lift the vehicle just enough to remove the jack stand, then lower that side of the vehicle with the jack. Remove the jack stand on the other side in the same manner. Hand-tighten the lug nuts completely with the lug wrench. Remove the chocks from in front of the front wheels.
Take the vehicle for a test drive.
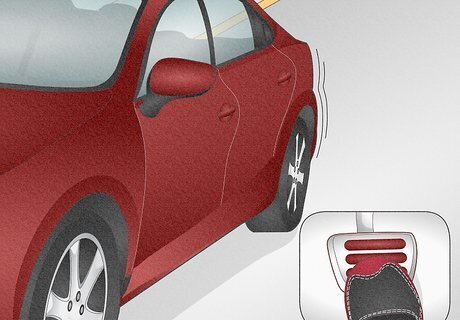
Pay close attention to the “feel” of the adjusted brakes. While the front disc brakes provide most of the stopping power, having loose rear drum brakes is definitely noticeable. Now, with the drums properly adjusted, you should only have to press the brake pedal about halfway—instead of maybe all the way to the floor—to engage the brakes fully and evenly. If the brakes feel loose, “squishy,” rough, or uneven, or if you hear unusual scraping or squealing sounds, either fine-tune the brakes again or contact a mechanic to look over the brakes for you. It may also be time to remove the brake drums and replace the brake shoes.




Comments
0 comment