views
Taking the background out of images

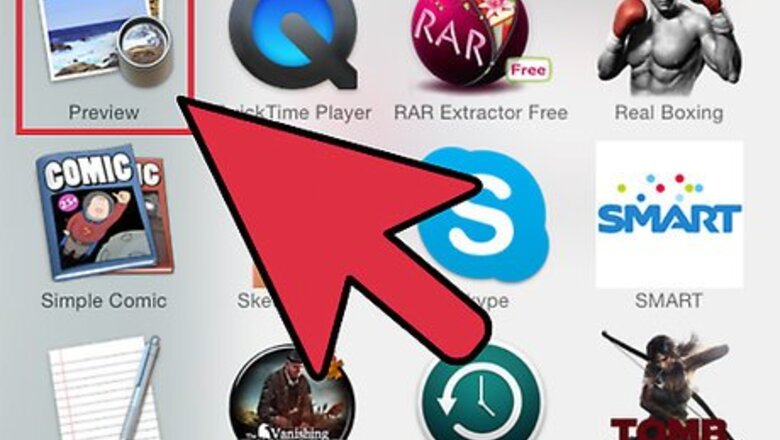
Open Preview.
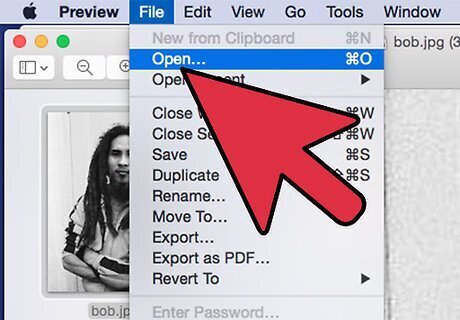
Use Preview to open your image. Go to File>Open and choose the image you wish to open.
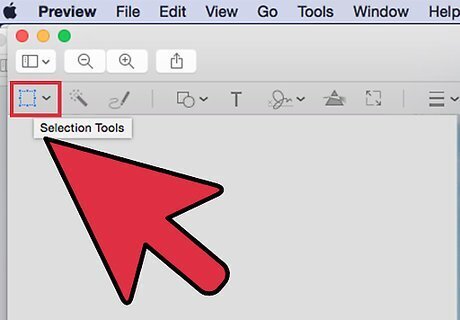
Click the "Select" drop-down menu.
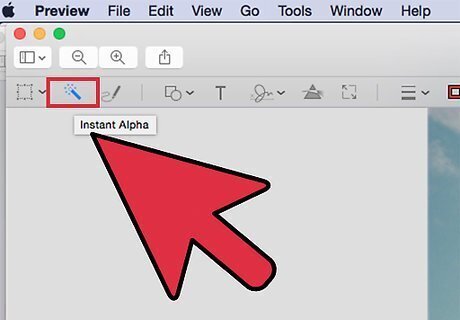
Choose the "Instant Alpha" button.
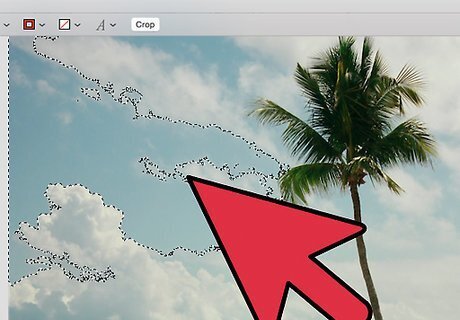
Click wherever you want to erase the background.

You will notice that part of your picture turns red.

Drag until most of your background is red.
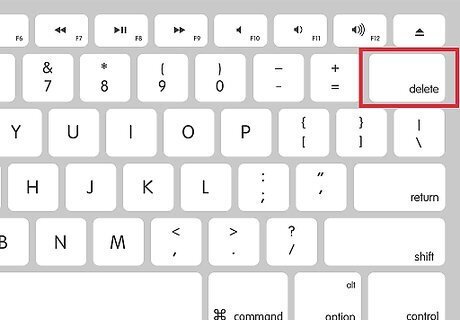
When you have most of the background selected, hit the "Delete" key.
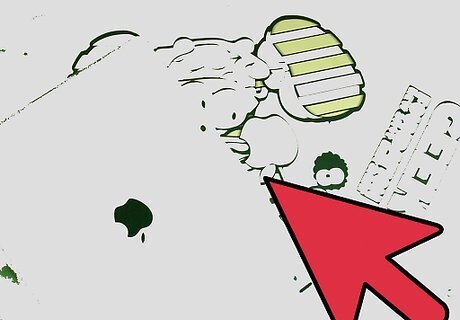
This won't erase all of the images background, but it should get most of it.
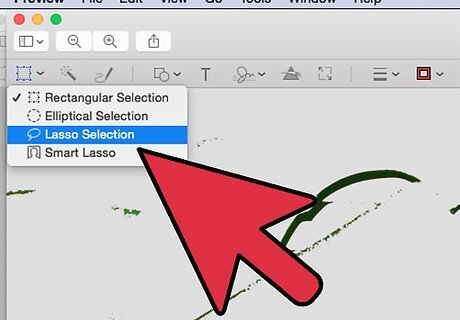
Now it comes down to personal preference on which tool to use to clean up the rest of the background.
Isolating a part of a picture
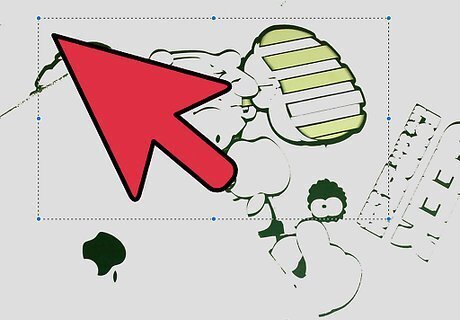
Drag a rectangle (or circle if that's what you want) around the area you want to keep.
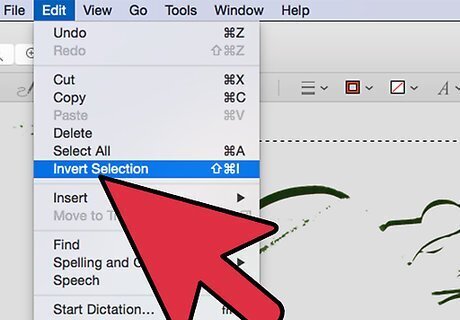
Hit the "Invert Selection" button under the "Edit" menu.
Hit "Delete"
Annotating on a Picture/PDF
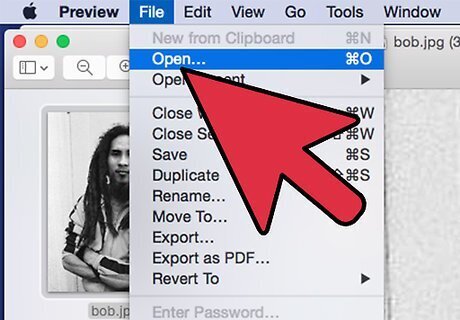
Open your picture.
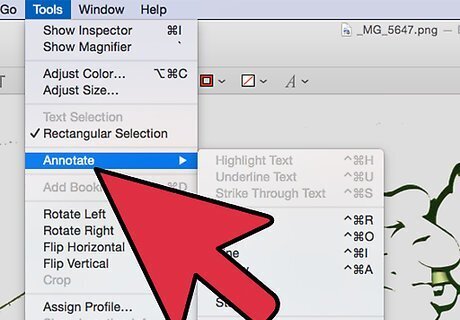
Hit the "Annotate" button
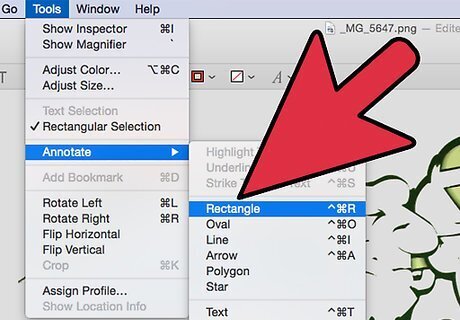
Make your selections!


Comments
0 comment