
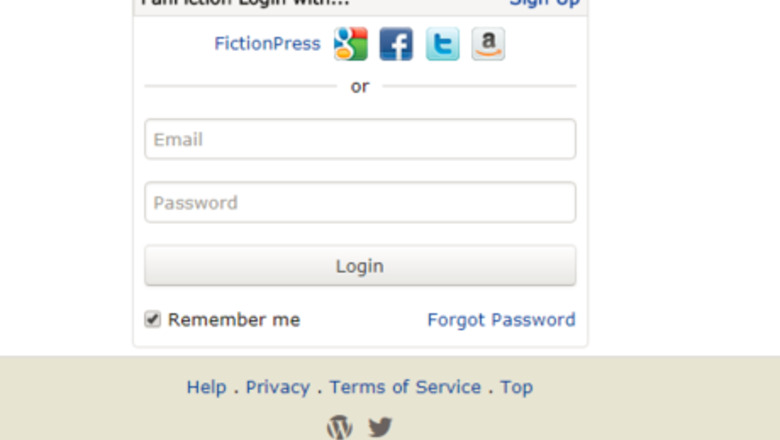
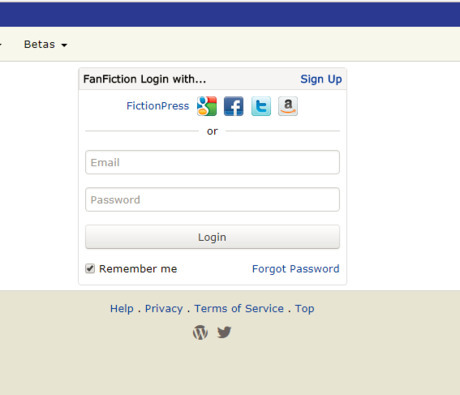
Login to your Fanfiction.net account. If you don't have an account already, sign up for one.
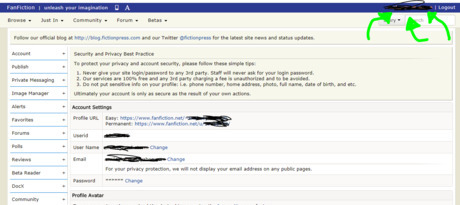
Go to the page for managing your account. If the website doesn't take you there automatically after you log in, or if you were already logged in, you can get to this page by clicking or tapping on your username in the top right corner, next to the Log Out button.
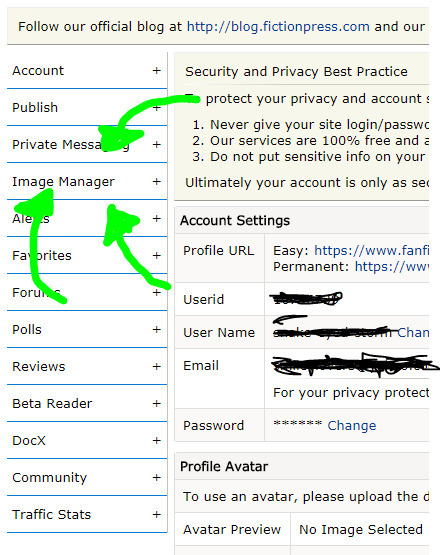
Click or tap on the Image Manager tab on the left side of your screen. It's four tabs down, between the tabs labeled Private Messaging and Alerts. After you do this, two subtabs will appear below the Image Manager tab.

Tap or click the subtab that says Manage (upload). The screen shown in the picture below should pop up, minus the green box.
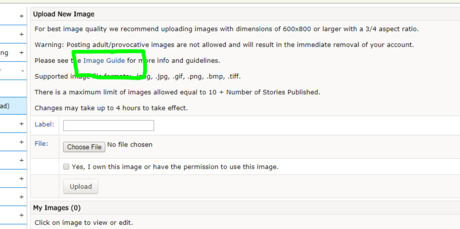
Read the image guide if you haven't already. You can find this by clicking the blue link that says Image Guide in the third line of text.
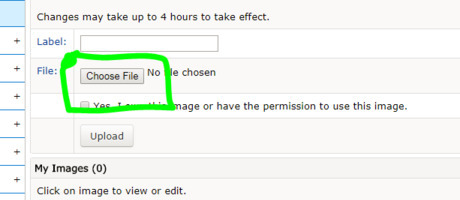
Click on the Choose File button.
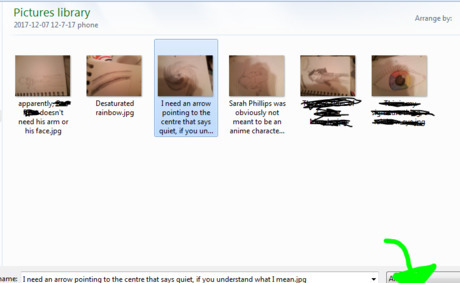
Choose and open file from your image library. Hit the Open button in the bottom left corner of the pictures window. Doing this will close the window and replace the words "Choose Image" on the site with the name of your picture. Label the image if you want to.Upload an Image to Fanfiction.net step 8.png
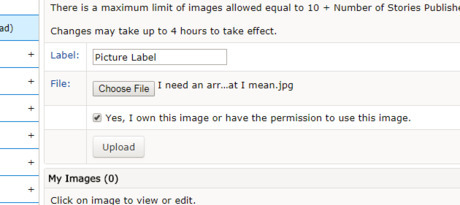
Check the box that says, "Yes, I own this image or have permission to use this image." You'll find it under the Choose File button and above the Upload button.
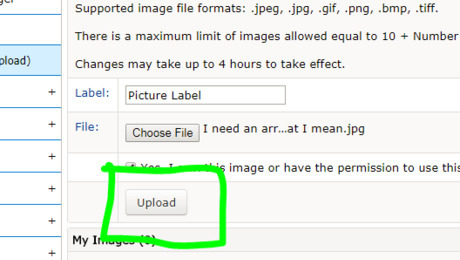
Click or tap the Upload button. It's above the My Images bar and below the box you just checked.
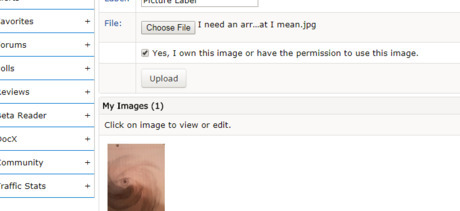
Refresh the page and see if the image shows up. Remeber that changes might take up to four hours to appear. You can browse the site and read fanfictions while you're waiting!


Comments
0 comment