views
Choosing Materials and Tools

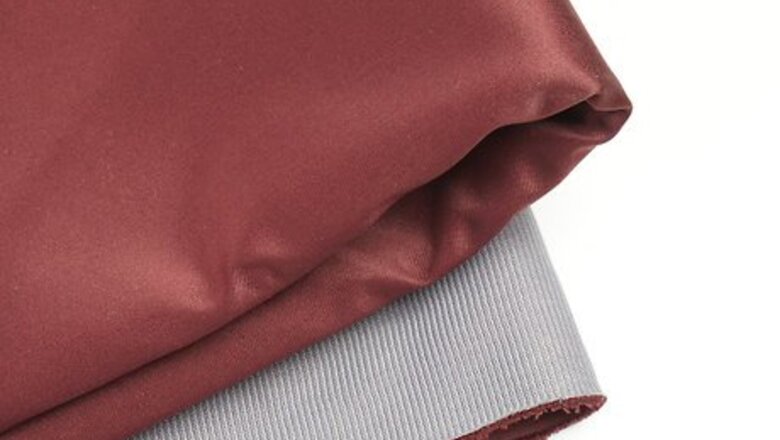
Ensure that your fabric is heavy enough to top stitch. Fabric that is structured will hold up better when you are top stitching since it will be less likely to slip or stretch. If possible, choose a sturdy fabric, such as denim, cotton, wool, canvas, or linen. If you are working with a lighter weight fabric, then you can use a stabilizer, such as tissue paper to help you get the best results. Lay your fabric over the tissue paper before you begin sewing, and then tear away the tissue paper after you finish sewing.

Iron your fabric before top stitching to get flat seams and neat stitches. Ironing your fabric before you top stitch will give you a flat, even surface to sew. It is especially important to iron along the seams of your fabric. Use long, even strokes to iron along the seams and anywhere else on the fabric that you will be top stitching. Use the lowest possible setting on your iron to help reduce the chances of damaging the fabric. You may also place a towel or t-shirt over the fabric before you iron it to protect the fabric from the heat.

Choose a needle that works with your fabric. To ensure that the needle will not snag on your fabric or have difficulty breaking through it, choose a needle that is appropriate for the type of fabric you are using. You can use a universal needle meant for the density of fabric you are using, or select a specialty needle, such as a ball point needle for knits. Needle sizes range from 8 US (60 European) to 19 US (120 European). Opt for a larger number needle for heavy fabrics or a smaller number needle for light fabrics.

Pick your thread with visibility in mind. Top stitching is meant to be visible, so make sure that you select a thread that will compliment your fabric. You can do this by choosing a thread that matches or contrasts with the fabric, and by making sure that the thread is slightly heavier than your fabric. For example, if you are going to be top stitching a pair of jeans, then you might opt for a heavy gold thread. Or, if you want to create a more subtle look, choose a dark blue thread.
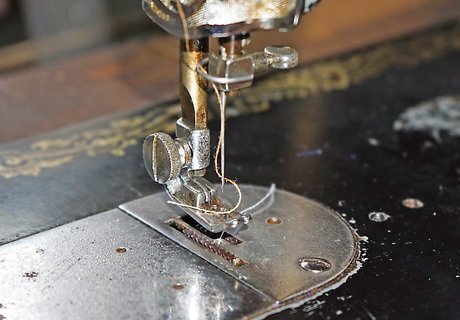
Install a special presser foot to sew straight lines along seams. This is optional, but you can use a special type of presser foot to guide you as you top stitch along the edges of your fabric. Some presser foots feature guides that will make it easier to sew along the edges of fabric or to position a straight line in the center of your fabric. If you do not have or do not want to use a special presser foot, then you can also draw guidelines onto the fabric using chalk and a ruler to help you help you create straight lines. Drawing the outline of shapes onto your fabric can also help you to create decorative top stitching if desired. Use chalk to trace the edges of a shape or shapes, and then use these as guidelines when you sew the top stitching.
Setting Your Sewing Machine
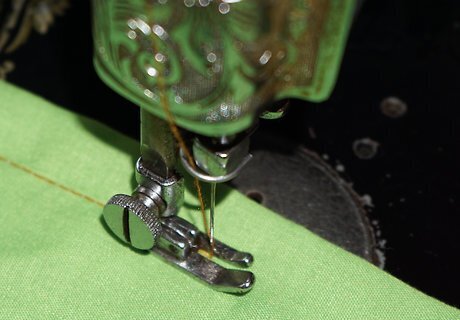
Select the straight stitch setting for simple lines. This is the most common setting for top stitching. You can use the straight stitch setting to create straight lines along the edges of your fabric or to sew along straight and curved lines that you have drawn onto the fabric. The straight stitch setting is usually number 1 on sewing machines, but check your sewing machine’s instruction manual to be sure.
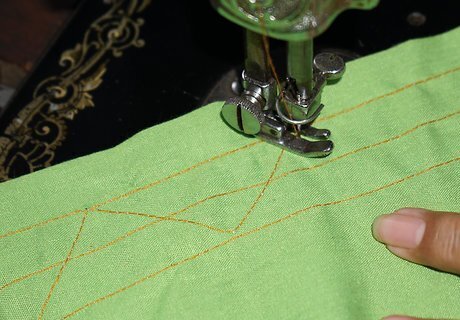
Opt for a decorative stitching to add interest. You may choose to use a decorative stitch if you want the top stitching to stand out even more. Try using the zig zag stitch, the curved stitch, or blanket stitch setting on your sewing machine for something extra visible. Using a decorative stitch will work best if you are going to be sewing in a straight line. If you try to sew along curved lines with a decorative stitch it may end up looking sloppy.

Increase the stitch length to make the stitches stand out more. A larger gap between each of your stitches will make them appear larger and more prominent. Try increasing the stitch length from the default setting to the longest setting available on your machine or somewhere in between the default and longest setting. For example, if the default setting is 2, then try setting it to 2.5 or 3 to make it stand out more.

Adjust the tension for slightly looser stitches. Just make sure that you do not make the tension too loose or the stitches may look sloppy. Move the dial (or use the digital touchpad) to reduce the tension setting by 1 point from the mid-range setting. This is 4 or 5 on most machines, so you would need to adjust your machine’s tension setting down to 3 or 4. The tension dial is located at the top of your machine near where the thread feeds down towards the needle. The sewing machine tension on most machines ranges from 0 (loosest) to 9 (tightest).
Making the Top Stitching Look Neat
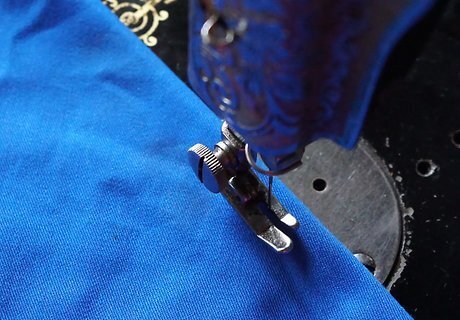
Place the fabric under the presser foot with the right side facing up. Top stitching should appear on the top of your fabric, so place your fabric onto the sewing machine with the right (print or outer) side facing up. This will ensure that your top stitching will be visible when you finish sewing. If you will be sewing a top stitch along a seam, make sure that the raw edges on the seam are turned under and hidden before you begin sewing the top stitch.
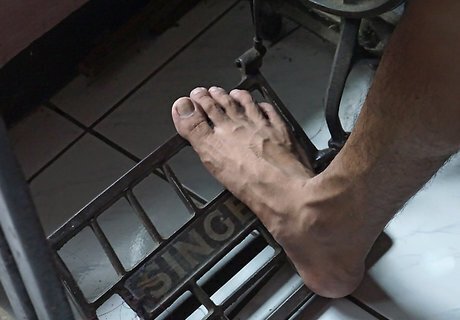
Apply even, gentle pressure to the pedal. Sewing a top stitch too quickly can lead to messy stitching, or even puckering and knotted threads on the backside of your fabric. Press down evenly and gently on the pedal to ensure that you do not send your machine racing through the fabric and potentially ruining your fabric. You may also want to hand crank the first few stitches by turning the knob on the side of your sewing machine to sew the first few stitches. Try to be patient since it may take longer to sew top stitching than it takes to sew regular seams.
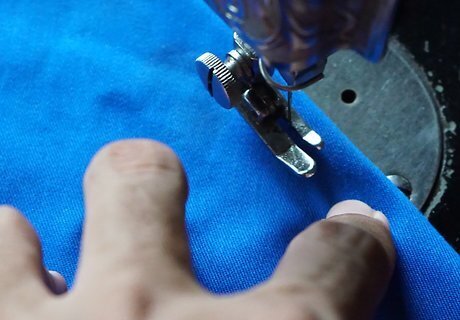
Avoid backstitching to secure the ends of stitches. Backstitching is when you sew backwards after reaching the end of a line of stitching. It is not recommended with top stitching since the back stitched area will look different than the rest of the top stitching. If you are concerned about keeping the stitches in place, try sewing 2 or 3 extra stitches in the same place at the end of the row without backstitching. This will help to secure the stitches into place without adding a bunch of extra stitching.

Trim excess thread when you are done sewing. After you finish your top stitching, use a small pair of scissors to snip any hanging threads. Snip them close to the fabric but be careful not to cut through the fabric or the stitches. Discard the threads that you trim off.







Comments
0 comment