views
Storing Posters in Rolls
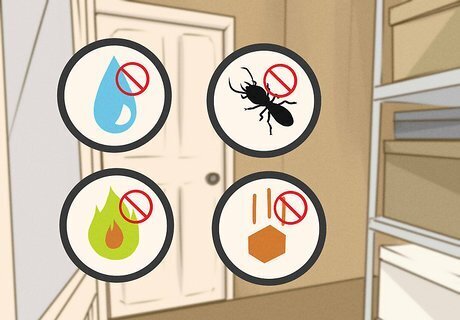
Choose a safe, dry space to store your posters. Depending on how many posters you have, you may need to store one roll or many dozens of rolls. If you only have a few posters, storing them all inside a single roll will be fine. A single roll can be kept just about anywhere, but if you have many rolls, then obviously you’ll need a bigger storage area. Select or create an appropriate space where rolls won’t be damaged by: Moisture. Heat or light. Pests such as ants and termites. Objects falling on them or against them.
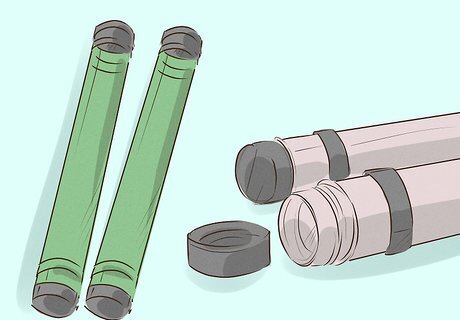
Buy tubes and acid-free plastic wrapping. Purchase the correct number of tubes for storing your posters, along with some quality acid-free plastic wrapping for further protection. Acid-free plastic will save your posters from any potential damage caused by chemicals commonly found in cardboard or cheaper plastic products. You can easily find this kind of ‘archiving’ acid-free plastic online, and most large stationers or packaging stores will stock the cardboard tubes with plugs at either end.
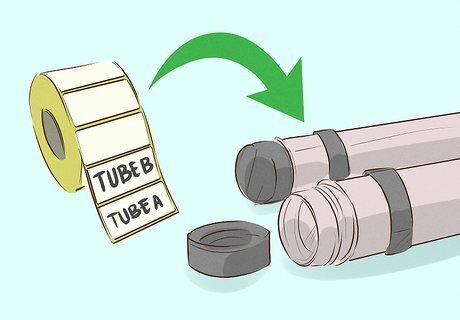
Use sticky labels so you can easily see which posters are inside which tubes. Apply these to each of your tubes and keep a note of which posters are stored in which tubes. You can either write the titles of posters directly onto these labels, or, use letters to designate each individual tube (for example, 'tube A', 'tube B', and so on) and then write numbers corresponding to poster titles. Write down poster titles, which tubes they're inside, and the numbers they correspond with in a separate ledger.

Single out posters you enjoy viewing often before rolling them up and storing them. It's better to keep posters you view regularly in their own separate tubes. This will help you avoid accidentally damaging other posters when frequently removing them from their tube.
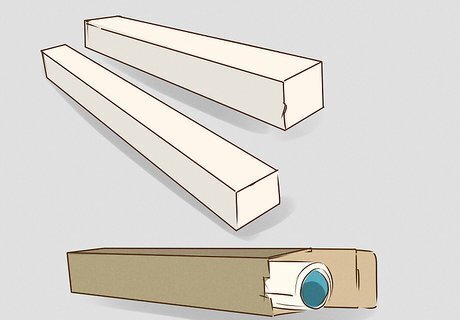
Order square poster-storage boxes if you have a lot of rolls to store. You can easily find and order square poster-storage boxes online. These are designed for more efficient stacking. If you have a lot of posters to store, square poster-storage boxes can be stowed in a tidier way than cylindrical tubes.

Prepare to handle your posters. Wash and thoroughly dry your hands first. Washing your hands in plain hot water is sufficient: you want to avoid the chemicals usually found in soaps. Alternatively, use clean white cotton, nylon or unpowdered latex or vinyl gloves. Use both hands when handling posters and be gentle. Never lift posters by a single corner which can cause tearing. Don't drag posters across surfaces which could scratch them.

Dry clean your posters before storing them, removing any dirt, sticky residue or pieces of old tape from your posters before rolling them inside the acid-free plastic. This will stop any contaminants damaging your posters once they inside the tubes. However, do not use cleaning products containing chemicals which might also damage your posters.
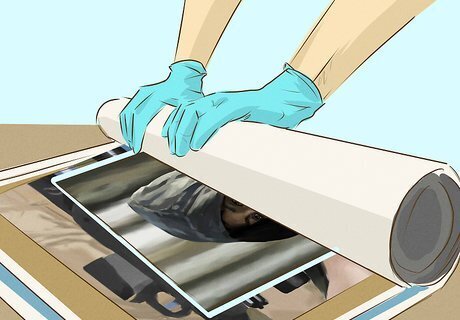
Wrap your posters inside the acid-free plastic. Find a wide, flat surface such as a table, bed or the floor, and lay out your protective plastic first. Make sure the plastic has a larger surface area than your largest poster. Lay out the largest poster first, then the next largest, and so on, with the smallest poster last of all. You can lay more plastic between posters if you wish, but this isn’t essential. Roll the posters inside the plastic, then tape the plastic so it stays rolled up. Carefully wrap up the ends (like a wrapped piece of candy), or tuck the plastic in at the ends of the roll. Slide the rolled-up posters in their plastic sheath inside the cardboard tube, seal it, label it, and stow it.

Keep an eye on your stored poster collection over time. Ensure the tubes are not being damaged by moisture, strong light or heat, objects which have fallen on or against them, or pests such as ants or termites. Replace any tubes which show signs of deterioration with new ones.
Using Portfolios to Store Your Posters
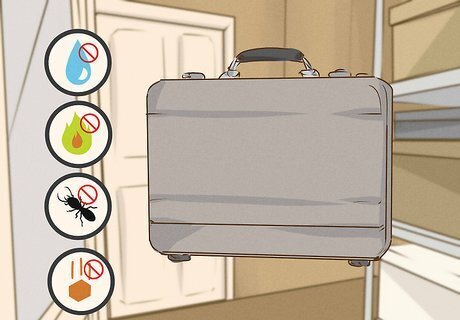
Select a safe, dry place for storing your posters. Portfolios — preferred by more serious poster collectors — are basically big but skinny suitcases designed for keeping art-works inside. They typically have a flap which opens like the flap on an envelope, or a zip around their edge. Portfolios usually have a handle so they can be carried around like oversized briefcases — perfect for sliding them out from underneath a bed! Choose or create a space with a large enough area. It’s better to keep your posters flat if you can. Ensure your posters won’t be damaged by moisture, heat, pests or objects falling on or against them.
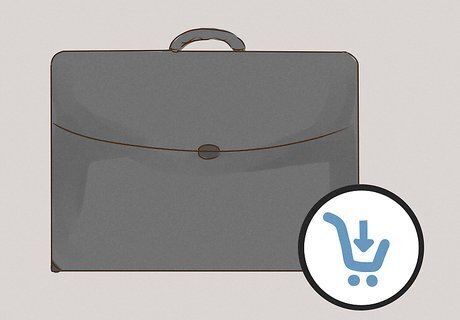
Buy the portfolio or portfolios you'll need. You can find portfolios at art stores and larger stationery stores, or order them online. Although more expensive than cardboard tubes, portfolios are a way of storing your posters flat, which means they’ll be less likely to accidentally crease. Portfolio cases are usually much more durable than cardboard tubes, and some can be locked shut. Don't choose a portfolio made of soft, flexible material if you intend to stand it against a wall ---- it will eventually start to bend and this could damage the posters inside it.
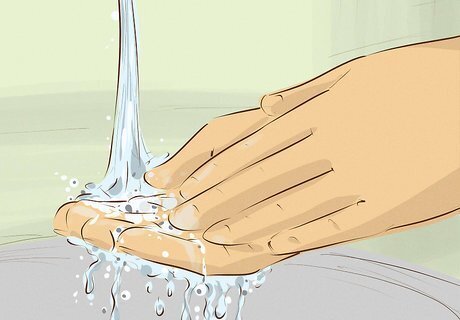
Wash and thoroughly dry your hands before handling your posters. Use plain hot water and avoid soap. The chemicals usually found in most soaps and detergents can damage your posters. Alternatively, use clean white cotton, nylon or unpowdered latex or vinyl gloves.

Sandwich your posters between protective sheets of acid-free plastic. Find a wide, flat surface and lay out your plastic first, then lay out your poster or posters on top of the plastic with at least an inch of the plastic showing all the way around the poster's outer edges. Next, lay another sheet of plastic on top of your poster or posters, creating a protective 'sandwich'. Sheets of acid-free durable card (again, of larger dimensions than your posters) can also be used (instead of, or as well as, plastic) to ‘sandwich’ your posters. Alternatively, use transparent acid-free plastic sleeves big enough to contain your posters.
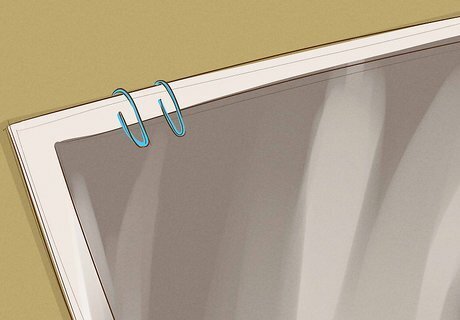
Use clips to secure your poster 'sandwiches' if you want to. You can use plastic dog-clips or large paper-clips to clamp the plastic or card 'sandwiches' together. Ensure the clips press down against the excess borders of plastic or card, not against your posters, otherwise they may cause indentations. Avoid using metal staples which can scratch or tear.
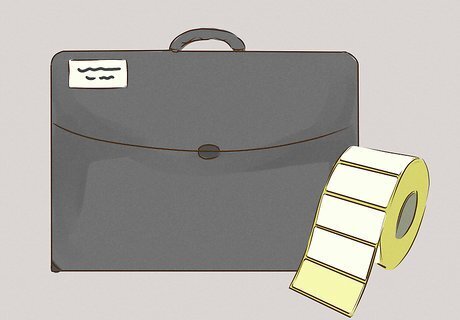
Apply sticky labels to your portfolios and to each of your poster 'sandwiches'. Use these labels to indicate which posters are contained inside your portfolio or portfolios, and which posters are inside which sandwiches. Stick the labels on the outside of the plastic or card (the side facing away from the poster).

Store your poster 'sandwiches' inside your portfolio. If you're using acid-free plastic sleeves, it’s good to measure a piece of more rigid acid-free mounting card first so you can slide this into the sleeve as an unattached backing for the poster. Don't damage the poster by gluing or otherwise affixing it to the mounting card.
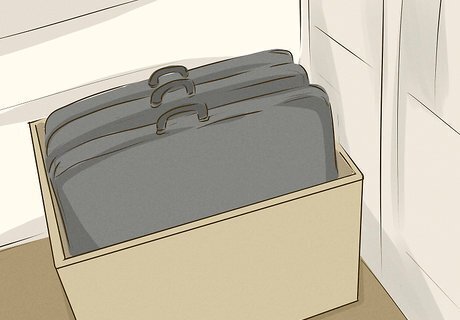
Stow your portfolio or portfolios. Put the packed portfolio case or cases in the place you selected for them. Check them from time to time to make sure they aren't being damaged by heat, moisture, pests, or objects falling on or against them.
Free-Stacking Your Posters
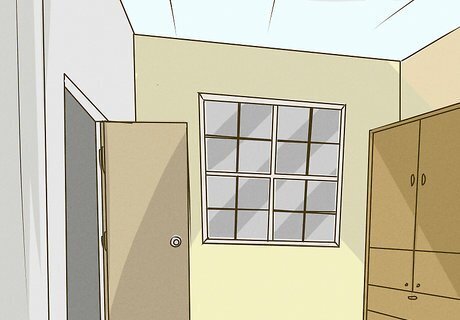
Choose where you’re going to keep your free-stack (or stacks) of posters. Obviously, you don’t want to stack your posters somewhere where they’ll be in the way or may cause an accident. Another consideration is accessibility: with this method, it won’t be as easy to access posters you’re fond of viewing regularly, especially if they’re right at the bottom of a stack tightly jammed into the space beneath your bed! Another thing to think about is weight: a stack can go as high as a ceiling will allow, but If you plan to stack six feet’s worth of heavy reinforced glass sheets, while your posters will stay nicely pressed, it would be much safer to do this on a solid rather than a suspended floor.
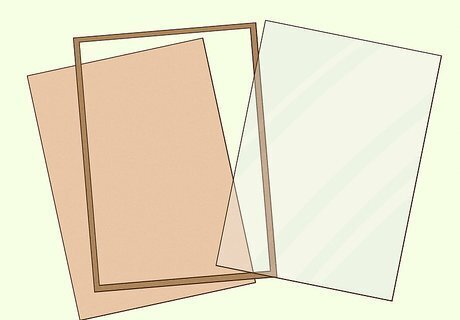
Collect what you’ll need. You can be more creative with the materials you use to free-stack your posters, and you can still use acid-free plastic in your poster ‘sandwiches’ for peace of mind. Picture frames with glass fronts are ideal for use in a free-stack of stored posters. However, sheet metal which oxidizes, or wooden boards which could warp, leach resins or even play host to damp and mould are not recommended. Another ideal material to sandwich your posters between is flat glass.
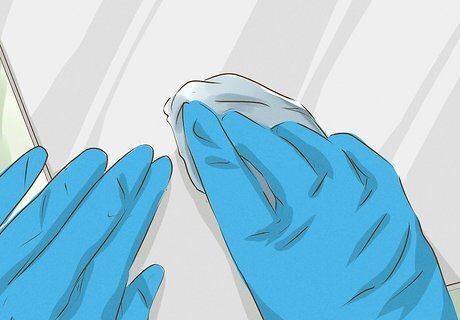
Clean any glass you choose to use before sandwiching your posters between it. If distilled water (available from most pharmacies) isn’t strong enough to properly clean the glass, ensure any cleaning agent you buy doesn’t contain chemicals which could damage your posters. Make sure the glass is completely dry before you use it. With glass, avoid putting your stack anywhere strong light can filter through and damage your posters. Thin glass sheets should not be stacked too high or they might crack under the weight of the stack and cause damage. Reinforced glass is great — but remember this is extremely heavy.

Sandwich your posters between whatever materials you are using in your free-stack. Try not to become impatient as you do this. Each poster needs to be laid completely flat because the weight of the stack will likely make any accidental folding or creasing permanent. You can free-stack your poster collection as high as your ceiling if you really want to — just remember, this method creates a lot of work when the time comes to move your posters or simply view them.




Comments
0 comment