
TweetDeck
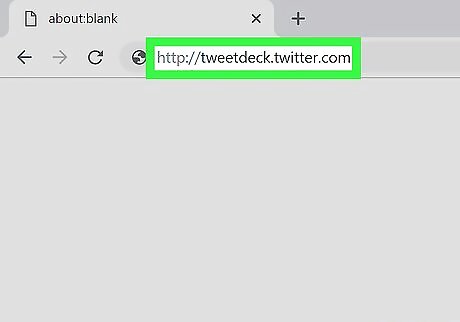
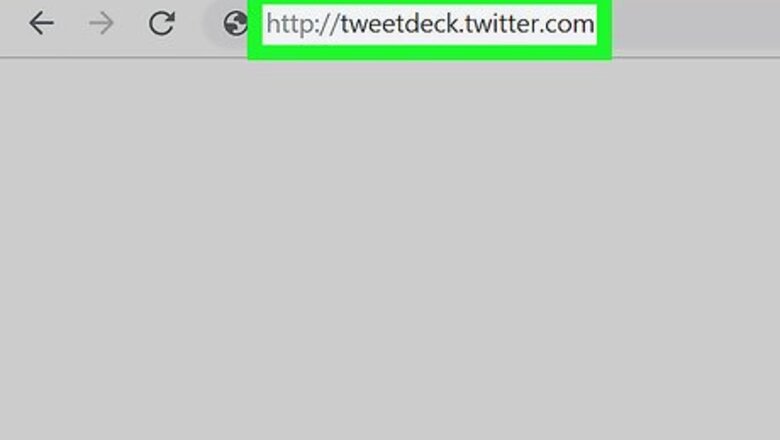
Sign into TweetDeck at http://tweetdeck.twitter.com. If you're not already signed in, you should do so now. If you're new to TweetDeck, follow the on-screen instructions to log in with your X credentials. You can also use TweetDeck on your Android, iPhone, or iPad to schedule tweets. The steps to schedule a tweet are very similar to doing so on a computer. Start by downloading the app from the App Store or Play Store.
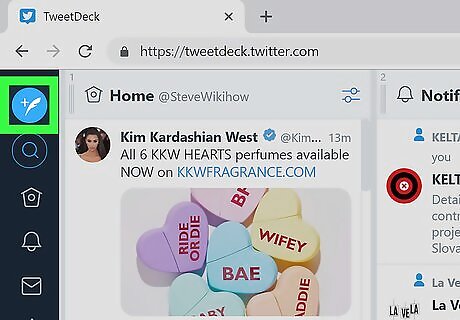
Click the new tweet icon. It's the blue circle with a feather at the top-left corner of TweetDeck. The New Tweet window will expand.
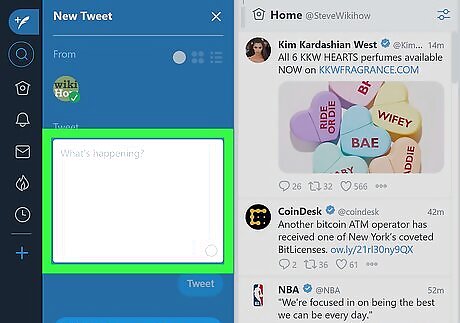
Type your tweet into the "What's happening?" box. It's in the left column.
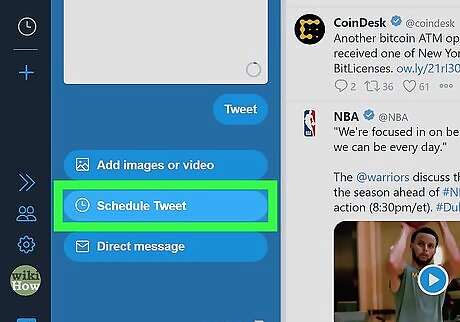
Click Schedule Tweet. It's below your tweet.
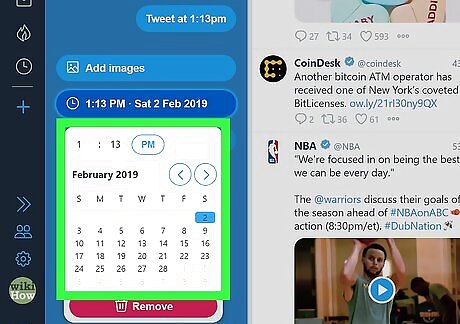
Select when your tweet should be posted. Click the current time and date near the bottom of the column, then choose when to send the tweet.
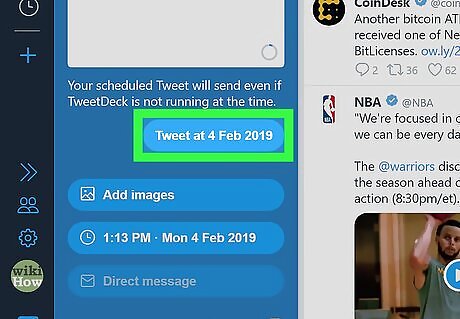
Click Tweet at (time). This button is just below the tweet and displays the time and date you selected in the previous step. Your tweet is now saved, but won't be shared until the selected time.
Buffer
Sign into Buffer at https://buffer.com. If you're new to Buffer, click Get Started for Free to create an account, then follow the on-screen instructions to connect it to X. You can also use Buffer on your Android, iPhone, or iPad to schedule tweets. The steps to schedule a tweet are very similar to doing so on a computer. Start by downloading the app from the App Store or Play Store.
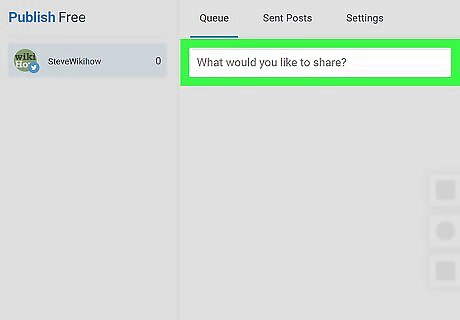
Type your tweet into the "What do you want to share?" box. This opens a larger window for you to type in.
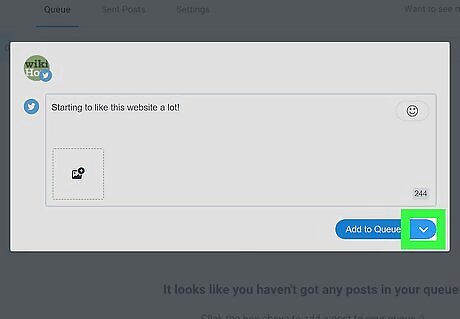
Click the down-arrow next to "Add to Queue." It's on the blue button at the bottom-right corner of the tweet. A menu will expand.
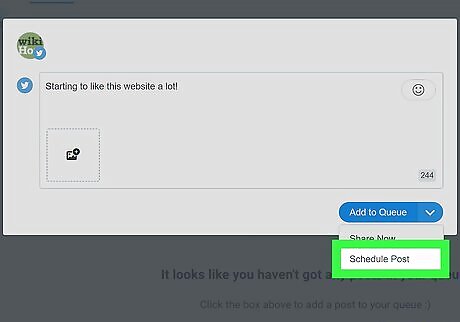
Click Schedule Post. This opens the calendar.
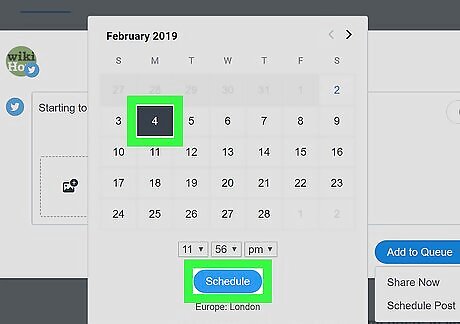
Select a time and date and click Schedule. Your tweet is now scheduled to post at the selected time and date.
SocialOomph

Sign into SocialOomph at https://www.socialoomph.com. If you're new to this app, click Sign Up Now to set up your account and link it to X.
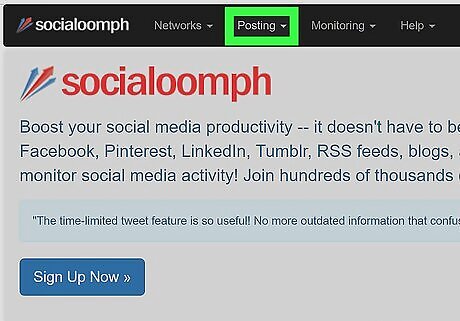
Click the Posting menu. It's at the top of the screen.
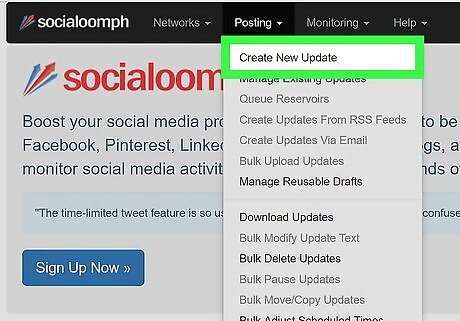
Click Create New Update.
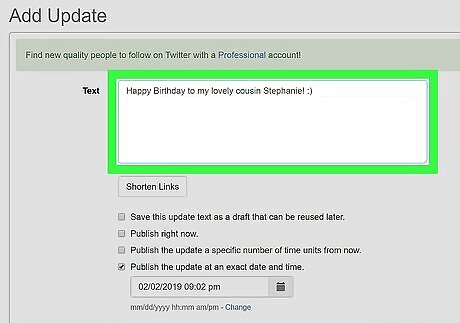
Type your tweet into the text box.
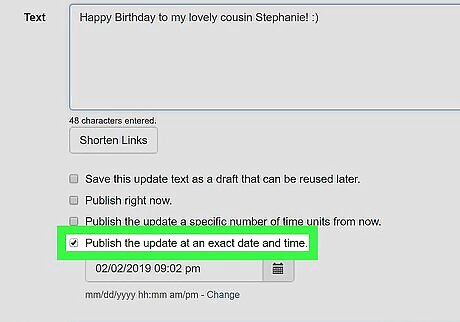
Select Publish the update at an exact time and date.
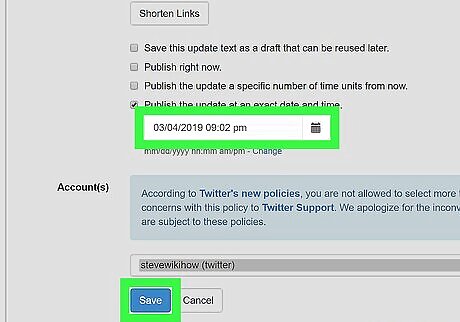
Select the time and date and click Save. Your tweet will post at the time and date selected.
Twuffer
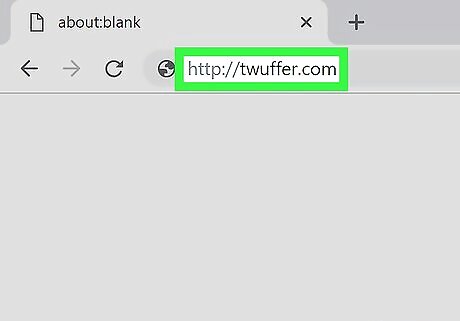
Sign into Twuffer at http://twuffer.com. If you're new to Twuffer, click Sign Up to get started. Sign in with your X credentials when prompted, then follow the on-screen instructions to set up your account.
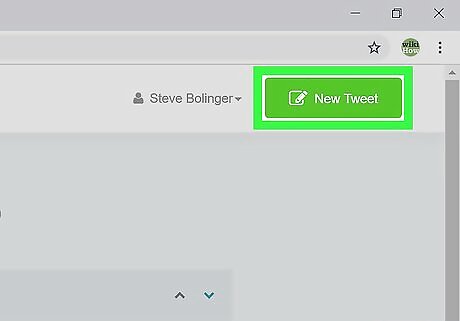
Click New Tweet. It's at the top-right corner of the page.
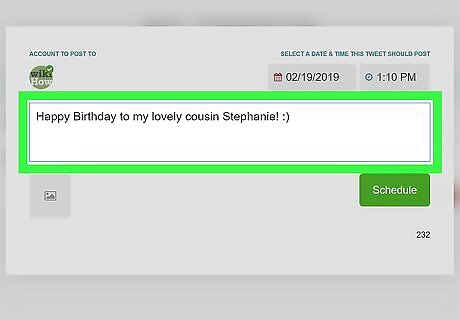
Type your tweet.
Select a time and date to share the tweet. Use the drop-down menus at the top-right corner of the tweet to choose the time and date you want Twuffer to share your tweet with the world.

Click Schedule. It's the green button below the tweet. The tweet is now scheduled to send at the selected time and date.
Twittimer
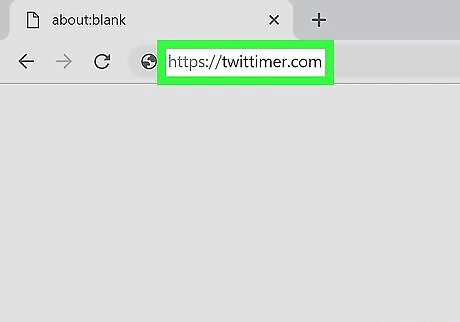
Sign into Twittimer at https://twittimer.com. If you're new to Twittimer, click Sign Up at the top-right corner, select Login with Twitter, and then follow the on-screen instructions to link your account. When setting up your account for the first time, you'll have to set up some preferences (and provide an email address) before you can access the message scheduler.
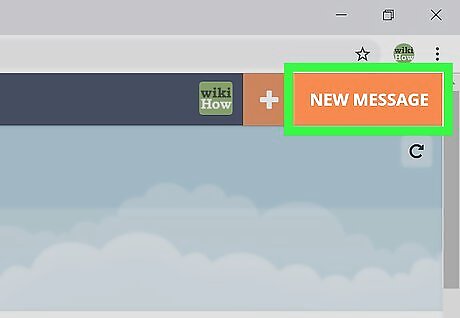
Click New Message. It's at the top of the screen.
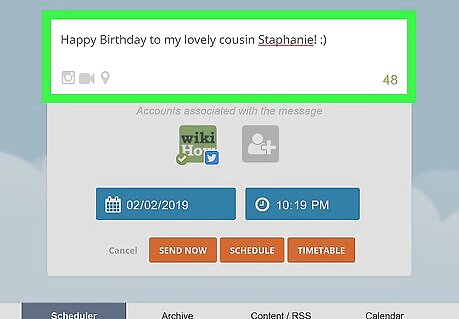
Type your tweet.
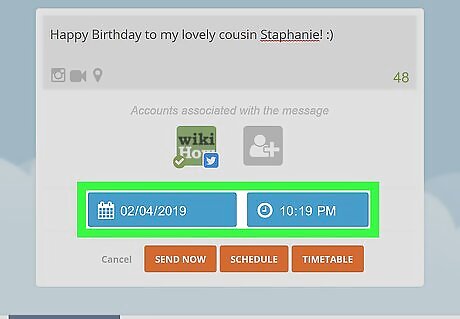
Select the date and time to send the tweet. Click the calendar to choose a date, and the current time to choose a time.
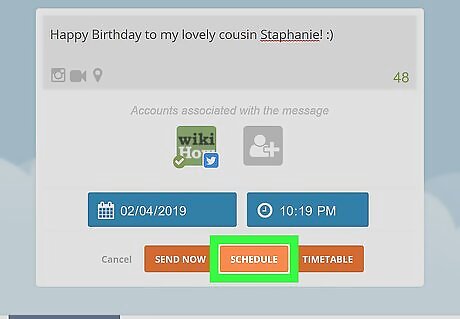
Click SCHEDULE. This saves your tweet and schedules it to be sent at the selected time and date.
HootSuite
Sign into https://www.hootsuite.com. If you're not signed in, click Log In, and then sign in with your credentials. If you're new to HootSuite, click Sign Up at the top-right corner, select a plan (the free one is below the paid plans next to "Try our limited Free plan," but it only supports 30 scheduled messages). Follow the on-screen instructions to set up your account. You can also use HootSuite on your Android, iPhone, or iPad to schedule tweets. The steps to schedule a tweet are very similar to doing so on a computer. Start by downloading the app from the App Store or Play Store.
Type your tweet into the "Compose message" box. It's at the top of the screen.
Click the calendar icon below the tweet. Several scheduling options will appear.
Select the date and time at which you want the tweet posted. Click Schedule. It's at the bottom-right corner of the window. Your tweet is now scheduled to be sent to X at the selected time and date. If you want HootSuite to schedule tweets automatically based on when your tweets perform the best, toggle “AutoSchedule” to the “On” position, and then adjust your settings.


Comments
0 comment