


Click the Start button and select Run.

In the Run box type cmd.

Click OK.

Type the drive letter of the drive you want to check (followed by a colon) and press ↵ Enter. For example, to check drive D, type d:

Type cd\ and press ↵ Enter. This takes you to the root directory of the drive.
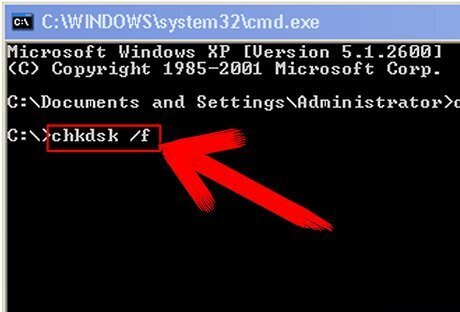
Type the chkdsk command followed by one of the following switches: Use the /f switch to automatically repair file system error. Type chkdsk /f and press Enter. Use the /r switch to repair file system errors and scan for and recover bad sectors. Type chkdsk /r and press Enter. If you don't specify a switch for Chkdsk, any errors that are found will not be fixed.
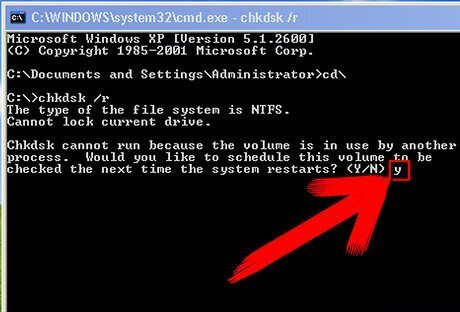
If prompted to schedule Chkdsk to run the next time the computer restarts, press Y and then ↵ Enter. You may be prompted to do this because Chkdsk needs exclusive access to the drive it's checking.

Type exit and press ↵ Enter when finished. If you had to schedule the Chkdsk operation, then restart your computer. When Windows is loading, Chkdsk should automatically run and check the drive that you specified earlier. Another way to run Chkdsk is to click the Start menu, select My Computer, right-click the drive to check, and go to Properties > Tools > Check now.


Comments
0 comment