
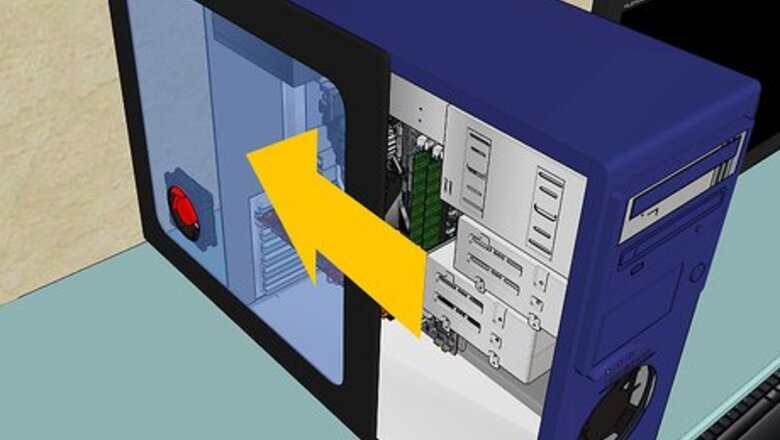
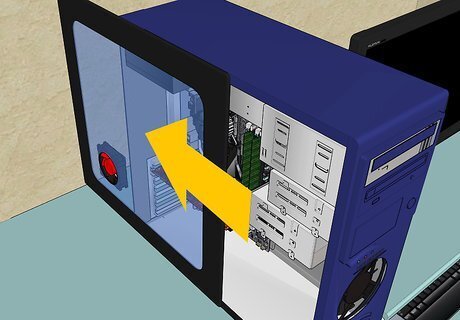
Remove the left panel of the case by removing the two Phillips head screws at the back of the case and using the handle to remove the left panel.
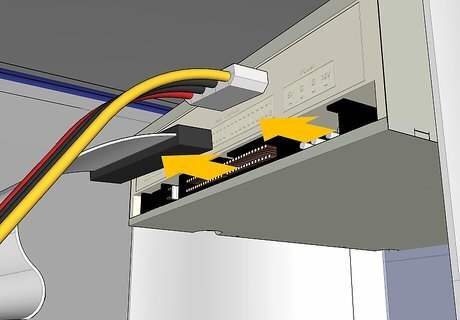
Disconnect the power connection and the IDE ribbon from the back of the DVD drive.
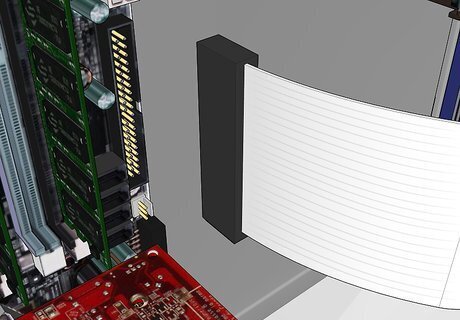
Disconnect the IDE ribbon from your motherboard.
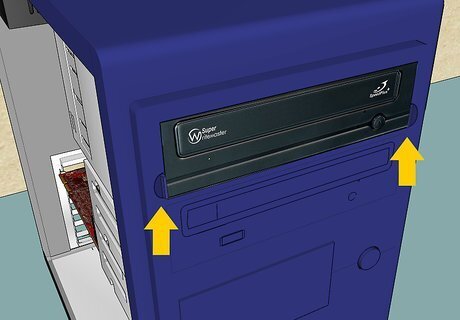
Hold in the two clips on either side of the DVD drive out the front of the tower.

Carefully slide the DVD drive out of the case.
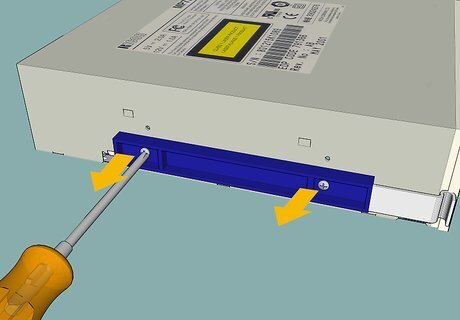
Remove the mounts from both sides of the DVD drive by removing the four Phillips head screws (two on each side).
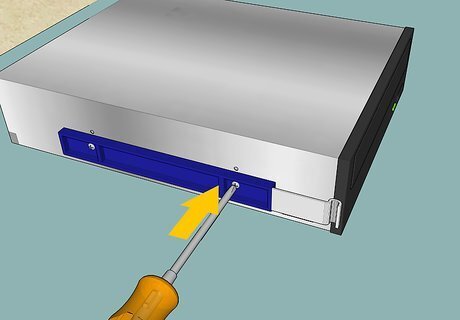
Install the mounts on your SATA DVD drive.
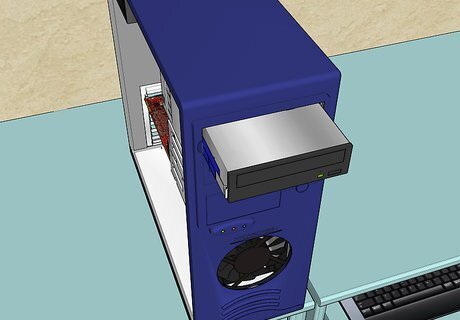
Insert your SATA DVD drive in the front of the case until the clips snap into place.
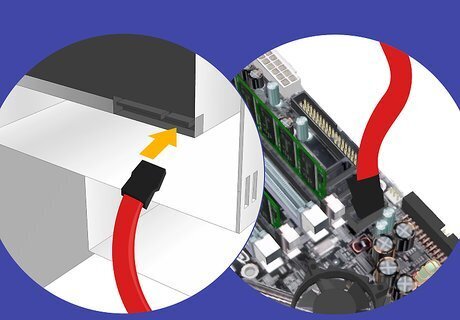
Connect the SATA cable to the back of the DVD drive and to your motherboard (see image for step 2 for position of SATA ports).
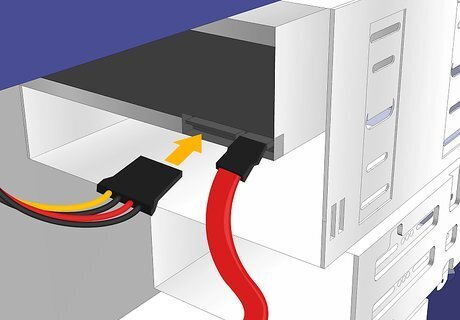
Connect the power supply cable to the back of the SATA DVD drive.
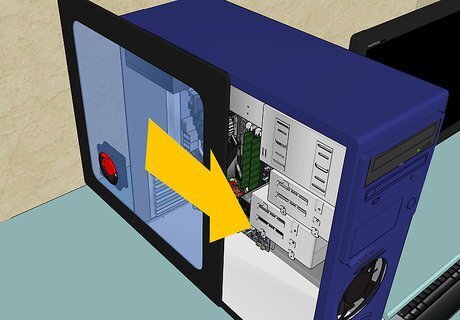
Replace the left panel of the tower by sliding it back into place and replacing the two screws.


Comments
0 comment