views
- To remove mastic without chemicals, try hot water, chiseling, or heat guns.
- In a well-ventilated room, layer mastic remover and, when it dissolves, add another layer to be wiped up with rags.
- Or, push a rotary floor machine around the area after applying a mastic removal block.
Chemical-Free Removal
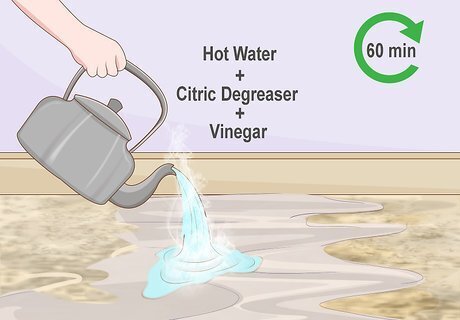
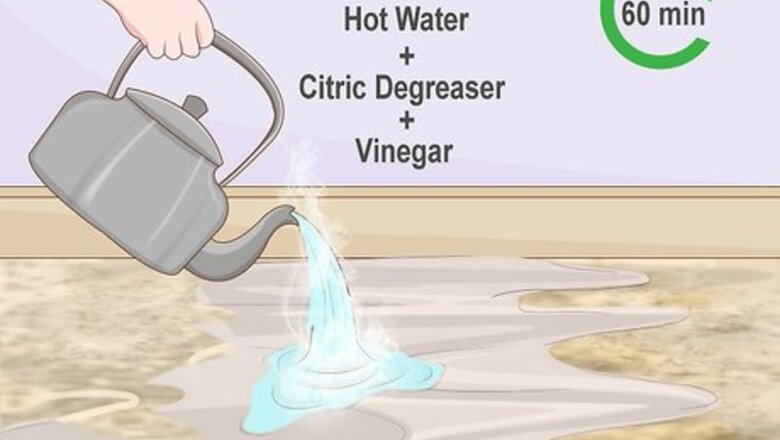
Soak the mastic in hot water. This will only work on some types of mastic, usually in recent homes. It's worth trying first, as wetting the mastic can make other methods safer. You should notice the mastic loosening within 20 to 60 minutes. Mix the hot water with vinegar or citrus degreaser for extra strength. Old, black mastic may contain asbestos. Keep it wet at all times during removal, to prevent dangerous dust.
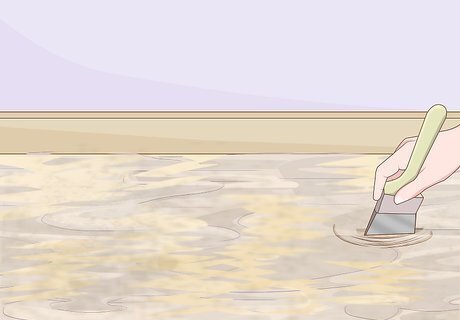
Chisel the mastic off. Once the mastic is wet, try to break it off with a hammer and chisel. If it's soft, scrape it off with a wide putty knife. Use a long-handled edge scraper on floors to save bending over.
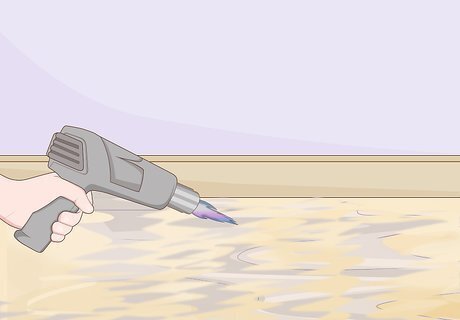
Use a heat gun cautiously. Some modern mastics or mastics containing linseed oil will soften when heated. However, these are also flammable. Wear heat-resistant gloves and use the heat gun for no more than a few seconds at each spot. Scrape up with a putty knife as you go.
Using Chemical Solvents
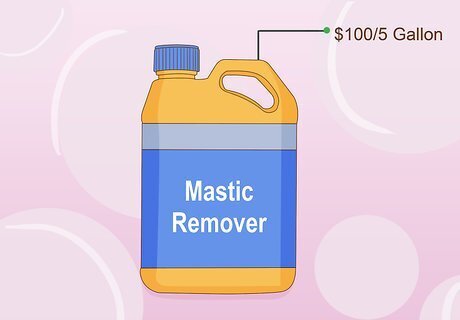
Purchase mastic remover. This is available online or at hardware stores, but may cost over $100 per 5-gallon (19L) bucket. Products made from citrus or acetic acid are safer than other mastic removers. If you are removing mastic from wood sub-floor, look for a product that is designed for use on wood. Overuse of removal chemicals can make it difficult to bond future flooring.
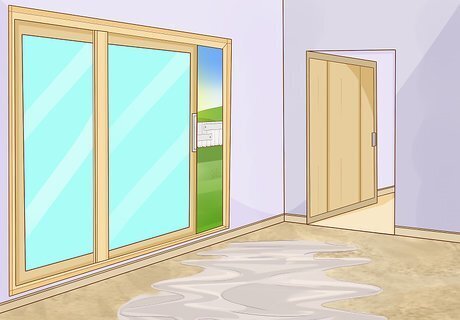
Open all of your windows and doors. Use as much ventilation as possible. Limit your time in the area while the chemical reaction takes place. Check the label of your chemical for more safety instructions. Some products may recommend a face mask.
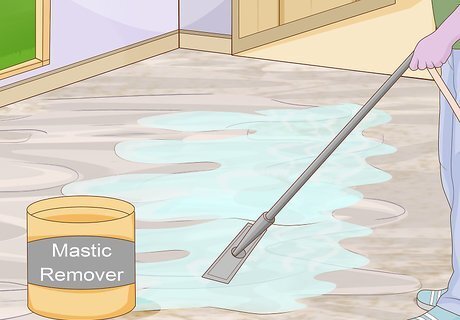
Apply a thin layer of mastic remover. Load the mastic remover into a sprayer if possible, or apply it to the top of the mastic with a mop. If you are applying it to mastic that is above wood flooring, use rags instead. Start at the far end of the room and work back to the door. Clean your footwear whenever you leave the area.
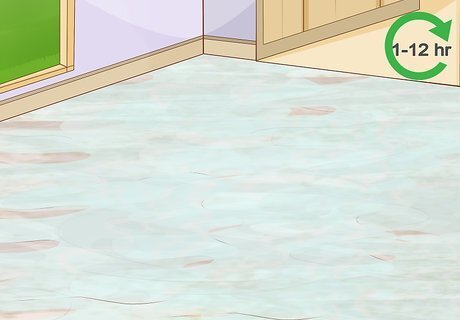
Wait for the mastic to dissolve. Wait for the amount of time suggested by the product’s instructions. This can take anywhere from 1 to 12 hours, depending on the product and mastic.
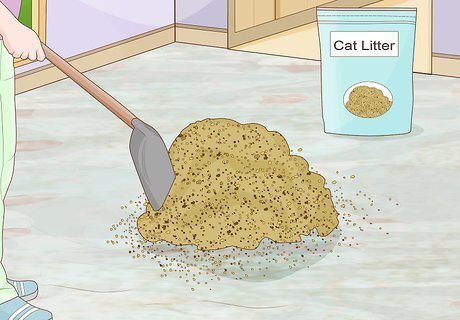
Cover with cat litter (optional). This will absorb the liquid and make cleanup easier.
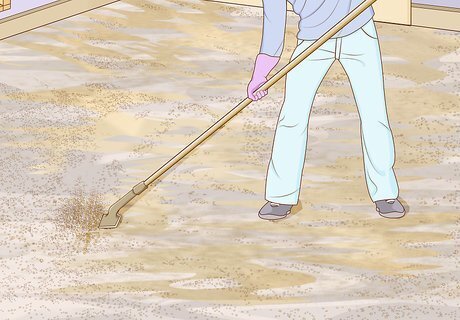
Scrape up the mastic. Wear gloves and scrape up any stuck-on mastic. You can use a razor scraper or putty knife. Place by-products in a bucket for disposal at a hazardous waste facility. You can instead use a floor machine equipped with a 3M black scrubbing pad, with a speed no higher than 175 rpm. Using a different setup or letting the floor dry may expose you to asbestos.
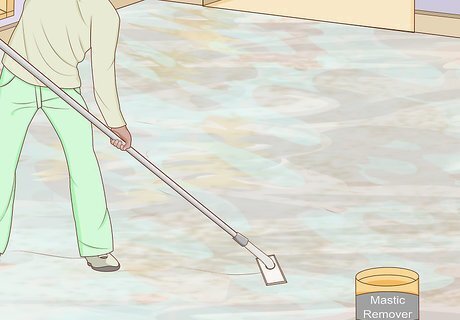
Repeat with another thin layer. Apply another thin layer of remover to remove the remaining residue. Agitate the area with a mop or bristled broom.
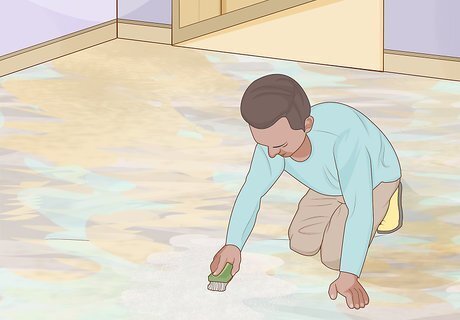
Wipe up the liquid with rags or other absorbent materials. Dispose of them with the other hazardous adhesive and waste. For large areas, rent a wet vacuum instead.
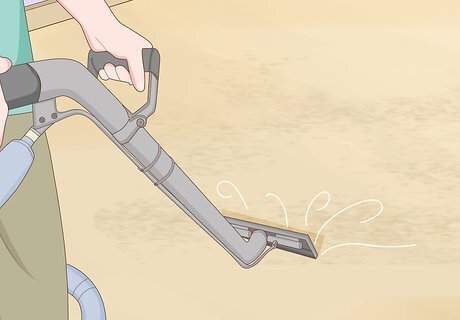
Clean the area. Clean the floor with an industrial cleaner or soapy water. Let dry completely before laying down new material.
Using a Floor Machine
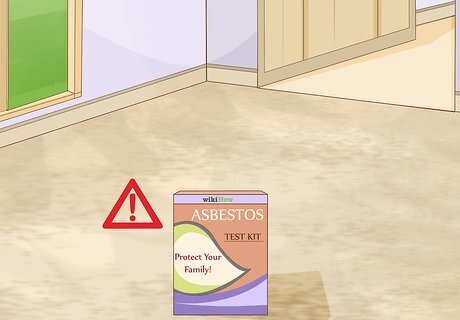
Test for asbestos. Old, black mastic can contain asbestos, which causes illness or death when inhaled. Using tools to break up the mastic send the asbestos fibers into the air, which makes it more dangerous than the chemical method above. Find testing professionals in the US at the EPA website. If asbestos is present, this method is not recommended, and may violate workplace safety regulations. Consider hiring a professional, or use the chemical method above.

Wear safety equipment. Even if there is no asbestos, you should protect yourself from debris. Wear safety glasses, a paper mask, and work gloves. If asbestos is present, this method is not recommended. If you continue anyway, use a tight-fitting respirator mask, safety goggles, and disposable rubber gloves. Wear old clothing, and throw it away at the end of the project. Turn off all air circulation to the rest of the building.
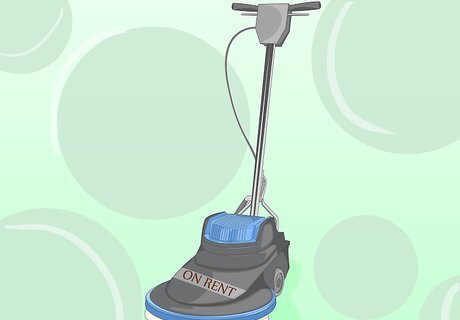
Rent a rotary floor machine. This should be available from any tool rental service. This is also called a floor buffer. A floor grinder will work instead, with no mastic removal block required. Ask the rental service about its effect on wooden surfaces if necessary.
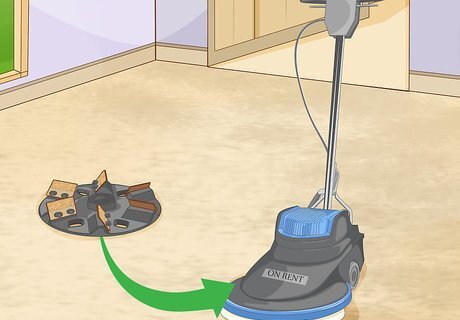
Attach a mastic removal block. This is a round base that attaches to your floor machine. It should have several blades at the base, to cut the mastic. This is typically safe for hardwood floors, but check with the tool rental service. You can also use a base intended to remove thinset from concrete. Avoid titanium blocks, which may melt the mastic and make removal messy.
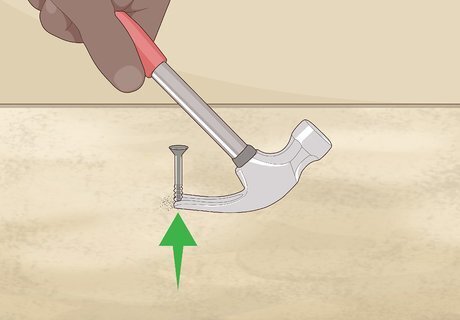
Remove nails from the floor. Nails, screws, and staples can damage the equipment. Remove these from the floor using a claw hammer.

Wet the floor (optional). Lightly water the mastic. This will keep the dust cloud to a minimum. Avoid electrical hazards with a ground fault circuit interrupter. This will cut off the circuit rapidly if water causes an electrical short.
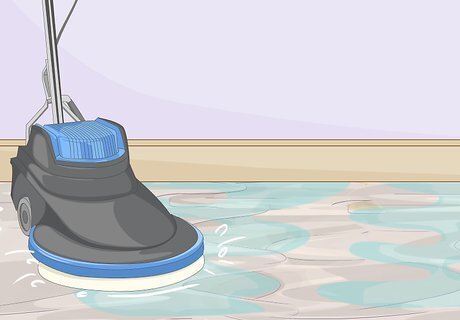
Move the machine over the floor. Plug in and turn on the machine. Push it over the mastic. Move slowly, and cover each area several times. You'll typically finish about 100 square feet (9.3 square meters) per hour. Stop periodically and sweep up the broken mastic. This will make it easier to see where mastic remains.
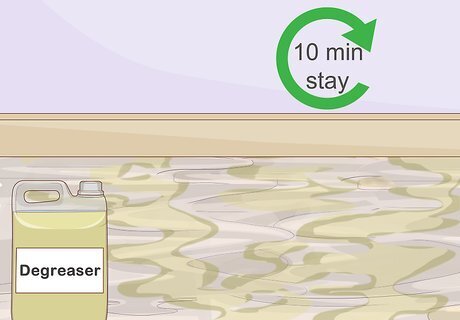
Apply a degreaser. The machine should remove almost all of the mastic. Mop a degreasing solution over anything left. Let sit 10 minutes or according to the label. If you are cleaning a hardwood floor, check the degreaser label before buying. Some products may damage wood.
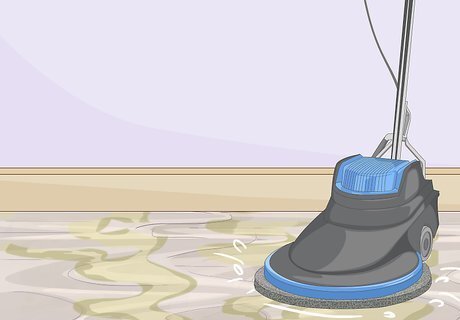
Scrub or scrape the floor. Put a scrubbing brush or stripping pad on the floor machine. Turn it on and move it over the last pieces of mastic. Alternatively, scrape it up using a putty knife.
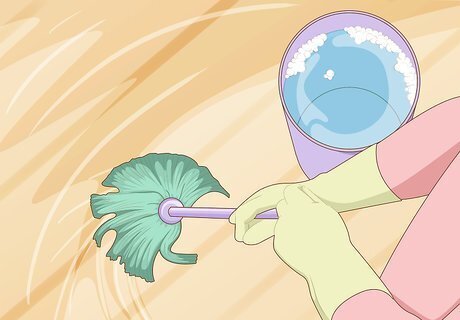
Clean with a wet vacuum. Rent a wet vacuum with a front-attached squeegee to vacuum up the broken mastic. Once finished, mop the floor with soapy water and use the wet vac again.


Comments
0 comment