
Capturing the Entire Screen
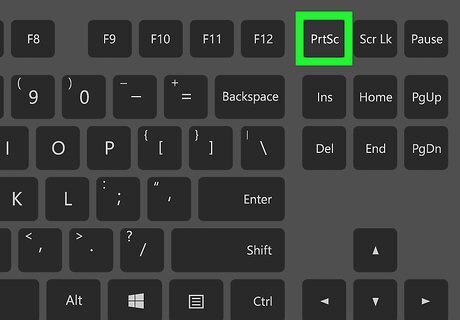
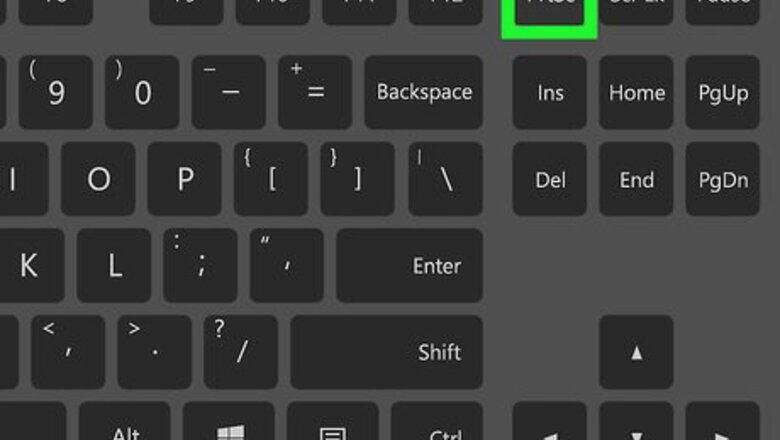
Press PrntScrn. Doing so saves the entire image on the screen to your computer's Clipboard, in the same resolution as your monitor setting. For example, a 1280x720 dpi monitor will result in a 1280x720 dpi image. If your keyboard doesn't have a PrntScrn key, press Fn+Insert.
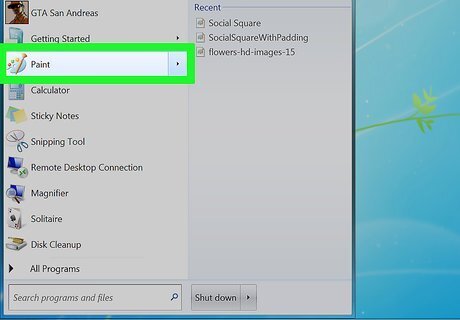
Open a document or create a new one. Do so in any app that supports the pasting of images, like Word, Outlook, or Paint.
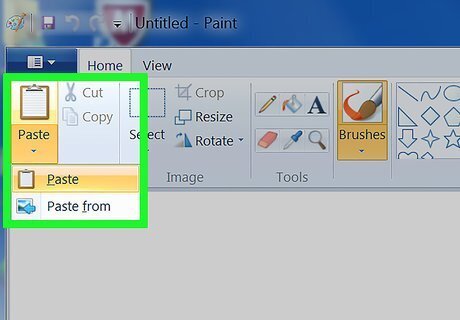
Paste the screenshot. Do so by pressing Ctrl+V or selecting Paste from the Edit drop-down in the menu bar. The screenshot will be pasted into the document. You can now save it, email it, print, or otherwise share it.
Capturing a Specific Window
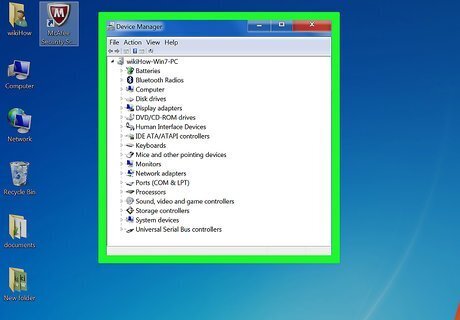
Click on the window you want to capture.
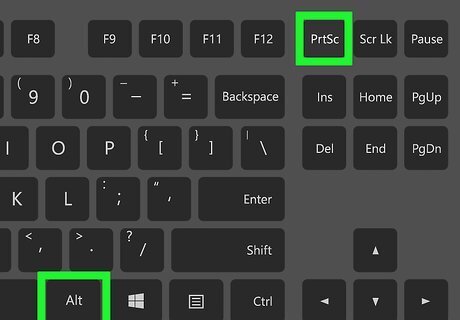
Press Alt+PrntScrn. Doing so saves an image of the window to your computer's Clipboard. If your keyboard doesn't have a PrntScrn key, press Fn+Insert.

Open a document or create a new one. Do so in any app that supports the pasting of images, like Word, Outlook, or Paint.

Paste the screenshot. Do so by pressing Ctrl+V or selecting Paste from the Edit drop-down in the menu bar. The screenshot will be pasted into the document. You can now save it, email it, print, or otherwise, share it.
Using the Snipping Tool
Open the "Start" menu. It's in the lower-left corner of the screen.
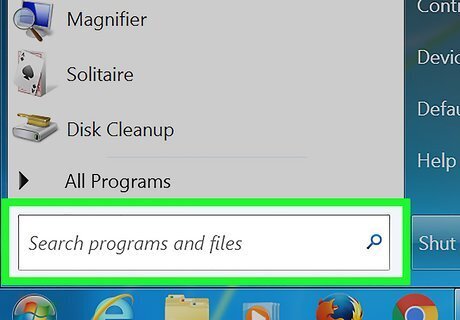
Click on Search.
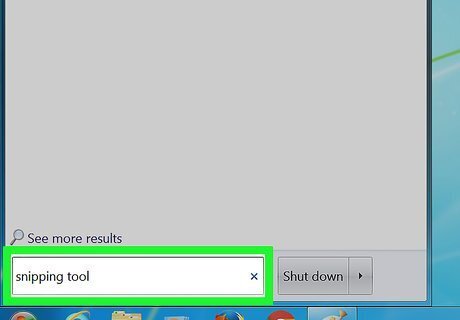
Type snipping tool in the "Search" bar.
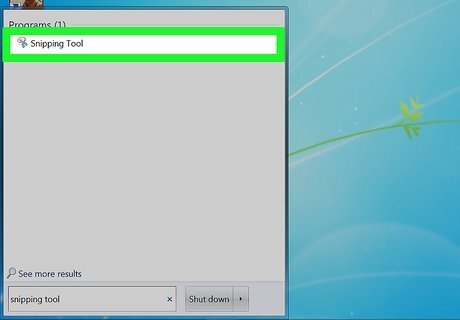
Click on Snipping Tool. Doing so opens a dialog box.
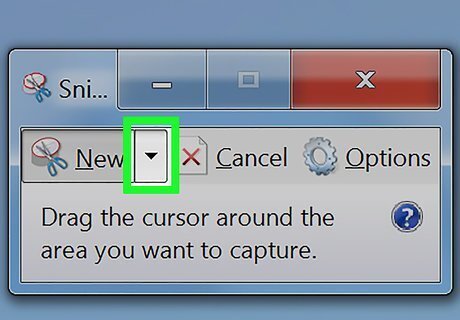
Click on Mode. It's in the menu bar of the dialog box.
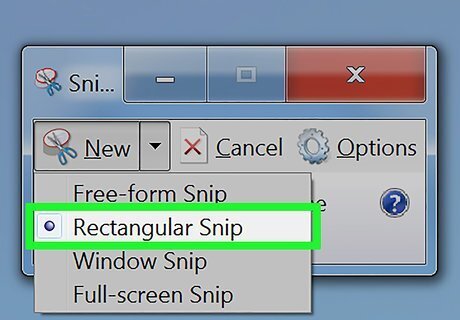
Click on Rectangular Snip to create a rectangle-shaped image.
Click and drag the pointer to outline a rectangular area of the screen. This takes a screenshot of the section of the screen you outlined and shows you the resulting image.
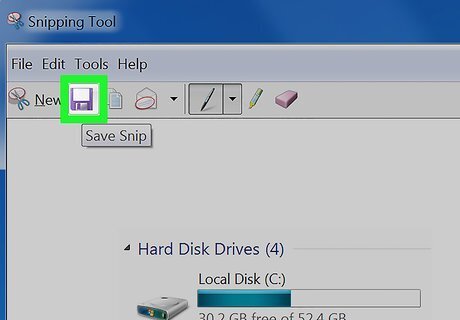
Click on Save Snip. It's the icon that looks like a purple floppy disc. This will open the "Save As" window and you can enter a filename for the screenshot and choose where to save it. The default image file type for the snipping tool is JPEG. You can change this by clicking on the "File Type" drop-down menu in the dialog box.

Click on Save. The selected portion of the screen will be saved as an image to your computer.


Comments
0 comment