
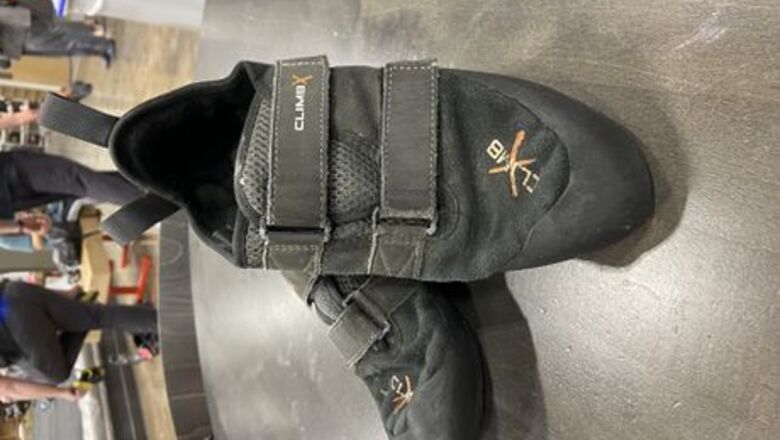
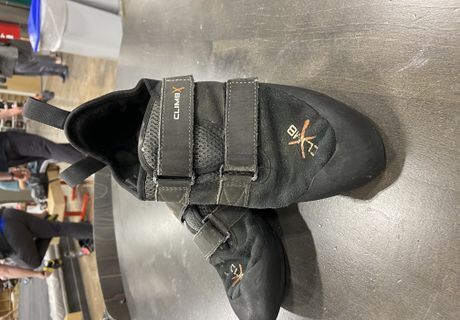
Choose the right shoes. Climbing Shoes are incredibly important in the sport. Neglecting to wear the right kind of shoes will break your climbing performance. Normal sneakers don’t supply the climber with sticky soles that can gain traction and virtually “stick” to small rocks and walls. You may find, if you wear normal shoes, you’ll slip right off the wall, whereas if you were to wear the right climbing shoes, your feet won’t be slipping anywhere.
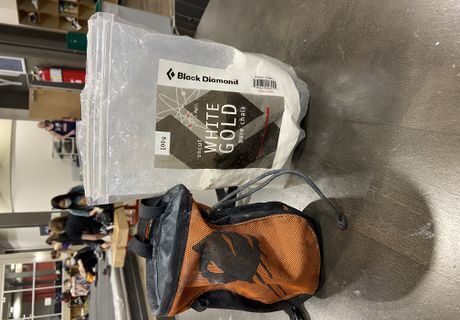
Apply some chalk to both hands. As with shoes, hands by themselves are naturally slippery from the sweat and oils produced by your sebaceous glands. To combat this problem and decrease risk of slippage, apply a generous amount of chalk to both hands. If you feel so inclined, add a tiny bit to the rock you’re holding. A sturdy grip will only boost your efficiency in this maneuver.
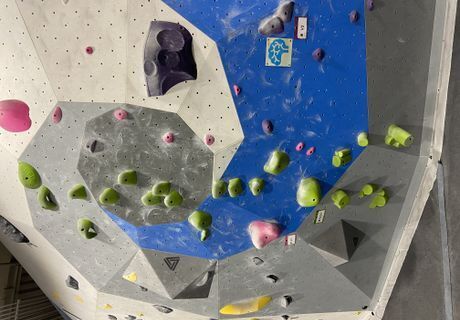
Scope out the route. A good general skill all climbers should get in the habit of is scoping their route. Take a few seconds or minutes on the ground and stare at the route you’re planning on climbing. Make mental notes of which holds to use, which to avoid, how to maneuver your body around. Think of this as a rough draft before writing your final paper. It only serves to help you through the route.
Have a spotter. Whether it’s your first-time rock climbing or you’re ten years into the sport, it is always wise to err on the side of caution. Mistakes happen to everyone—it makes us human. On the off chance you miss your jump, or you experience a slip and fall, a spotter can help guide your descent down safely. This will help minimize the risk of injury.
Secure a crash pad. Most climbing gyms are equipped with rubber mulch or foam pads underneath bouldering areas. If not, or if you are climbing outdoors, a crash pad is highly recommended. These portable pads provide the climber with a soft cushioned ground that will absorb the kinetic energy of the fall and minimize the risk of injury. Think about it: falling on a foam cushion is much more comfortable than falling on jagged rocks and dirt.
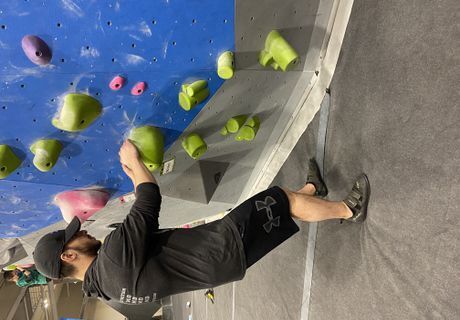
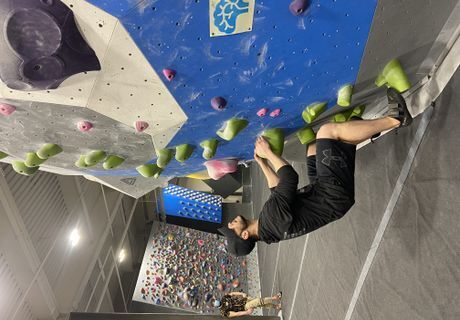
Place your hands on the hold. Approach the rock you want to dyno off of. If you’re new to rock climbing, aim to dyno off of jugs or handles. As you grow more learned and experienced in the sport, you’ll be able to use harsher and less forgiving holds. The goal is to choose a rock with a deep pocket and a lot of surface area. The more surface area your hands cover, the greater force you can use to push yourself off the rock.
Place your feet on the appropriate rocks. Your feet should be placed down and away from the hold you’re grabbing. You should almost look like a frog ready to pounce. The point of this motion is to coil your body like a spring; the tighter the spring, the further you’ll jump.
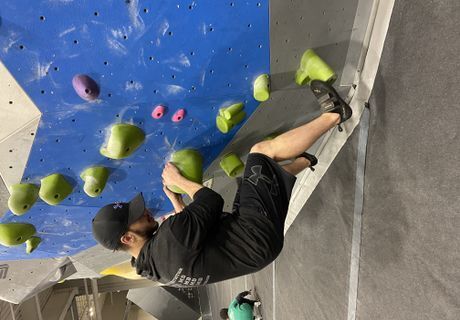
Look towards your destination. A great fear most climbers have, the fear of falling, comes from them not trusting their own body. By looking towards your destination and envisioning jumping and latching on to it, you’re building trust with your appendages. The more this is done, the less of a likelihood of accidental falls and misses due to hesitation.

Gain momentum. Without actually letting go of the primary rock, lunge your body forward towards the rock you want to grab on to, then fall back down to your original “seated” position. Neither your hands nor feet should lift from the rocks they’re on. The point of this movement is to create momentum. You are creating kinetic energy that will boost your jump towards your end destination.
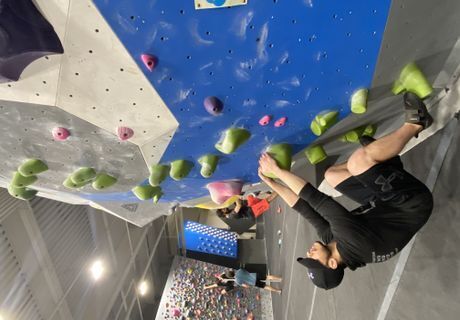
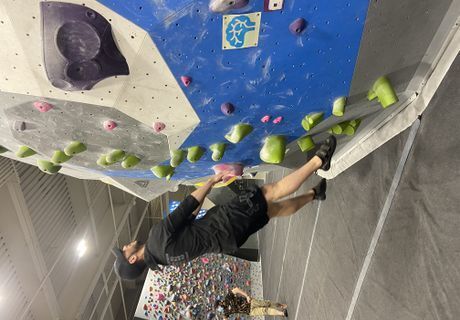
Move downwards. When you are ready, on your last “lunge,” fall back down to your seated position, but allow yourself to take and even bigger “fall” down. The best way to describe this movement is pulling a rubber band back as far as you can before letting go. This creates more kinetic energy, and as push and pull off the face of the rock, greater momentum as well.
Pull down hard on the rock you are holding on to and push off your foot holds as hard as you can. It’s a combination “push/pull” movement, like you’re using both your hands and feet to jump off their respective rocks. The greater the amount of force is applied, the further you’ll jump.
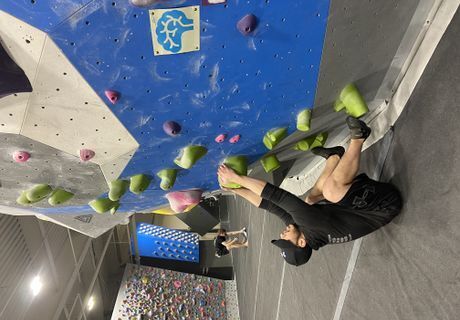
Let go. When you’re at the top of the last movement, let go of everything. Reach your arm(s) out to grab hold of the target rock. There will be a split second where you’re completely airborne, but don’t panic. Stay focused on your goal, and don’t choke on the jump. Trust your body enough to know what it is doing.
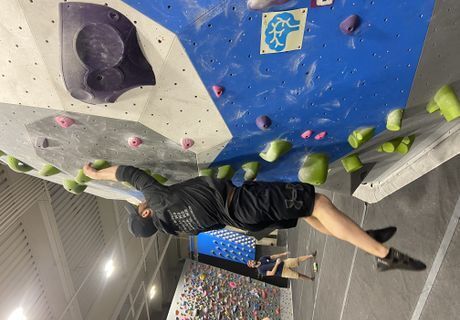
Grab your target hold. With one or two hands, grab on to the target hold. Some climbers find it easier to grab on with one hand, others prefer two. If you’re using only one hand, use the other hand and your feet to stabilize your body as you’ll still be swinging from the momentum and energy of the spring. Steady your body so you’re not swinging.


Comments
0 comment