views
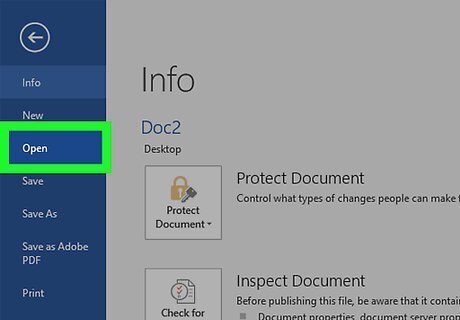
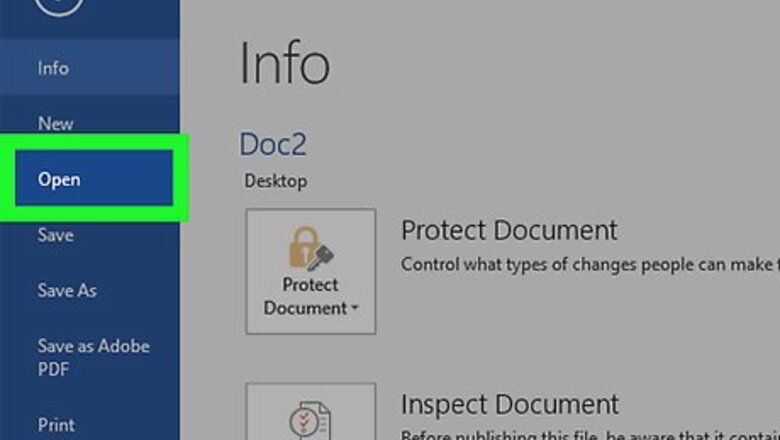
Double-click your Word document to open it in Word.
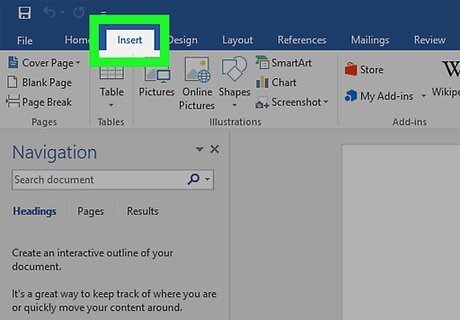
Click Insert. It’s one of the tabs at the top of the screen.
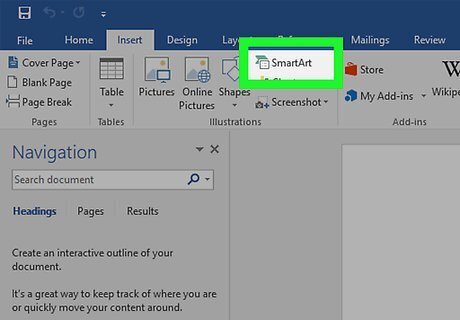
Click SmartArt. It’s in the toolbar. This opens the SmartArt dialog box.
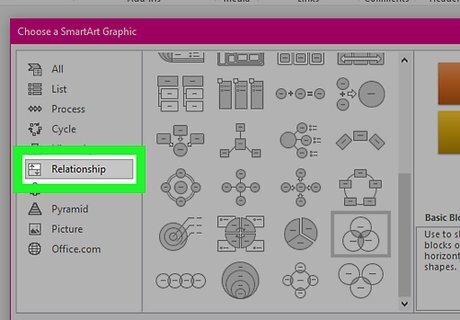
Click Relationships. It’s in the left column.
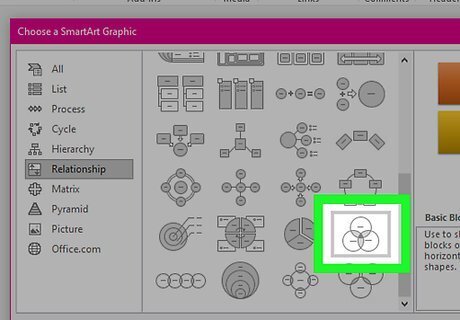
Scroll down and click the Basic Venn icon. These icons are not labeled until you hover your mouse over them. The Basic Venn icon is on the second-to-last row and looks like three overlapping circles.
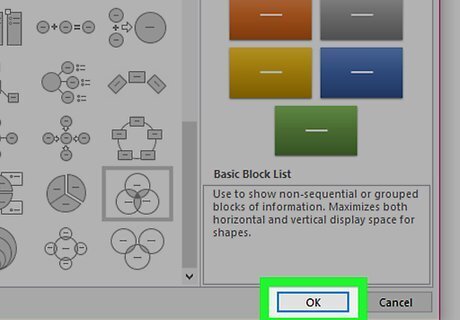
Click OK. You should now see a Venn diagram in your document.
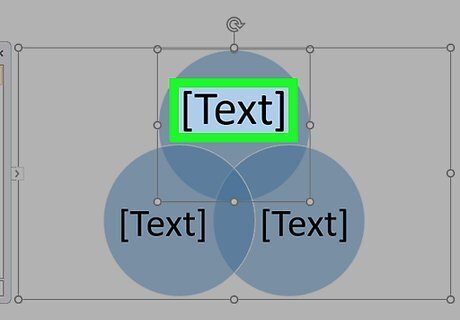
Click [Text] in each circle to enter your own details. This fills in the major categories of the diagram.
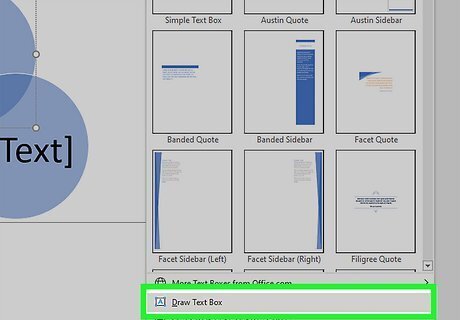
Draw a text box where you want to enter an overlapping value. To enter text box mode, click the Insert menu, select Text Box, then Draw Text Box. Click and drag the mouse cursor over any area where the circles overlap. This draws a box. Let go of the mouse cursor once your box is placed.
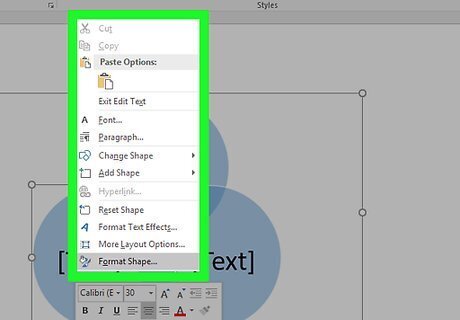
Right-click the outline of the text box. Make sure your mouse cursor is right on the line that surrounds the text box. A pop-up menu will appear.
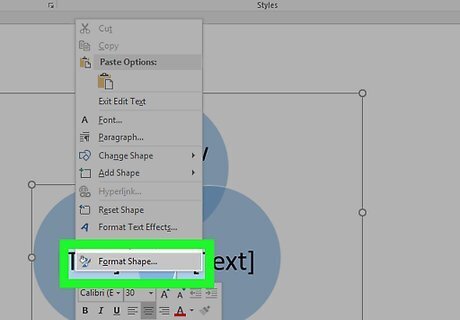
Click Format shape. This opens the Format Text Effects dialog.
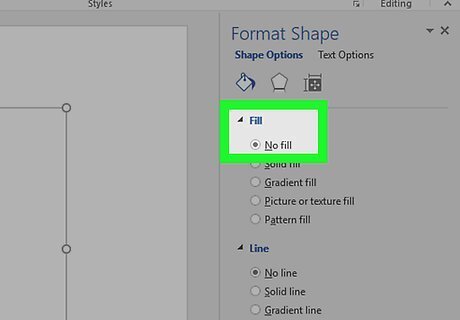
Select No Fill under “Fill.” This removes the background of the text box.
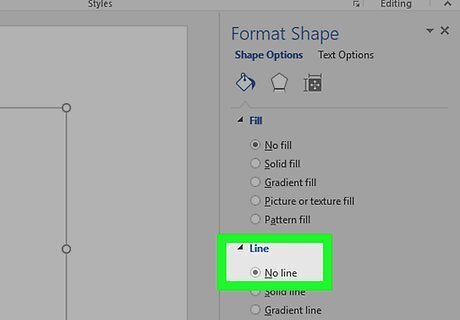
Select No Line under “Line.” This removes the outline around the text box.
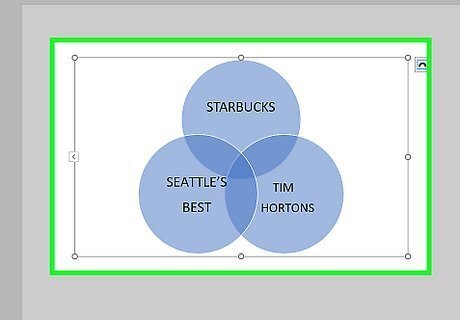
Click the text box and type your description.
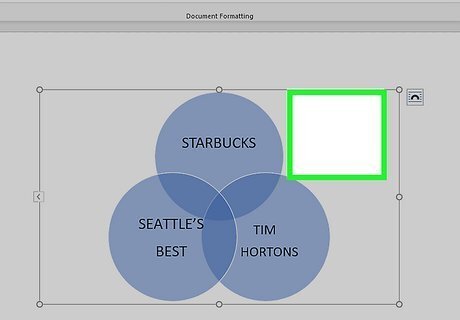
Click another area of the Venn diagram (outside of the text box). This adds two new options to the toolbar at the top of the screen—Design and Format.
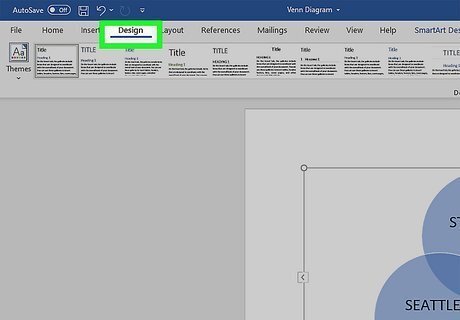
Click Design and/or Format to change your diagram’s look. Both options are at the top of the screen. Now that you've built your diagram, you can customize it with colors, gradient/fill levels, and accents. Once you've perfected your diagram, be sure to save your document by clicking File and then Save.


Comments
0 comment