
Rubber Band Method
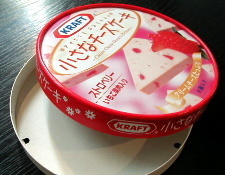
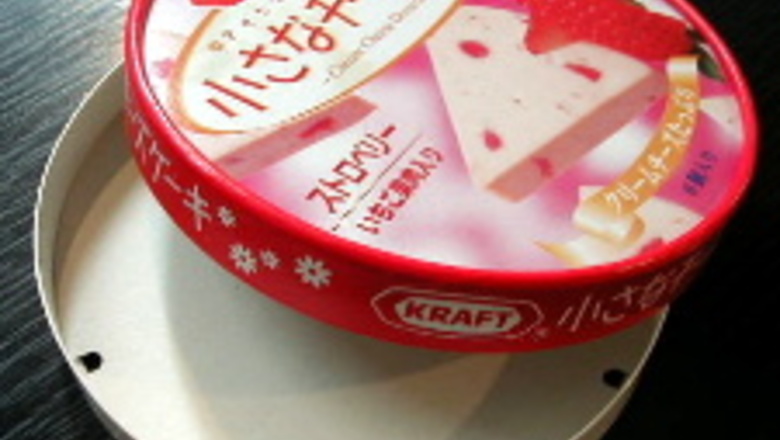
Cut a circle out of a stiff board material. The stiffer the material, the better. If using corrugated cardboard, you can use this method, or the method below. Box_279.jpg P7100013s_669.jpgOne option is to find a circular box such as the one pictured here. Separate the frame from one of the board pieces. You can use a craft knife for this purpose, but this should be done by an adult, not a child.
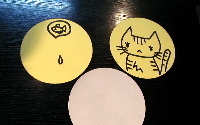
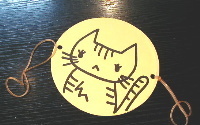
P7100014s_14.jpg Cut two pieces of paper into a circular shape of the same size as the board piece. You can do this by tracing the board piece on the paper twice, then cutting along the outlines. Draw a picture on each piece of paper. In this example, there is a cat on one piece and a teardrop and fishbowl on the other piece.
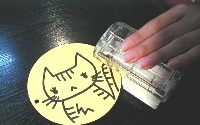
Stick the pictures on the front and the back of the board piece using glue. Be careful about the placement of the pictures in relation to each other. It must align precisely with where you want the moving image to appear on the front image. For instance, here you can see the goldfish bowl and the teardrop aligned carefully on the back piece so that when it is twisted later on, the teardrop appears underneath the eye and the bowl above the cat's head, as if it is a thought bubble. To test and make sure that the pictures align correctly, you can attach them with a paper clip and flip the card rapidly a few times to get an idea for how they will match up.
P7100015s_817.jpg Make two holes as pictured. They should be at opposite sides of the image (on the far right and the far left).
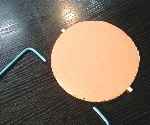
P7100016s_511.jpg Insert a rubber band in each of the two holes. Put one end of the rubber band a little bit through the hole, then pull the rest of the rubber band through the loop that you just pushed through the hole, and pull tight. Alternatively, you can use string or yarn.
P7100020s_109.jpg Wind up both rubber bands. Hold a rubber band in each hand and have someone flip the card over and over until totally twisted tight. Pull each rubber band apart quickly and the card will start spinning. If you used string or yarn instead, pull them tight, holding the ends with your index finger and thumb, and rub the fingertips together to turn the string (as shown in the video below). Your thaumatrope creation is transformed into a single picture by the twisting action. Repeat as often as wished. Children will be mesmerized.
Wire Method
Cut corrugated cardboard into a circle.
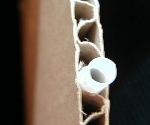
Ps7100007_853.jpg Pierce a straw into a corrugation hole, as pictured here. Make sure it goes all the way through, as close to the center of the circle as you can get it. If the corrugation holes are small, you may need to use a thinner stirring straw, which can be found at most coffee shops.
Ps7100010_473.jpg Insert a wire in both straw holes. The wire can be bent from a hanger with pliers.
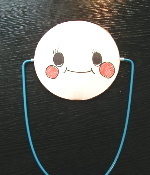
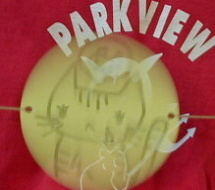
Pa7100011_93.jpg Ps7100012_342.jpg Glue your pictures onto the board piece, as instructed above. Here it is a face on one side with spectacles and tongue poking out on the other side.
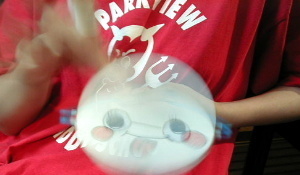
P7100030s_905.jpg Flick the card with your fingers so that it spins rapidly, revealing the wonderful bespectacled face!


Comments
0 comment