views
Gathering the Mold-Making Supplies
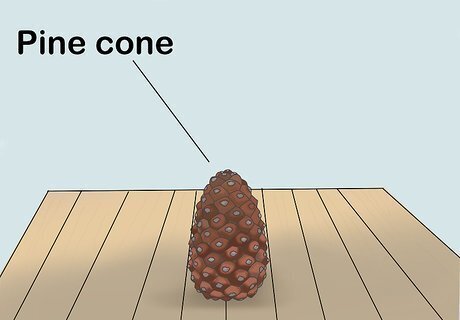
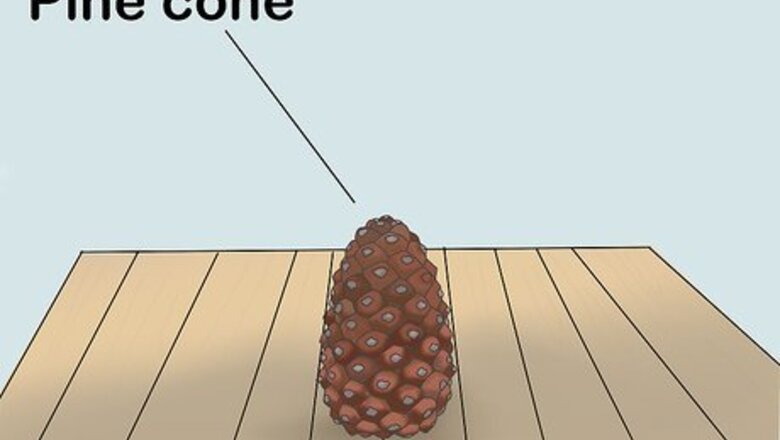
Find an object that you wish to set in your mold. This could be a pinecone, toy figurine, bouncy ball, or any other relatively small object that you wish to duplicate. Don't worry about your object being too detailed - rubber molds are great at catching very intricate designs, so the details on your object should show up perfectly. If you decide to pick a porous object, such as an object made of wood or plaster, you'll need to seal it before you create the mold.
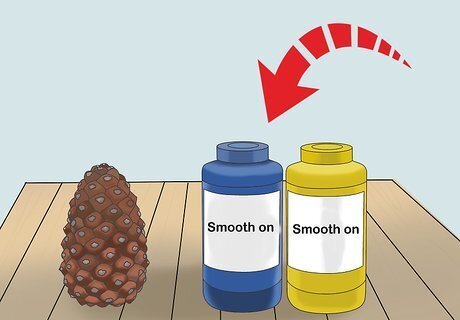
Select your mold-making material. There are a number of companies that sell rubber for making molds, but Smooth-On and Polytek are very popular ones. They usually come in a kit with two separate compounds that are mixed together to create the liquid rubber. The average price for a rubber mold-making kit is $30. Smooth-On offers a variety of different kits that have detailed instructions and an easy process.
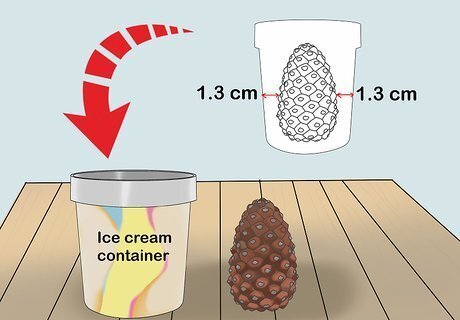
Choose a disposable container that will hold the object and liquid rubber. You'll need a box or container of some sort to attach your object to and hold the liquid rubber. Find a container that will fit your object. You should leave roughly 0.5 inches (1.3 cm) of space between the walls of the container and your object. Your box could be something like a yogurt or ice cream container. Anything that will fit your object entirely and you can cut through to remove your mold will work. You can also build your own mold box by cutting foam core to create the sides of the box and attaching them together with hot glue. You'll have to cut through the container to extract the mold, so be sure that you choose a box you're ready to throw away.
Preparing the Rubber Mold
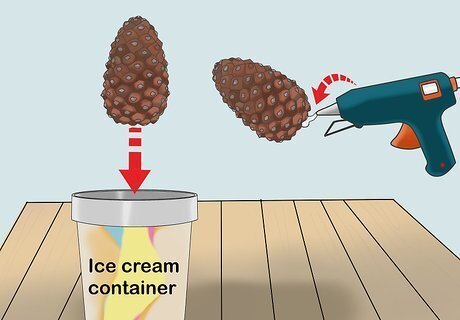
Secure your object to the base of the container. To ensure that your object doesn't move around once the liquid rubber is poured, you must attach it to the base of your container. This can be done by simply hot gluing your object to the container. You want your object to have a wide base so that once the mold is finished, it will be easy to extract the object. If your object doesn't have a large base, you can create one using a section of wax. Stick your object into the wide shape of wax, and attach the wax to the container's base. If you want to reuse your object, you can use tape or a different adhesive that won't damage the object. Just be aware that the different adhesive you choose might not be as stable as the hot glue.
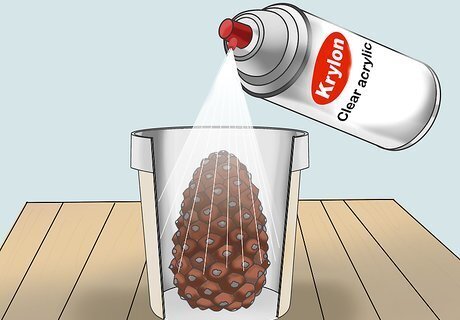
Seal your object and container if necessary. If your object is made of wood, plaster, unglazed ceramic, stone, concrete, or any other porous material, you're going to want to seal it. Use a sealant such as SuperSeal or Krylon clear acrylic spray. Rubber mold suppliers will often have their own sealant that you can purchase along with the rubber mold. If your object is made of a non-porous material, such as plastic, metal, or glass, you don't need to seal it.
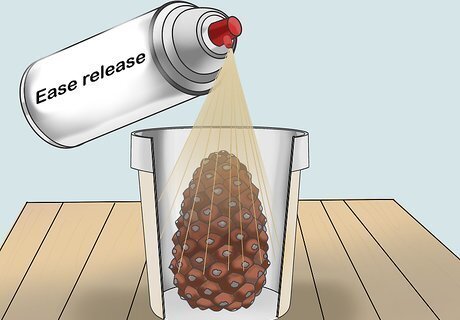
Apply a releasing agent to your object and container. In order for your object to easily separate from the rubber mold, you should apply a releasing agent that covers your object and the container. Most releasing agents come in the form of a spray or liquid, so apply a light coating and be sure to cover the entire area evenly. Ease Release, Spray-on, and ReleaSys are all popular releasing agents that can be found in art stores, home improvement stores, or online.
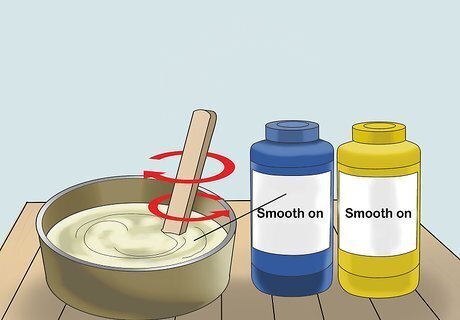
Prepare the mixture for your rubber mold. Your rubber will typically come in a two-part liquid. There should be instructions with the material, but most rubbers require you to carefully mix the two parts together using a specific ratio. This will create the liquid rubber that you will pour into your mold. Be sure to stir each liquid part separately in their original containers first before measuring out how much will be poured together. The ingredients could have settled, which will impact the activation of the rubber. Thoroughly mix both parts together. Most times the two parts will be different colors, so when you're mixing them together, make sure there aren't any color streaks once you're finished. Once you've mixed both compounds together, you typically have 20 minutes of work time, so be ready to pour the liquid rubber into your mold soon after you've mixed it.
Creating Your Rubber Mold
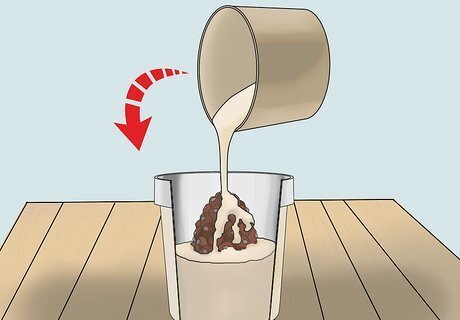
Pour the rubber from above the container to avoid air bubbles. When pouring the liquid rubber over your object, you want to hold the liquid high above the container and pour it in a thin stream. This will help eliminate air being trapped under or around your object, which is one of the main concerns when making a rubber mold. To ensure that there aren't any air bubbles, you can also apply a thin coat of the liquid rubber to your object using a brush of some sort, or very gently shake the container once you've poured the liquid rubber in.
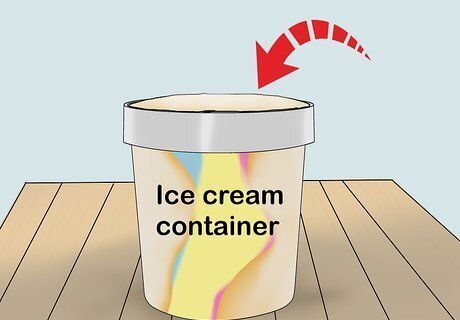
Cover the object with the liquid rubber entirely. Continue pouring the liquid rubber into the container by holding it high above your object. You want to make sure your object is entirely covered by the rubber and that there's a nice even coat on the top. If you're not sure how much rubber you're going to need for your mold, you can measure it by pouring water over the secured object in the container. Measure the amount of water that it took to completely cover your object, and that's how much liquid rubber you'll need. Just be sure that your object and container are completely dry before pouring in the mold.
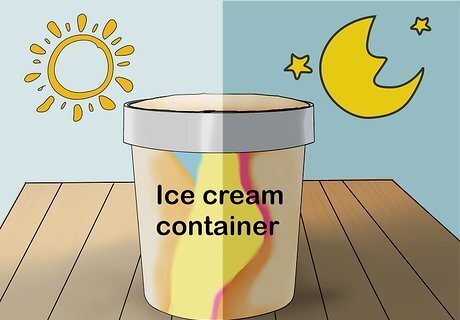
Wait a full day or night for the rubber to set. It will depend on the type of rubber you're using as to how long it will take to cure. The average curing time for most normal silicones is 18-24 hours, while most Smooth-On molds advertise the cure time to be 6 hours. It'll all depend on if there are fast-acting catalysts involved, so read the directions that come with your mold. If you're not sure how long you should wait, let the rubber mold set overnight, just to be safe.
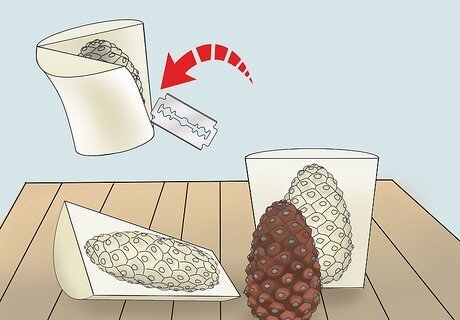
Remove the object from the mold. After you've let the mold sit for the recommended amount of time, it should be firm and ready to be removed. If you've applied the releasing agent, it should be very easy to remove your object from the mold. Cut away the container using scissors or a razor blade, being careful not to damage the mold. Gently peel the edges of the mold away from the container. Since you created a wide base for your object, you'll be able to easily remove it from the mold. If any part of it doesn't seem firm or dry, replace the container and let it cure for a little while longer.





Comments
0 comment