views
Gathering Information
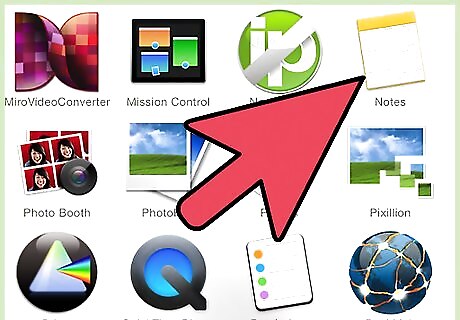
Start a document either on physical pieces of paper or digitally on your computer to store all of your information. This document will include any and all notable events in your life, so you will need plenty of paper if you are using physical paper.

Contact your family. Chances are, your family will have the most intimate knowledge of your life and can help describe who you are. Your parents, in particular, will remember what you were like as an infant and a young child much better than you can. Take a good amount of time to informally interview them about who you are and were. They will also remind you of embarrassing events that you have tried to forget but are still important in shaping your identity. They will also be able to remind you of happy moments which you may have completely forgotten about. Try to interview each member of your family separately so they can feel more comfortable sharing their thoughts and experiences relating to your life.
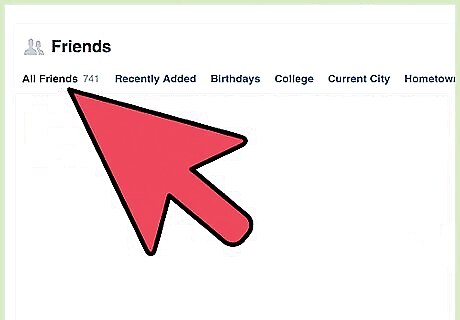
Contact current and past friends. Send a message to friends you haven't seen in a while and ask if they would like to talk for a bit. Explain that you are doing a sort of autobiography and would like their help. Interview each one of them informally just like you did with your family. This can also serve as a great way to reconnect with friends you haven't seen in a while. Try to keep up contact with them even after the project is over!
Think about your life and try to recall moments which particularly stand out. These will be moments that have clearly shaped who you are today. Examples include: Jobs. Jobs expose us to many different experiences and the hard work shapes our identity. Relationships. These can include anything from romantic relationships to friendships. Relationships teach us about ourselves and help us learn how to relate to others. These are important things to include in the video. Any moves to a new place. Moving to a new place is scary for anyone. It requires us to make new connections and sometimes give up the old. They help forge our identities.
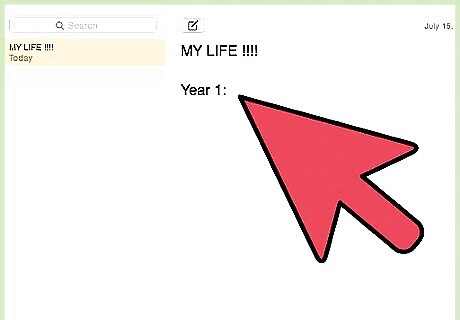
Write all the information you have gathered down in the cohesive document. It is easier to visualise if all of your information is in a single area rather than spread out. Writing everything down will also help solidify what has been truly important in your life. At this stage, do not try to eliminate anything from the list. Just get everything down and then figure out what you want to include later in the process.
Planning the Video
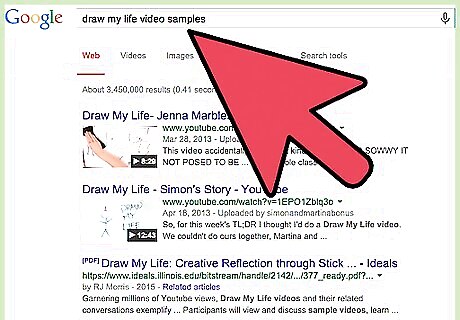
Figure out what you do not want to tell your audience. It is up to you to decide what you do not want your audience to know. Draw My Life videos tend to get pretty intimate, but it is entirely your decision. Be aware that your audience probably expects some fairly personal details in the video, though. Try focusing on 8-10 events or periods in your life which truly shaped who you are today. The video may get too lengthy if you include all the memorable parts of your life.
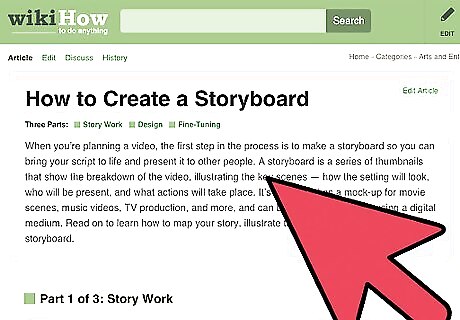
Once you have decided what you want to include, make a storyboard and loose script for the video. While "Draw My Life" videos are slightly less formal and more intimate than other videos, they should still have a strong structure. These type of videos are presented in "slides." The video maker will draw an event from their life and then voice over the slide, explaining why the event was important. Plan out a general idea of what you want to talk about in each slide. Some things to talk about include: Why you decided to include the event. Why is this event important? What change did it make in your personality or your identity? How you perceive the event now. Reflect on how the event makes you feel presently. You likely have a different perspective now than you did when the event initially happened. Draw My Life videos usually start from birth and lead up to the present, so you should try to follow this structure.
Consider whether or not the video will negatively affect anybody in your life. For example, do not name anybody who bullied you by name since this could ruin their life depending on your audience. Unless you have consent from people you will talk about in the video, use fake names to preserve their anonymity.
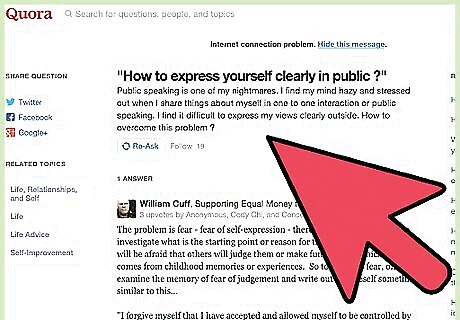
Think about how you want to talk about the memorable parts of your life. How emotional do you want to get in the video? Do you want to fully express how you feel to an anonymous audience? If you have a dedicated following, they will likely appreciate the honesty. Be aware, though, not everyone online is nice. They could attack your vulnerability. For example, if you were bullied growing up, figure out how honest you want to be in terms of your emotional response. People attacking your vulnerability could trigger painful memories. Do you want to focus on the bad or the good? Figure out what would be the most honest representation of your feelings.
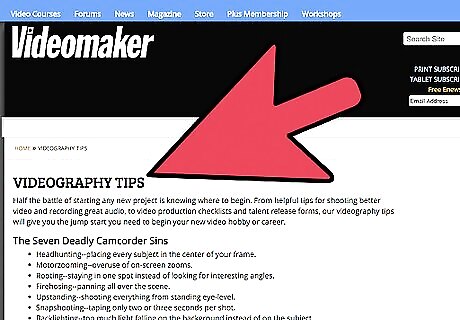
Determine how you will actually create the video. Many people set up a camera above a whiteboard, with only the whiteboard in frame. You can also use a drawing software, such as Paint or Photoshop if you would prefer. If you do use a drawing software, you will also need software to record your screen. A popular screen capture software is Fraps.
Creating the Video
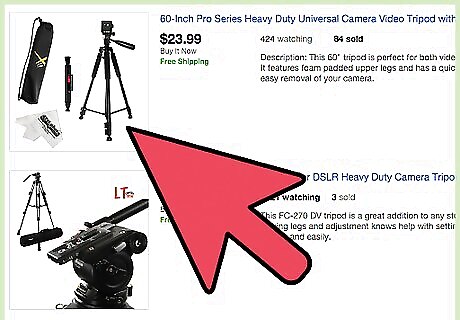
If you are using a camera and whiteboard to record your drawings, set up your camera above the whiteboard and capture the entire board within the frame. Try to only capture the whiteboard, since a border around it could be distracting. A good way to do this is to extend your tri-pod above the board and then angle the camera downwards. If you do not have a camera or tripod but do have a phone capable of recording video, you can still make a "Draw My Life" video. Just set your phone on a table with the camera sticking off the edge. Set up your whiteboard beneath the table, within the frame of the camera.
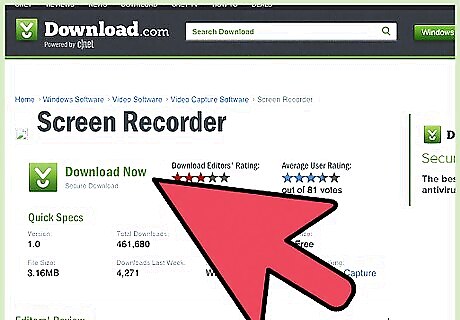
If you are using a screen capture software alongside drawing software, open up both programs and start recording your screen.
Start recording the whiteboard and draw your first scene. Figure out what you will be drawing first based on your storyboard. You will likely be starting with your birth or where you were born. Draw based on your skill. Stick drawings are perfectly acceptable. Your audience is more interested in hearing about your life story, they will excuse bad drawings if your commentary is good.
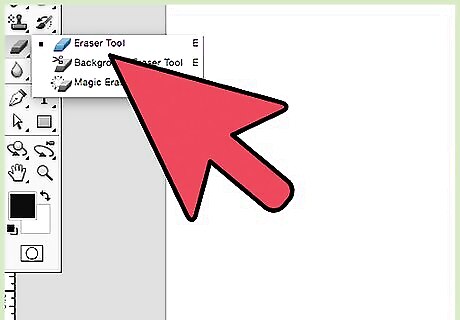
After you are done with a scene, erase the drawings and start drawing the next scene. Each scene should represent a certain event or memorable period of your life. Try to fully draw each one before moving on to the next. Use the rule of thirds to capture the scene in a focused way. The rule of thirds helps to draw your viewer's attention to certain parts of the scene.

Make your drawings exciting and engaging. Since the entire video is a single shot of a whiteboard, you will have to make your drawings fun and interesting in order to keep the viewer from becoming bored. Use different colors to help add some flavor to the video.
Post-production
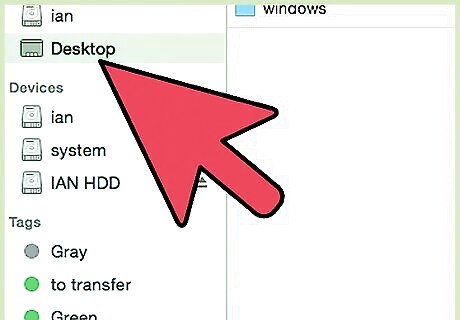
Upload the video to your computer. If you are happy with the way your drawings turned out, the only major edit you will need to make will be to speed the video up. "Draw My Life" videos generally are sped up so the video doesn't drag during the drawings. Use editing software like iMovie or others to speed the video up. You may also wish to cut scenes that you don't think fit within the video. If you don't feel comfortable with a scene, cut it out. If you think a scene is unnecessary, cut it out. Use your editing skills from previous videos you have made.
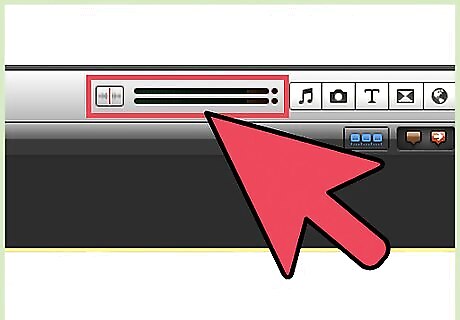
Mute the video and record yourself talking over it. Make sure you're in a place where no one will disturb you. It is much easier to talk over the video rather than trying to talk while drawing. Use the loose script you made earlier and try to edit the audio so that it is succinct and describes the events you are drawing in a focused manner. Speak clearly and concisely so your audience will be able to understand you.
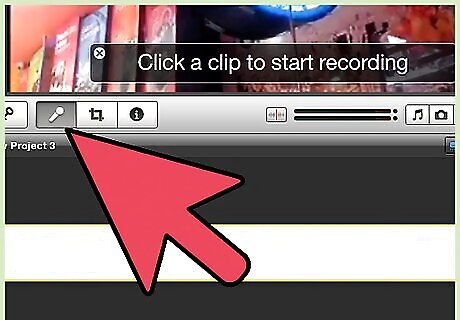
Sync up the audio with your visuals. Be sure what you are talking about properly lines up with what you are presenting through your drawings. This will be the step that is most arduous in terms of editing.
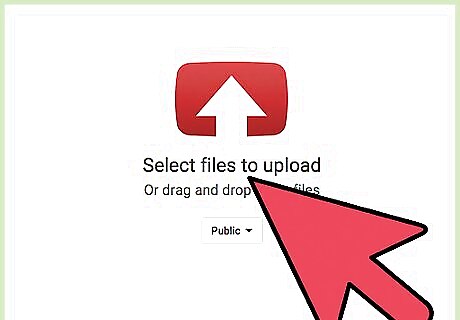
When you are happy with it, upload the video to your YouTube channel! Or you can keep it for yourself and watch it when you grow up. Take any negative comments in stride and try not to let it affect you.




Comments
0 comment