views
X
Research source
Cutting the Fabric
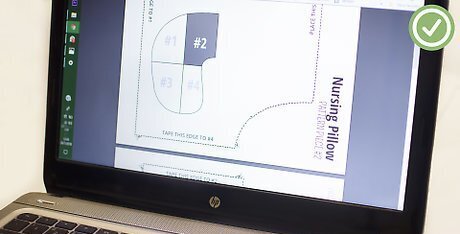
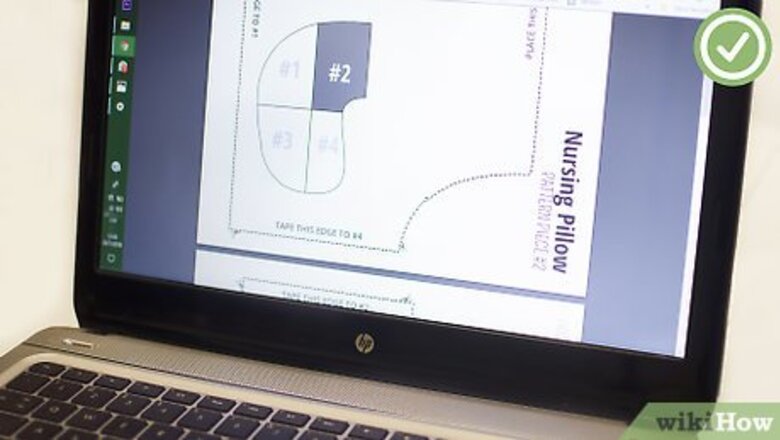
Find a pattern online for a U-shaped nursing pillow. Search for terms like "nursing pillow," "poppy pillow," or "bobby pillow." These patterns are usually for half of the pillow and look like a half U-shape when you print them out; this is because you have to cut the pattern out of a folded piece of fabric.
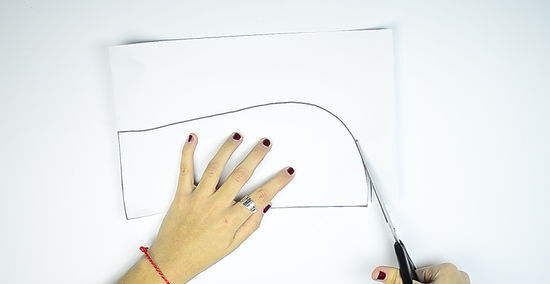
Print the pattern, then cut it out. Most nursing pillow patterns end up being quite big--about 22 by 22 inches (56 by 56 cm), so you will most likely end up with 4 pieces of paper. Once you have the pattern printed, cut each of the shape out along the printed lines. Do not scale the pattern unless told to do so by the instructions.
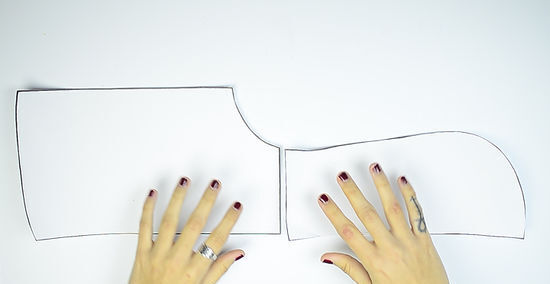
Assemble the pattern according to the instructions. Again, you will likely have ended up with about 4 pattern pieces total. Look at the pattern diagram to see what the final shape should look like, then assemble the pattern pieces to complete that shape. Tape the pieces together along the seams. You will likely end up with a half U-shape. Once you cut it out of the fabric, however, it will have a full U-shape.
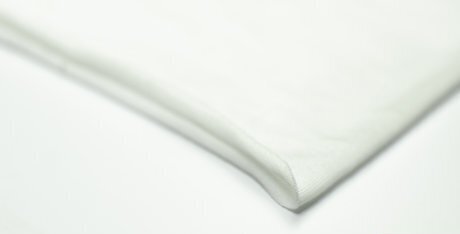
Fold a piece of white, cotton fabric in half. This will make the base of the pillow; you will be making a separate pillow cover out of nicer fabric. If you really want to, you can use a different color of fabric for the base. Cotton is still recommended, however, because it is easy to clean. If you haven't already, wash, dry, and iron the fabric first. This will reduce shrinking and remove any starches or coatings.
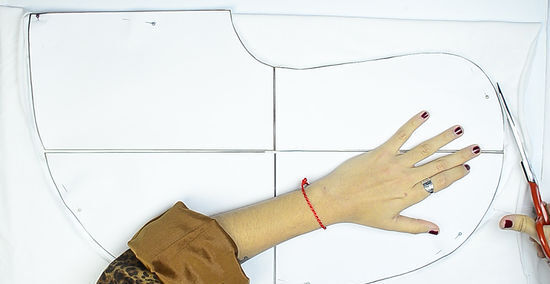
Pin the pattern to the fabric, then cut it out. Do this step 2 times so that you end up with 2 U-shaped pieces of white fabric. When you are done, set the pattern aside; you will return to it when you make the pillow cover. Make sure that the straight edge of the half U-shape is aligned with the folded edge of the fabric. This way, when you unfold it, it will make a full U-shape. Do not add seam allowances unless instructed to do so by the pattern.
Sewing the Pillow
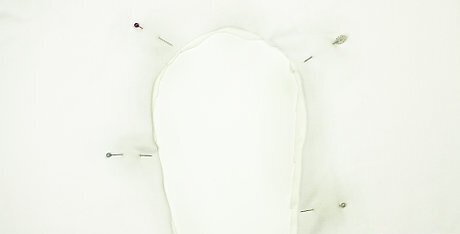
Pin the 2 U-shapes together with the right sides facing in. Set the first U-shape down with the right side facing up. Place the second U-shape on top with the right side facing down. Make sure that the edges are aligned, then pin them together. It does not matter how far apart you space the pins or the direction you orient them in. As long as they hold the fabric together, you are good.
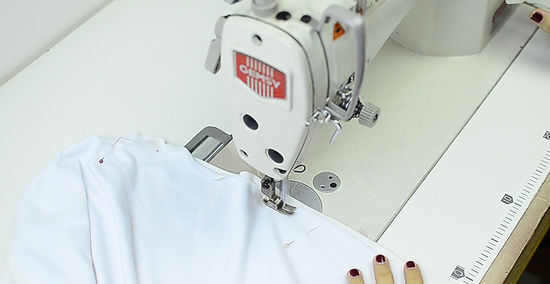
Sew the pillow, but leave a 5 to 6 in (13 to 15 cm) gap for turning. Begin sewing along the top edge of the U-shape. Sew around the edges of the U-shape using a straight stitch and whatever seam allowance that the pattern calls for. Stop sewing when you have a 5 to 6 in (13 to 15 cm) gap between your first and last stitches. Most patterns will have a ⁄2 in (1.3 cm) seam allowance. Remove the pins as you sew. Backstitch when you start and finish sewing. This will make the stitches stronger and less likely to come apart when you stuff the pillow.

Cut notches into the curved edges of the seams. Cut as close to the stitching as possible, but don't actually cut through the stitching. Keep the notches about 1 inch (2.5 cm) apart. You need them along the curved inside edge and curved top edge of the pillow. Some patterns have curved edges and the ends of the U-shape. If your pattern is one of those, cut notches into those curves too.
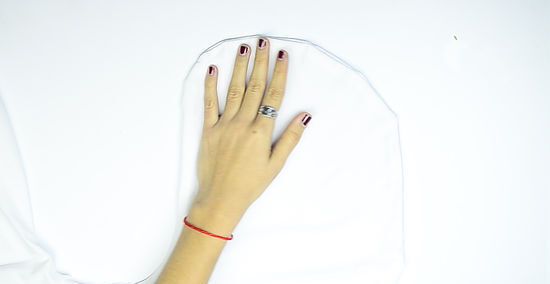
Turn the pillow inside-out through the gap and press the seams with an iron. Push the arms of the U-shape into the pillow, then pull them out through the gap. Use something long and pointy, like a wooden skewer or a knitting needle, to help push the arms back out. When you are done, press the seams flat with an iron. Use the cotton setting on your iron; if you can't find it, use the hottest setting. Pay attention to the gap; fold the raw edges in by ⁄2 inch (1.3 cm) so that they match up with the stitching.
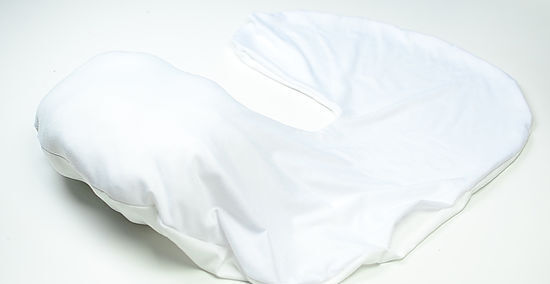
Stuff the pillow with polyester fiberfill until it is firm. Nursing pillows are not for sleeping on, so they don't need to be soft and squishy. They are meant for support, so they need to be firm. Use enough polyester fiberfill to make the pillow firm. You shouldn't be able to fit your hand into the pillow by the time you are done. Plan on using about 33 ounces (935 g) of polyester fiberfill. You can buy polyester fiberfill at a craft store or fabric store. It is the same material used in teddy bears.
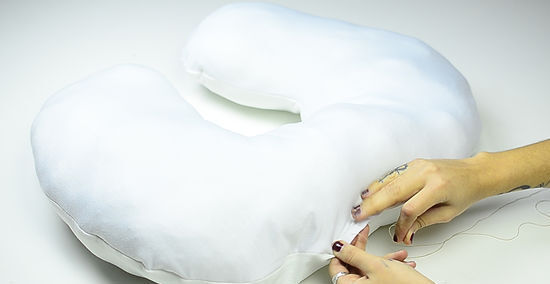
Pin the opening shut, sew it shut by hand, then remove the pins. You can use any stitch that you are comfortable with, as long as it is strong enough to hold the gap shut. A ladder stitch will work the best because it would be the least visible, but you can use a whipstitch if you prefer. If the pins get in the way, you can omit them. You will have to poke the stuffing back into the pillow as you sew the gap shut, however.
Making the Pillowcase
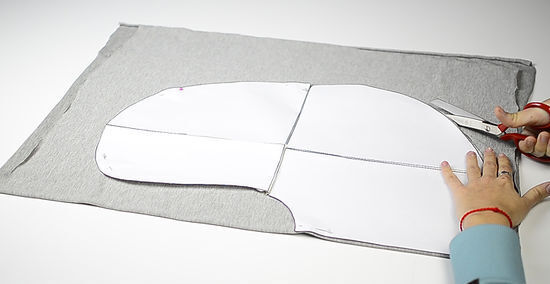
Cut another set of U-shapes using your pattern. This time, you can use any type of fabric you want. Patterned cotton is a great choice, but you can also use minky, flannel, or fleece. As with the cotton base, be sure to wash, dry, and iron your fabric first, before you cut it. Not all fabric can be ironed. Read the how-to-wash instructions on the bolt to find out whether or not you can iron the fabric.
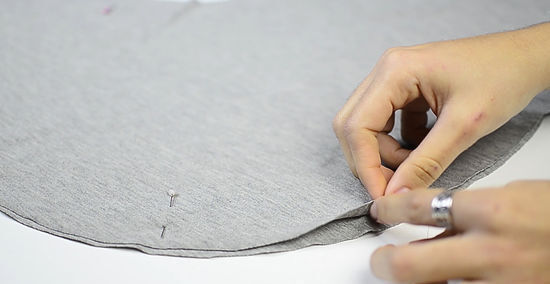
Pin the fabric right-sides facing in, leaving an 18 in (46 cm) gap. Again, it doesn't matter how you insert the pins, as long as they hold the fabric together. Make sure that the right sides of the fabric are facing in. Place the 18 in (46 cm) gap along the top edge of the pillowcase. The top edge of the pillowcase is actually the bottom of the U-shape.
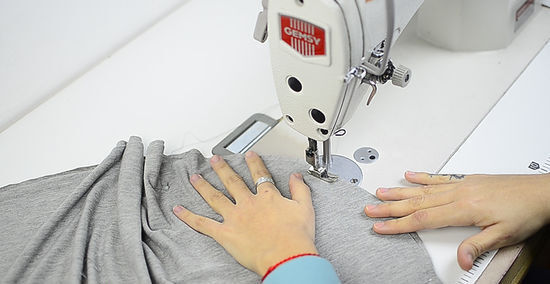
Sew the fabric using a straight stitch and a smaller seam allowance. If you use the same seam allowance as you did for the pillow, the pillowcase will be too small! Instead, use half of the seam allowance. Do not sew across the 18 in (46 cm) gap. You should still backstitch when you start and finish sewing, however. For example, if you used a ⁄2 in (1.3 cm) seam allowance on the pillow, use a ⁄4 in (0.64 cm) seam allowance here.
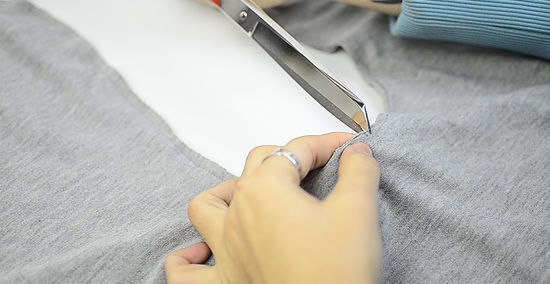
Cut notches into the seams, turn the pillowcase right-side-out, and press it. This is just like how you did the pillow base. Again, cut notches into all of the curved edges of the pillow, as close to the stitching as you can. Turn the pillow right-side-out through the 18 in (46 cm) gap, then press it flat with an iron. Use a heat setting appropriate for the fabric. If you can't iron the fabric, then skip the pressing part.
Adding the Zipper
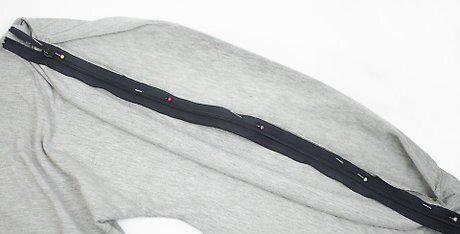
Pin the zipper face down to the top edge of the gap. Take your zipper and place it face down against the right side of the fabric. Make sure that the edge of the zipper tape aligns with the raw, cut edge of the gap. Pin the two together.
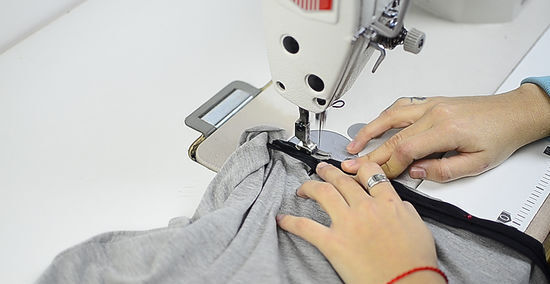
Sew the zipper tape to the fabric using a straight stitch. Slide the pillow onto the sewing machine's arm through the 18 in (46 cm) zipper gap. Position the top edge of the zipper tape under the sewing machine's foot, and begin to sew towards the bottom edge. If the sewing machine's arm is too thick, remove the cover to make it narrower. If you own a zipper foot, use that instead of the regular foot. Sew as close to the zipper teeth as possible. If you need to, shift the needle to the left or to the right. Backstitch when you start sewing, and remember to remove the pins.
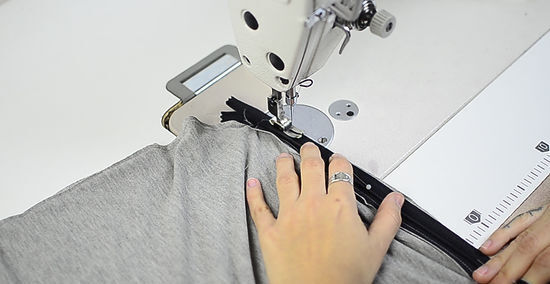
Stop when you reach the zipper pull, slide it over, then finish sewing. When you are about 4 in (10 cm) from the zipper pull, stop sewing. Push the needle down into the fabric and lift the foot. Pull the zipper pull towards the other end of the zipper tape. Push the foot back down, and finish sewing. Backstitch when you finish sewing. You will have to wriggle the zipper pull under the foot. It will take a little bit of fiddling, but you can do it!
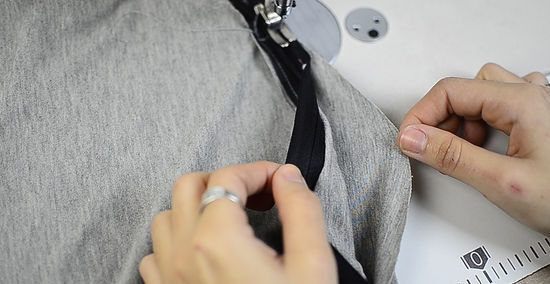
Turn the pillowcase inside-out and pin the zipper tape to the gap. Turn the pillowcase inside-out; don't worry about pushing out the corners. Find the other side of the gap, and pin the other side of the zipper tape to it. Having the zipper closed during this step will make it easier to align the zipper.
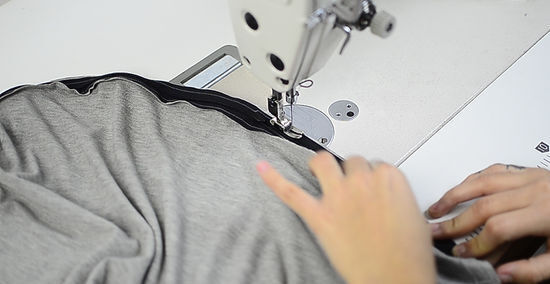
Sew the other side of the zipper, stopping halfway to open the zipper. Once again, sew as close to the zipper teeth as you can. About halfway through, push the needle down through the fabric and lift the foot. Open the zipper, push the foot down, and finish sewing. You should be able to hook your fingernail over the back of the slider and move it around, even when the zipper pull is closed. Remember to backstitch and to remove the pins!
Finishing the Pillow
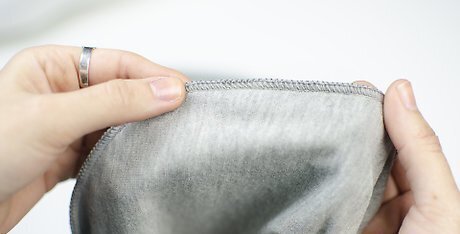
Finish the seams with pinking shears or a zigzag stitch. You don't have to do this, but it will help extend the life of your pillowcase. Trim the seams down with a pair of pinking shears, if you have them. Alternatively, go over the seams with a zigzag stitch. Another option is to use an overlock stitch or a serger. If you used a zipper foot earlier, remember to switch back to the standard foot for the zigzag stitch.
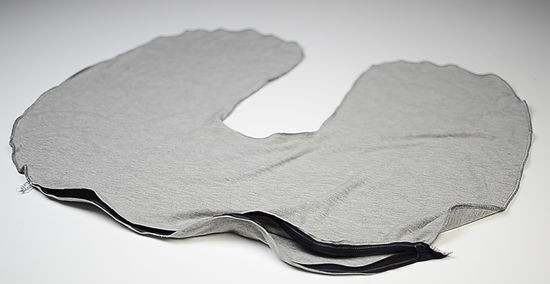
Turn the pillowcase right-side-out and press it. Open up the zipper and turn the pillow right-side-out through the zipper opening. Push the seams out and press them flat with an iron once more. Again, if your fabric can't be ironed, skip the ironing step.
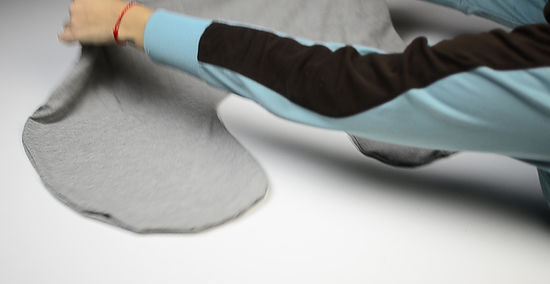
Insert the pillow, then close the zipper. Take your pillow base and slide it into the pillowcase. Because you used smaller seam allowance for the pillowcase, the pillow base should slide in easily. Once you have the pillow in, close the zipper.
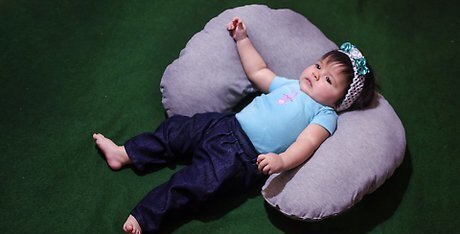
Use the pillow when nursing your baby. Babies do not need sleeping pillows until they are at least 2 years old, so do not use this pillow in your baby's crib. Instead, use this pillow to support your baby while nursing. Never leave the baby unattended with the pillow.


Comments
0 comment