views
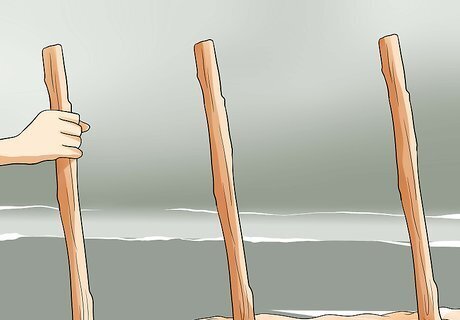
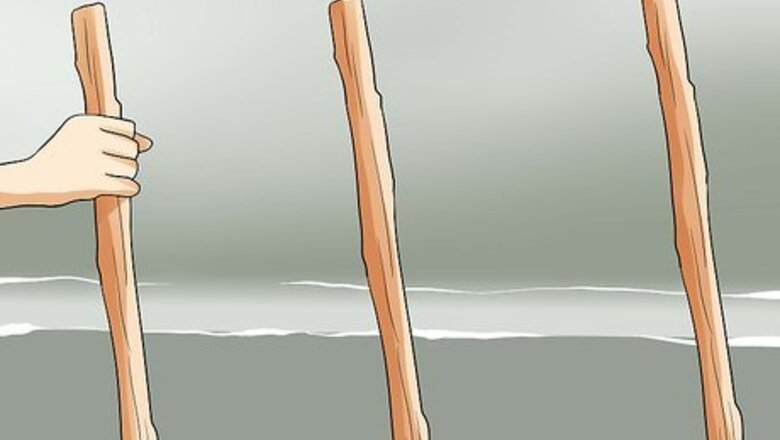
Lay out the driveway in the shape you want it. Stake it out using wooden stakes and marking spray paint. A string line tied between stakes can help guide you while laying out the shape and grade as well as during the actual construction. This will keep you on grade. Be sure the driveway will be able to drain when completed.
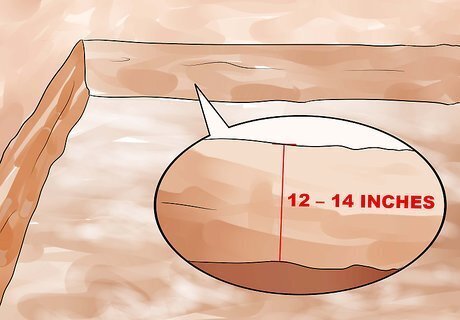
Excavate the area for the driveway to a depth of at least 12 to 14 inches (30 to 36 cm) and compact the raw sub-grade. Because of the amount of digging and excavated material to be disposed of, it is recommended that you hire an excavation contractor. The contractor will have the equipment, haul truck, experienced personnel and location necessary to haul off the waste.
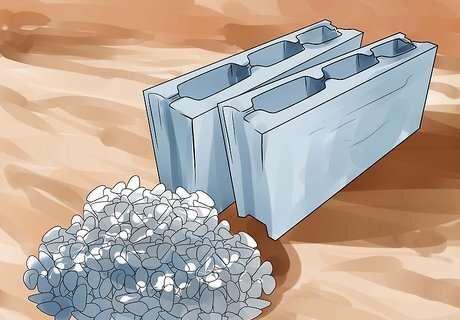
Bring in the stone base that will double as support for the brick and drainage. You will need either stone screenings or pea-gravel, depending on what is available in your area.
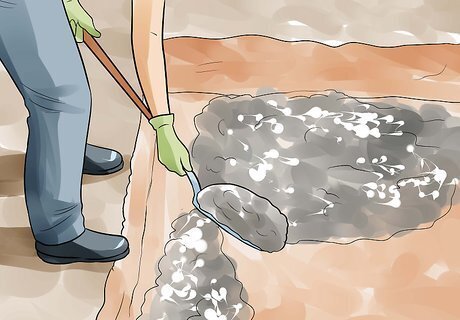
Dump the stone in small manageable piles on the sub-grade. Begin spreading the rock using shovels, a Wheelbarrow and a garden rake.
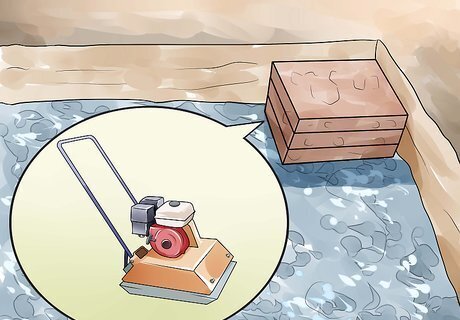
Install the stone in at least 2 or, better, 3 lifts using a plate vibrator to compact it together. The small rock will form a solid base once it has been compacted.
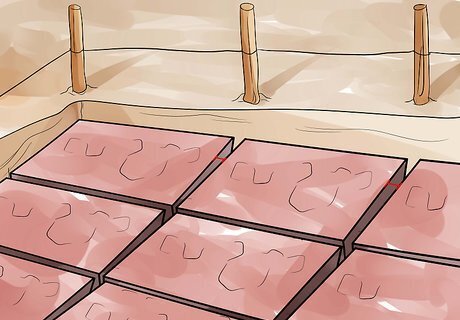
Hold the last lift of stone to a grade that allows for 2 inches (5.1 cm) of sand and the 3 inch (7.6 cm) brick paver. The string line you stretched between the grade stakes in the beginning will help here.
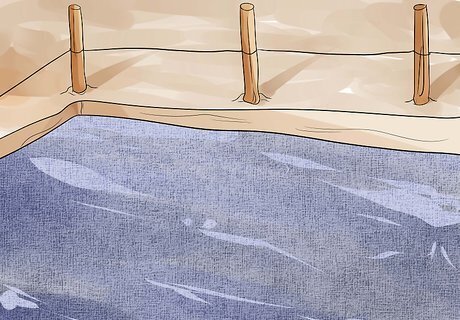
Cover the stone with landscape cloth to stop weeds from coming up between the pavers. This will also keep the sand from shifting down through the stone.
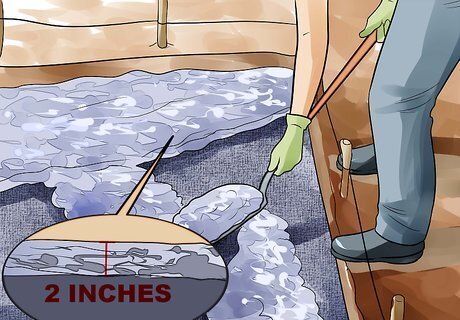
Place 2 inches (5.1 cm) of sand over the cloth to bed the paver block in.
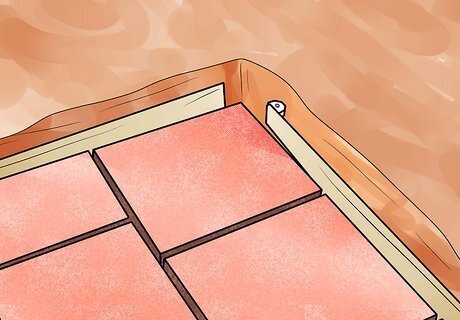
Set the plastic brick edge retainer in place following manufacturer's instructions.
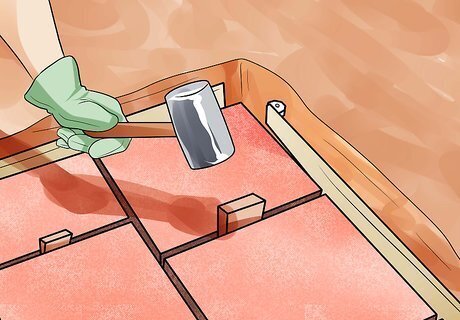
Begin at the center of the end of the driveway and work out toward the edges using brick spacers to keep even spacing. Starting in the middle will ensure that the bricks on each side, or edge, are the same size. This provides a uniform look.
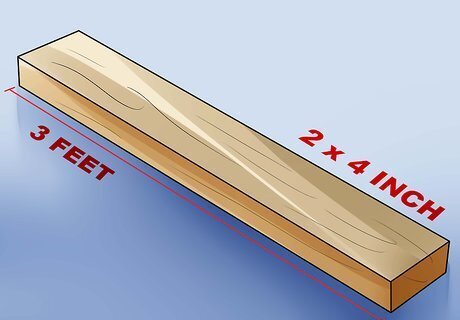
Use a 3 foot (1 m) length of 2 x 4-inch (5.1 X 10.2 cm) wood to lay across the bricks every couple of feet. Tap the wood with a rubber mallet to settle the brick into the bed of sand evenly as you install them.
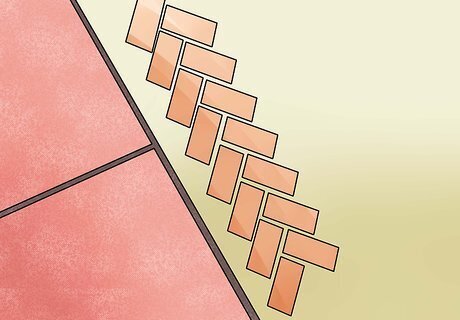
Start on the second row, centering the brick over the joint of the 2 bricks in the middle. This will give you a herringbone pattern, similar to what you see on brick that has been laid on a house.
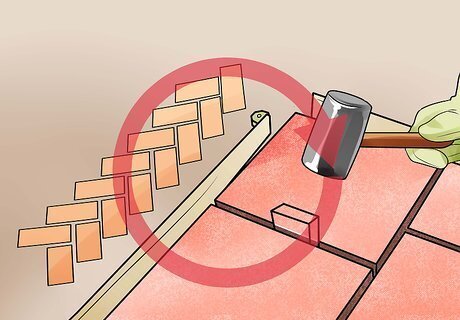
Continue the previous 3 steps to the completion of the driveway.
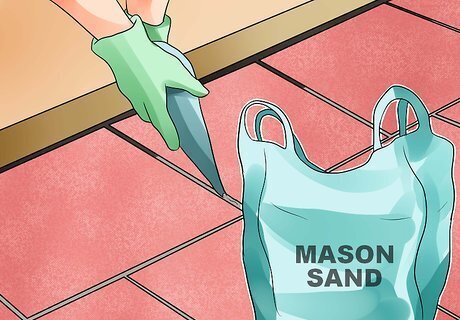
Use masonry sand to fill the joints between the brick by spreading it out over the brick sweeping it into the joints.
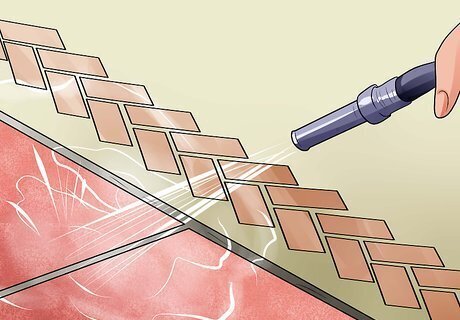
Spray water from a hose over the brick to settle the sand into the joints. This will also clean off the brick.


Comments
0 comment