views
Considering Your Space and Convenience
Find a location where functional oars can be stored. Oars can be stored horizontally, vertically, or diagonally, so you just need one dimension of the space to be as long as the oars. This space can be in whatever storage area you have, such as a garage or basement, but make sure that you will be able to access them when you need them. Functional oars can be stored diagonally if your space is limited, but they might be a bit less convenient to get off the wall. If you have a variety of lengths of oars to store, be sure that the area you pick is large enough for the longest oar.
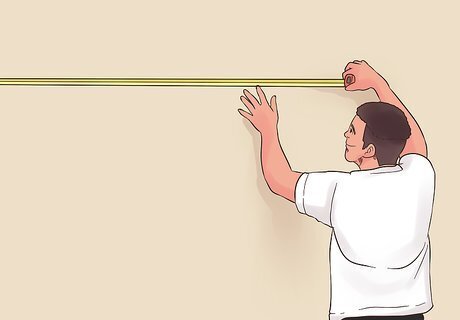
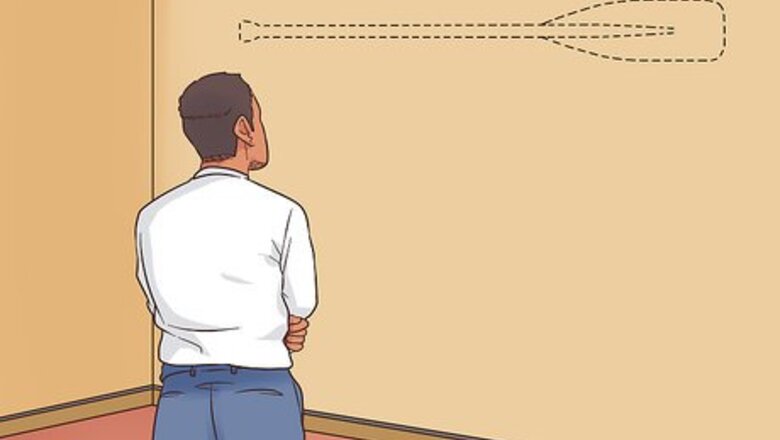
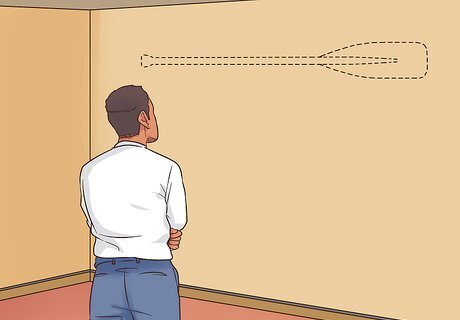
Make sure you have room to put up decorative oars. Before you begin to put decorative oars up on a wall, you need to make sure they will fit in a pleasing arrangement. Measure the oars and make sure that you have a space on the wall where they will fit. Since the oars can hang at an angle, you can measure a space diagonally to see if the oars will fit that way. Remember that oars can be put up vertically, so they can be a nice decorative element in a narrow wall space.
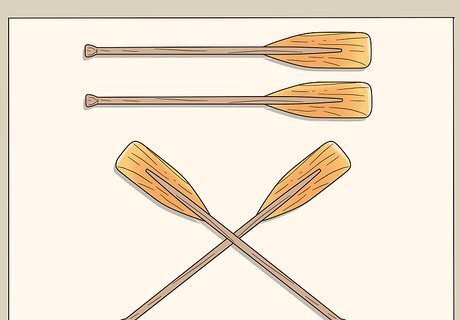
Plan the arrangement. Once you are sure you have enough space, you can begin playing with how you want the oars to be arranged. Hold the oars up at a variety of angles to see what arrangement will look best. One pleasing arrangement for oars is placing them crosswise in an "x." However, simply hanging them horizontally, one on top of the other, is also a good choice. Even if you want the oars to be parallel, that doesn't mean they need to match each other perfectly. Try putting up oars that are parallel but flipped in opposite directions, so the handle of one is next to the head of the other.
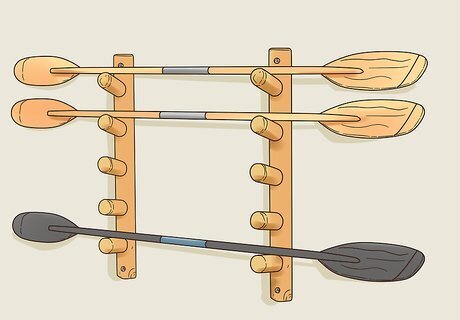
Purchase an oar storage rack for a convenient option. Oars are most easily stored on racks made specifically for oar storage. These vary in design, from simple blocks of wood with pegs coming out of them to specially cut pieces that hold the exact shape of the oars. However, oars can also be stored on a variety of other racks or hook systems, such as racks made to store brooms or rifles, so look at a variety of options before choosing. When choosing your rack, consider whether you want to store vertically or horizontally. There are different racks for these 2 configurations. When picking out a rack, take into consideration how many oars you need to store. Storage racks vary widely in the number of oars they can hold.
Building a Vertical Storage Rack
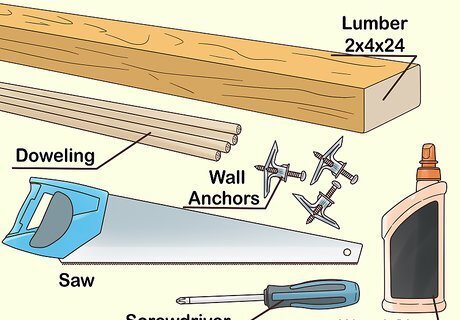
Purchase supplies. If you can't find a pre-made rack you like or you want do a project, try making your own. To make your own simple rack that will store 4 oars vertically, you will need to start with a piece of lumber that is at least 2 by 4 by 24 inches (5.1 × 10.2 × 61.0 cm). You will also need 32 inches (81 cm) of doweling that is at least .5 inches (1.3 cm) in diameter, wall anchors, and wood glue. You'll also need a saw, a screwdriver, and a drill. Make sure you have a drill bit that is the same diameter as the doweling you are using, and a drill bit that is the same diameter as the shaft of the screws that will go into the wall anchors.
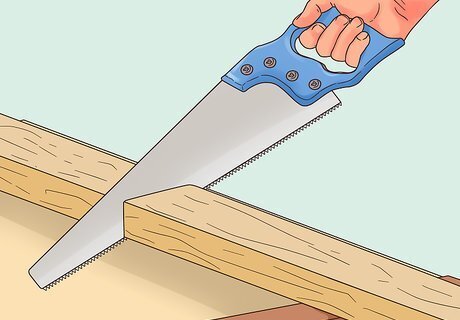
Cut the wood to length. If you did not buy a piece of wood that is exactly 2 by 4 by 24 inches (5.1 × 10.2 × 61.0 cm), cut it to that length. Then cut the doweling into 8 pieces that are each 4 inches (10 cm) long. You can use any type of wood saw to make these cuts. Even a hand saw will make quick work of these cuts.
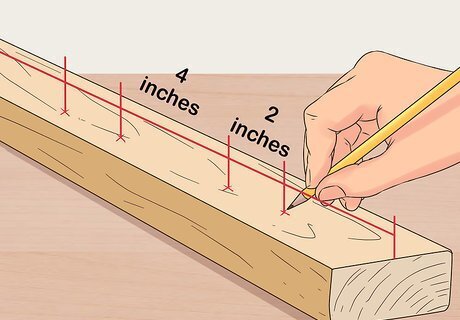
Mark for the holes. Mark where you will drill the 8 holes for dowels along the center of the wide side of the wood. Begin your marks 2 inches (5.1 cm) from the end. The 8 holes consist of four paired holes. The paired holes should be 2 inches (5.1 cm) away from each other, or the exact width of the neck of your oars. The pairs should be 4 inches (10 cm) away from each other. Then mark the 2 holes that will be used to anchor the rack onto the wall. The anchor holes should be 1 inch (2.5 cm) from each end of the rack.
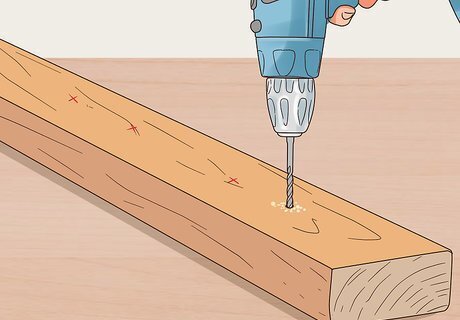
Drill the holes. Once marked, center your drill bit on the marks and drill the holes. Drill the dowel holes halfway through the wood. They should not go all the way through the wood so that the dowels can be more easily glued into the holes. Drill the 2 holes for the anchors all the way through the wood, so that the anchors can be easily screwed through the rack. Remember to use different sized drill bits for the anchor holes and the dowel holes.
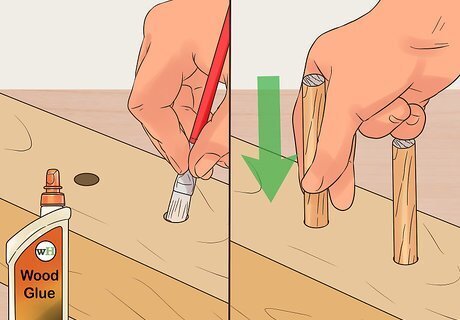
Attach the dowels. Insert a pea-sized squirt of wood glue into each hole. Then insert a dowel into each hole, making sure it is inserted as far as possible. Be sure that the bottom of each dowel is touching the bottom of each hole. If the dowels don't want to stay down, use a piece of painter's tape or masking tape to secure them down as they dry. If glue squirts out around the edge of the dowel, wipe it off with a slightly damp towel right away. It's a good idea to clean up the glue before it dries, as it is easier to remove. Let the dowels dry for 24 hours before proceeding with the project.
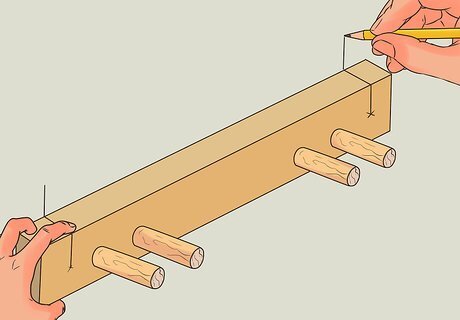
Hang the storage rack on the wall. Put the rack up on the wall and make sure it is level. Then mark where the anchors should go on the wall. After you have made marks, you can take the rack down and drill your pilot holes. Once the pilot holes are drilled, insert the anchors into the wall, line up the rack, and place the screws through the rack and into the anchors in the wall. Use anchors that are designed for your specific type of wall and ensure that the rack is fastened solidly into the wall.
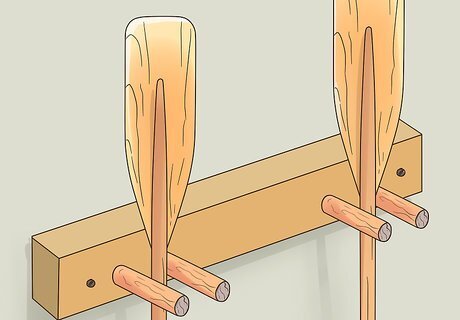
Put up the oars. Once the rack is on the wall, you can hang up your oars. Simply hook the handle or head of each oar between a pair of dowels. It is a good idea to keep pairs of oars together when hung up, so that you grab matching pairs instead of 2 mismatched oars.
Hanging Oars Horizontally or Diagonally with Hooks
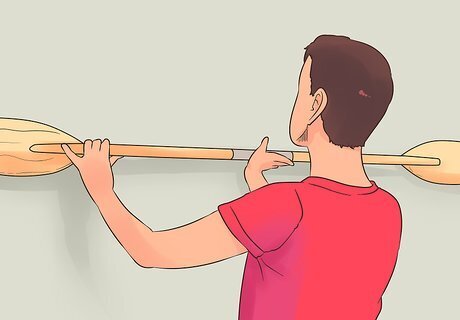
Mark your preferred hanging arrangement on the wall. If you want to hang your oars horizontally, for instance, you'll want to use 4 hooks in two level, parallel rows. Each row will consist of 2 hooks separated by a distance slightly less than the length between your oar's handle and paddle. If you want to hang your oars in an "X" shape, you'll need 5 hooks -- one at each outer point of the "X" shape, angled toward the crossing point of the "X" (where the fifth hook will go).
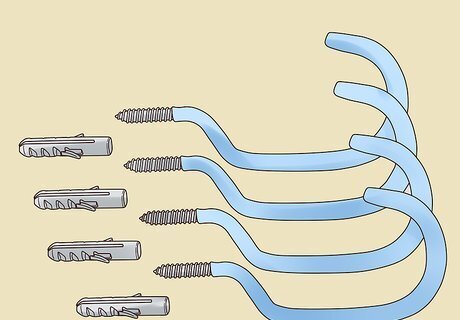
Purchase hanging hardware. No matter the arrangement, you need to anchor the hooks into the wall. You can either purchase large hooks made to hold oars on a wall, or wall anchors that can have separate hooks hung off of them. You'll need either 4 or 5 anchors, depending on your chosen hanging arrangement (horizontal or diagonal).
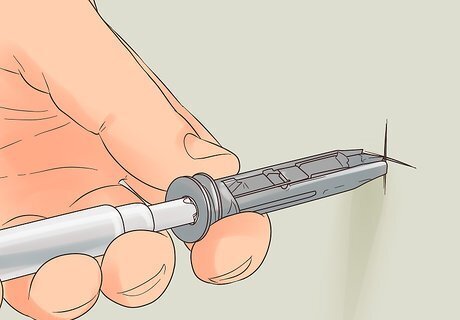
Insert the anchors into the wall. One at a time, drill pilot holes into the wall at each of the 4 or 5 positions where your anchors/hooks will go. Use a drill bit that corresponds to the diameter of your anchoring system. Then insert the self-anchoring hooks, or the anchors and then the hooks that fit into them. Follow the specific directions for the anchors/hooks you've chosen. How you attach your anchors to your wall depends on the type of walls you have. If you have drywall walls, you should use different anchors if you are attaching to a wall stud or in an area without a stud.
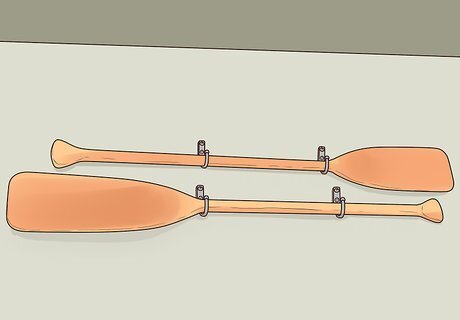
Put the oars up on the wall. Once the anchors are securely in the wall, you can put the oars up. Make sure they are hanging in the arrangement that is pleasing to you and that they are balanced on the wall correctly. For a horizontal pattern, you'll just want to make sure the oars are level and parallel. For an "X" pattern, the oars will overlap at the central hook. Adjust the angles of the 4 outer hooks as needed (by slightly loosening or tightening them in the wall) until the alignment is correct.
Hanging Oars with Decorative Ropes
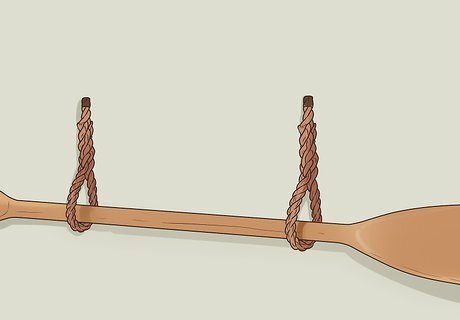
Use hanging ropes if you want to limit the anchor points in your wall. Oars can be hung by rope by tying one end of the rope near the base of the paddle head, and one end near the handle. Then the center of the rope is hung off of a wall fastener. This means you only need 2 anchor points to hang a pair of oars.
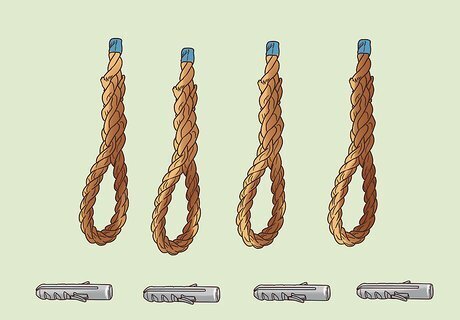
Purchase your rope and anchors. Choose a sturdy but decorative rope that will look good with the oars. You will also need 2 wall anchors that you can hang the ropes from. Buy two lengths of rope that are each roughly twice the length of a single oar. The type of anchors you get depends on the type of walls you have. Whether you have drywall, lathe and plaster, or concrete walls, get anchors that say they are designed for your specific type of wall.
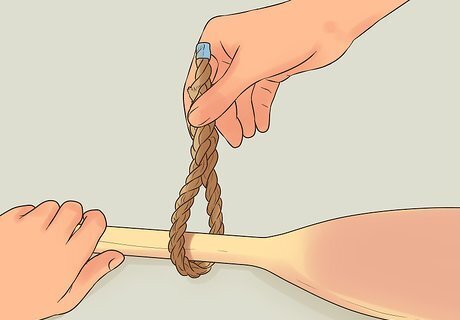
Attach the rope to the oars. Tie one end of the rope below the handle of your oar using a knot or a bow. Then pull the rope down to the other end of the oar. Keep the span of the rope as tight as you want it to be and then tie the other end of the rope to the oar. Once both ends are tied, you can cut any excess rope off of the end. Do the same thing with the second oar. Tie the rope onto this oar in the same way as you did for the first, making sure that the span of the rope has the same tightness and length as the first one.
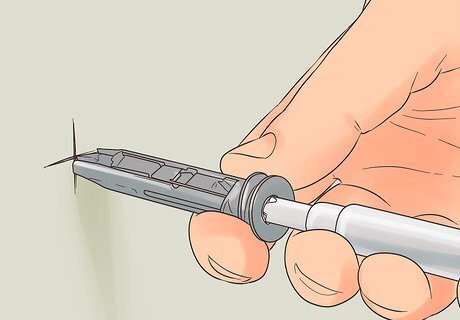
Attach the anchors to the wall. You will need to put 1 anchor up for each oar. Be sure to figure out the right position for the anchors on the wall before attaching them, so that the oars will hang as intended. Once your positions are chosen, follow the directions that came with the anchors to attach them. How you attach the anchors will vary depending on what type you are using. For example, anchors attached to drywall often require you to drill a small hole that the wings of the anchor will be inserted through before being tightened. Anchors used in lathe and plaster are often simply screwed straight into the lathe.
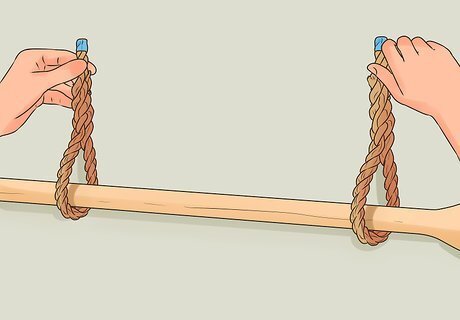
Hook the rope onto the anchors. Hook the center of each rope onto 1 of the anchors. Then let the oars hang freely and adjust their positioning as desired. Make sure that the oars are hanging at similar angles or in an otherwise pleasing arrangement. Use a level if you want the oars to hang horizontally and parallel.


Comments
0 comment