
views
- Follow your state and federal laws, look for a location with 70-85°F daytime temperatures, and after blending your soil, plant the marijuana either in pots or in the ground.
- Consider starting with clones or specialty seeds, transfer your plants outdoors, and stake them to add stability while they grow.
- Keep your plants healthy by watering them, discouraging pests, pruning new major shoots, and adding high-nitrogen fertilizer.
Choosing a Location

Follow your local, state, and federal laws on growing marijuana. Some regions require you to participate in a medical program in order to grow marijuana, register your plants, and/or limit the amount of plants you grow. Verify the exact regulations on the number/size/maturity of your plants before you start growing. Look at local regulations, as well–many cities may not allow you to visibly grow marijuana. States that allow growing marijuana (with restrictions): Alaska, California, Colorado, Maine, Massachusetts, Michigan, Nevada, Oregon, Vermont, Washington D.C. States that allow growing marijuana for medical purposes (with restrictions): Arizona, Hawaii, Illinois, Missouri, Montana, New Mexico, Oklahoma, Rhode Island
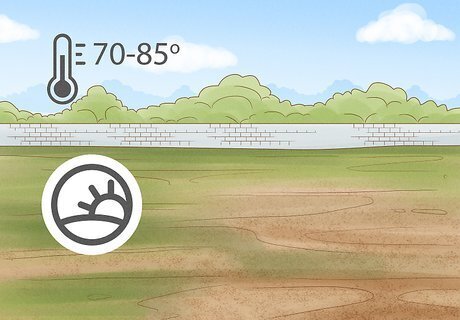
Grow in a location that's 70-85°F (20-30 °C) during the day. That's the ideal range for cannabis growth. However, cannabis plants can comfortably tolerate weather down to 60 °F (16 °C) during the day, with cooler temperatures at night. After temperatures drop below 45 °F (7 °C), the plants won’t do well. For that reason, start your growing cycle in spring to avoid dealing with harsh cold weather.
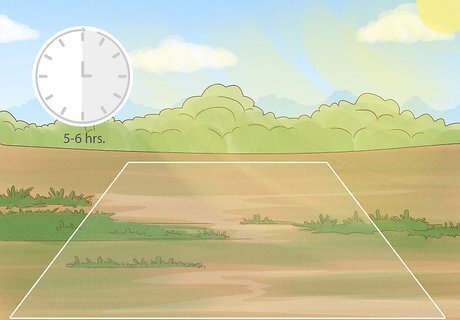
Pick a spot with 6 hours a day of direct sunlight and 5-6 hours of indirect sunlight. Sunlight stimulates growth, while darkness regulates the plant’s flowering cycles. If you live in the Northern Hemisphere, pick a spot with southern exposure to maximize sunlight. If you live in the Southern Hemisphere, pick a northern-facing location. Try to remove shade-creating obstacles from your garden.

Blend your soil medium with perlite for better drainage. You can use either soil or coco coir as your primary growing medium. Choose coco coir if you live in a hot environment, since coco coir’s loose structure lets it soothe roots and prevent heat stress. No matter your potting medium, mix it with perlite for a 70% soil/coco coir to 30% perlite ratio. Perlite is a mined volcanic glass that prevents the soil from getting too soggy.
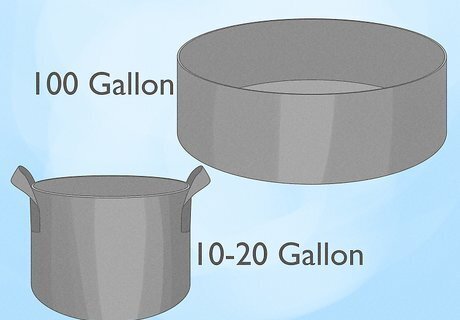
Use growing containers if you need to cap your plant size. Some states might restrict the size of your plant, and restricting the root space with a container will limit how big the plant grows. Choose breathable fabric containers rather than plastic ones. Breathable containers allow more oxygen to get to the roots to promote growth and overall healthier plants. Pick a larger container if you want a larger plant and a higher yield. 10–20 gallon (38–76 L) pots are standard, but you can get 100 gallon (380 L) pots. Growing in containers also lets you have more control over the soil (if you want to use a proprietary soil blend).
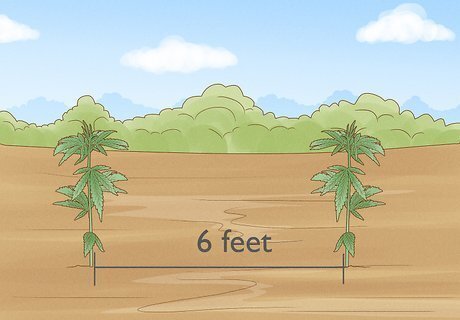
Grow your cannabis in the ground to maximize your yield. Planting your cannabis in the ground allows the roots to spread out so the plant can reach its maximum size (and therefore produce the most buds). Space the plants 6 feet (1.8 m) apart so that you don’t end up with overcrowding. Plant your cannabis in raised beds alongside vegetables for a stealthier approach. Keep in mind you’ll have to water your plants daily. If you’re planting far from your own property, try to plant near a water source.
Starting and Transplanting Your Plants
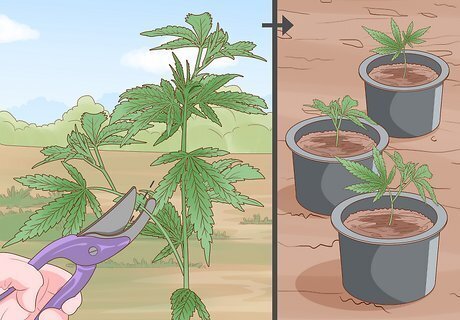
Begin with clones to guarantee you get female plants. Female plants are the only ones that produce buds. If you start from seed, you’ll have to prune away the male plants. Clones are also easier for newbies because they’re already-sprouted cuttings, so you don’t have to worry about germination or dealing with delicate seedlings. The downside to clones is that you can inherit pests from the original plant. Clones lack a long taproot and instead have a secondary system of roots, which many believe make the plant less stable. Depending on your region, you might not find the strain you want available in cloned plants. Starting with clones shaves roughly 3-4 weeks off the growth timeline. Sativa grows taller and is better suited to outdoor growing than indica.
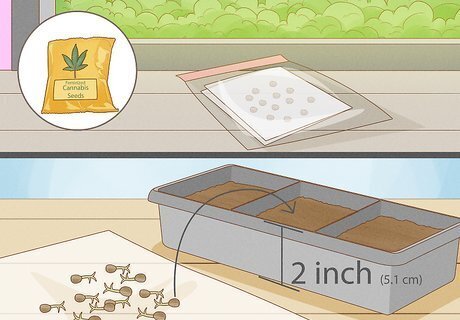
Start from seed if you want to produce specialty strains. For instance, if you live in a hot environment, you might want heat-tolerant seeds of the sativa, Haze, African, or Hawaiian variety. Look for seeds labeled “feminized” which are better for first-time growers. Feminized seeds (in contrast to autoflower or regular varieties) are guaranteed to produce buds, and they have a higher yield due to the longer growing cycle. From seed to harvest, the growth cycle will take roughly 5 months. Germinate your seeds on a moist paper towel in a plastic bag. Let the bag sit in a sunny spot for a few days. Once you see a root come out of the seed, poke a hole in the soil of a 2 inch (5.1 cm) container. Put the seed in with the taproot facing down and lightly cover it with soil.
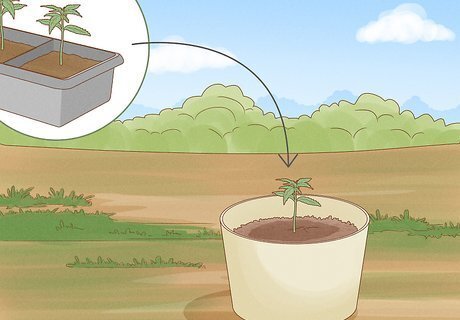
Harden your seedlings or clones by gradually introducing them to the outdoors. Plants grown from seed are ready for the outdoors when they have at least 5 full leaves. Transplant your plants into 1 gallon (3.8 L) containers. Move the plants outside for direct sunlight and fresh air in the early mornings and late afternoons for 1 month. After 1 month, they should be acclimated to the strength of direct sunlight and ready to be transplanted outdoors.
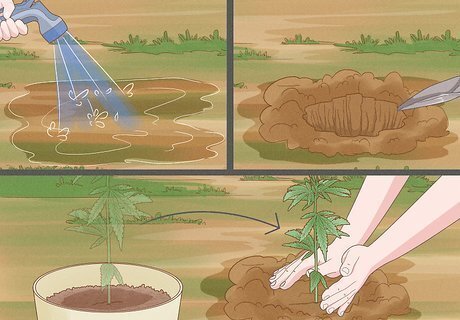
Transplant your cannabis outdoors. Gently water the soil and dig a hole deep enough to hold the root ball of your plant. Turn the pot containing your plant upside down, and support the weight of the plant as you pop it out of the container. If the roots are tightly bound together, gently pull them apart with your hands to encourage growth. Place the plant in the hole, backfill the hole with soil, and water in the plant until the soil is moist but not flooded. Squeeze the container sides if you’re having a tough time getting the plant out.
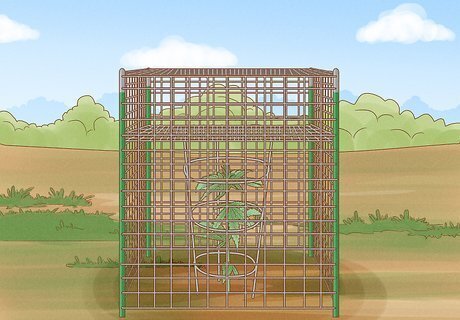
Stake your plants to add stability as they grow. Install a heavy-duty tomato cage when you transplant. Add 4 metal T-posts poles around the outside of the container, bed, or growing area. Then, lay 1 wire horizontal trellis across the top of the tomato cage and another that will act as a “roof” for the top of the poles. Finally, add outer wire caging around your 4 poles to create “walls” that will support the flowering plant. Buy T-posts that are 6–10 feet (1.8–3.0 m) tall, depending on the eventual height of your plant. Use heavy-duty, vinyl-coated wire caging with 4–6 inch (10–15 cm) square holes for the caging. The caging walls should sit 1 foot (0.30 m) above the ground or container.
Maintaining Your Cannabis Plants
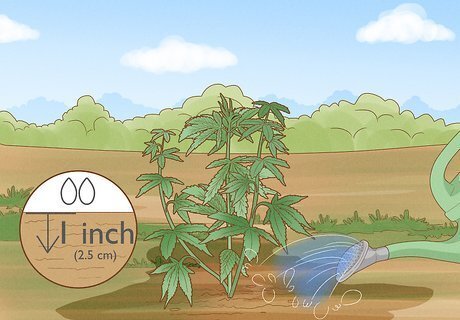
Water your cannabis plants daily (for most climate zones). As a rule of thumb, when the soil is dry 1 inch (2.5 cm) down, it’s time to water. For rainy climates, add more perlite, gravel, or clay pebbles to the soil if you’re concerned about fungus and overwatering. Consider setting up drip irrigation on a timer to make your life easier.
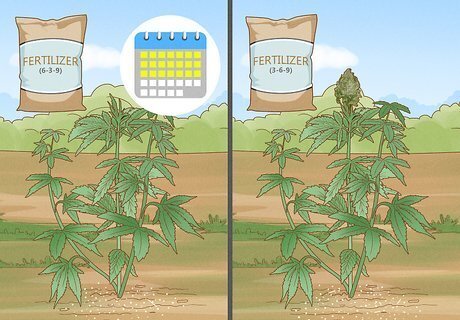
Add a high-nitrogen fertilizer every 3 weeks during the vegetative phase. In terms of the growth timeline that means you’ll apply high-nitrogen fertilizer until mid-summer. Once the plant enters the flowering phase, switch to a high phosphorus fertilizer to promote bud growth. Standard fertilizer is often called NPK (nitrogen, phosphorus, potassium). The ideal NPK ratio for the vegetative period is 6-3-9. For the flowering period, change the NPK to 3-6-9. When you buy commercial fertilizer from your local garden store, it’s regulated and shouldn’t affect the safety of your buds. Just wear gloves and rinse off after applying it to avoid burns from the concentrated nutrients. Mixing your own nutrients might result in a nutrient imbalance or deficiency. However, if you’d like to try an organic fertilizer, you can try manure, compost, fish emulsion, or worm castings.
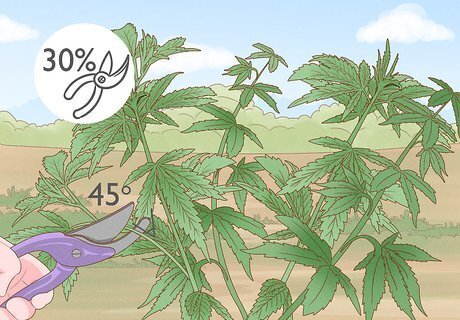
Prune the outer 30% of major new shoots every week. Cannabis plants can grow up to 12 feet (3.7 m) tall, and your state may regulate the height of your plants. Furthermore, pruning can create a bushier shape which encourages more side shoots, in turn encouraging more buds. Clip off shoots with clean, sharp cuts at a 45° angle. Stop pruning by mid-summer or you’ll interfere with bud production. Pruning increases airflow and light exposure. Always remove any yellowing, dead, or dying leaves where disease could take hold.
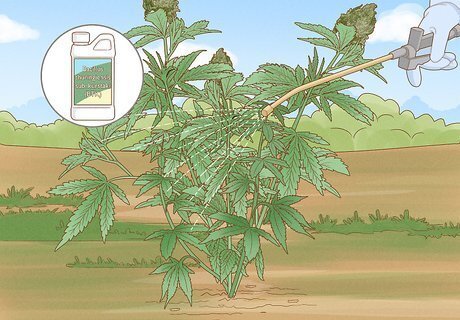
Prevent pests from eating your buds. Apply Bacillus thuringiensis sub. kurstaki (BTK), a naturally occurring bacterium safe for humans and pets just before bud season to prevent budworms. If you suspect an infestation, check for budworm caterpillars (also called tobacco budworms) in the evening. Remove any caterpillars from the buds and discard infected buds. Sprinkle diatomaceous earth around your plant to ward off hard-shelled pests like cicadas. Plant rosemary, marigold, and basil around your weed, as these act as natural insect repellents.
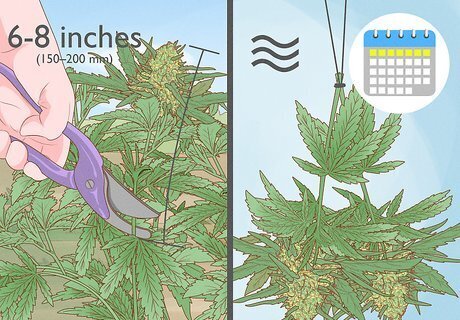
Harvest when the wispy “hairs” turn reddish-brown. For people in the Northern hemisphere, that means you’ll harvest around October. Cut the buds from the plant with 6–8 inches (150–200 mm) of stem below each bud. Hang the buds by their stems to dry for a week. Cut the buds off the stems and save them in a glass jar. They’re now ready to use!




Comments
0 comment