views
Getting in the Starting Position
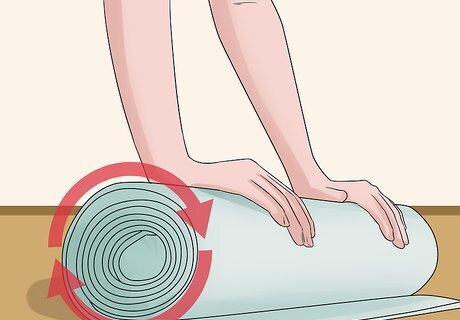
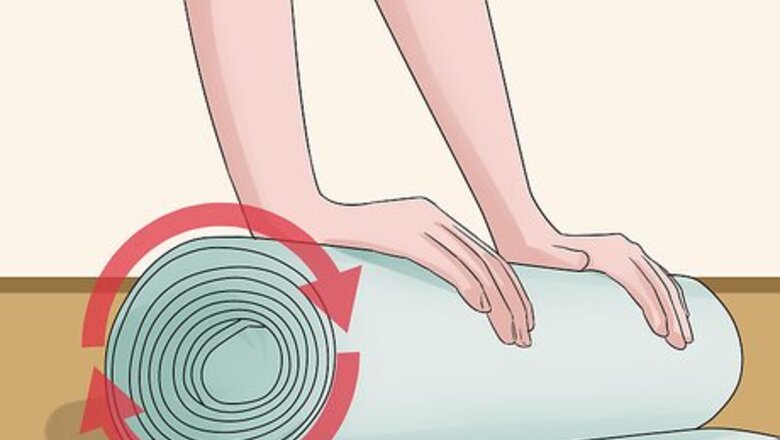
Lay your exercise mat down. Unroll your exercise mat and lay it flat on the floor. An exercise mat will provide comfortable cushioning between you and the floor and will also absorb some of the impact.
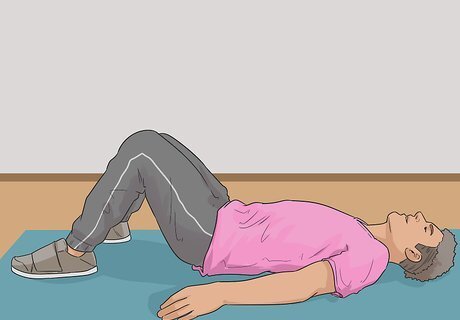
Lie on your back on the mat. Lay down flat with slightly bent knees and make sure that your feet are flat on the mat. Your hips should be parallel to the floor and your shoulder blades should be flat against the mat as well.
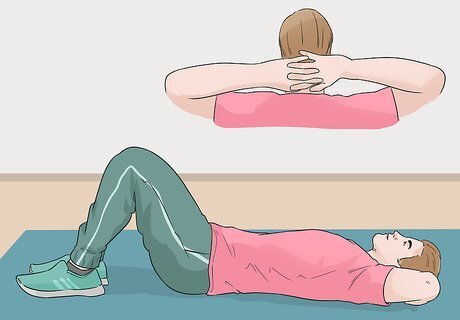
Place your fingers behind your ears. As you’re lying down, bring your arms up and place your fingers on the back of your head right behind your ears so that your elbows are sticking out to the sides. Make sure to keep your elbows wide—you don't want to see them in your peripheral vision.
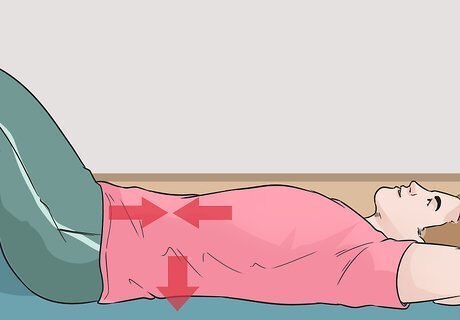
Take a deep breath in. Inhale deeply immediately before you begin your first sit up. This should be a relatively long, slow, natural inhale.
Doing the Basic Exercise
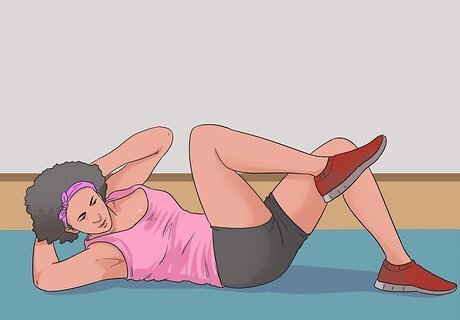
Bring your knee in and touch it with your opposite elbow. Begin by bracing your abdominal muscles. Keep your neck and back straight as you breathe out and pull your shoulder toward your inner thigh, while keeping your lower leg parallel with the floor. Twist your torso to touch your right elbow to your left knee. Make sure to contract the muscles in your lower abdomen in order to close the gap between your pelvis and lower rib cage instead of just moving your arm. You should feel a slight burning sensation around the side of your lower torso as you do this exercise. At no point should your elbow come into your line of vision.
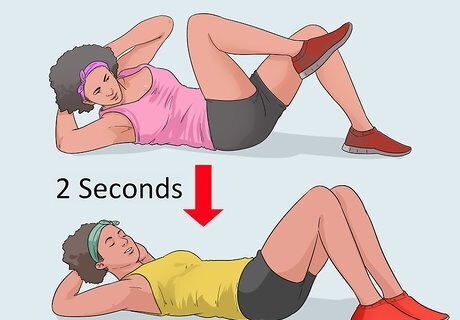
Pause while staying in position. Keep the head in a neutral position, eyes looking forward and up with your chin up, not down. Pause for two seconds with your abs contracted as your elbow touches your knee. This should be a bit challenging and should make the side of your abdomen burn with growing intensity.
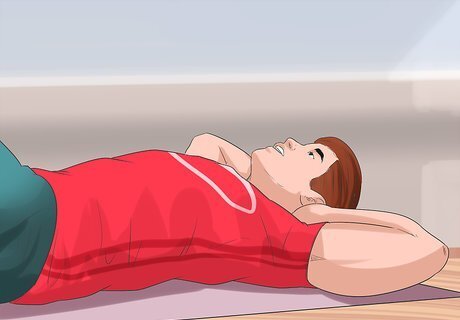
Return to the starting position. Exhale slowly as you lay back down on the mat. You should now be laying in the position you started in.
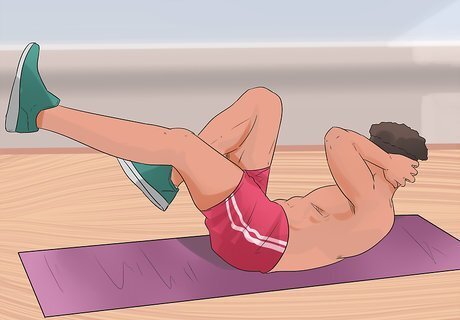
Repeat on the other side. Once you’ve returned to the starting position, do the exact opposite. Twist your torso to reach your left knee with your right elbow.
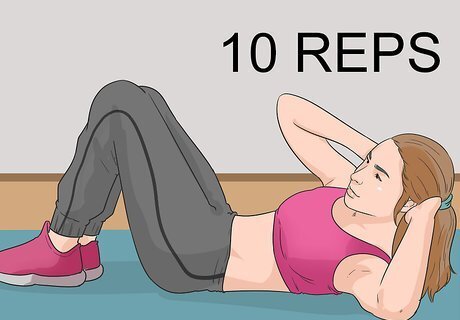
Do 10 reps on each side for each set. Continue completing oblique sit ups back and forth on either side until you’ve finished 20 total sit ups. Then you can take a break and do another set if you want.
Doing Advanced Oblique Sit Ups
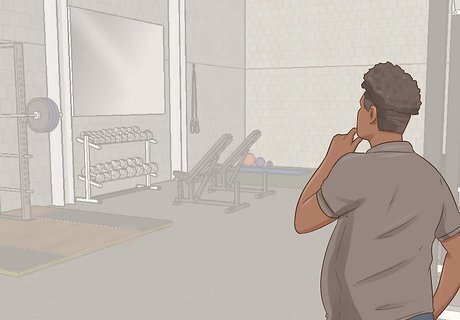
Do your sit-ups on a decline. If you’re looking for a more challenging way to do an oblique sit up, lay down on a decline exercise bench. You should be able to lock your legs in by placing them over the top set of cylindrical pads and then putting your feet underneath the lower set. Complete your oblique sit ups just as you would on a flat exercise mat. Using the decline bench is more challenging because you will lift more of your body weight against the force of gravity.
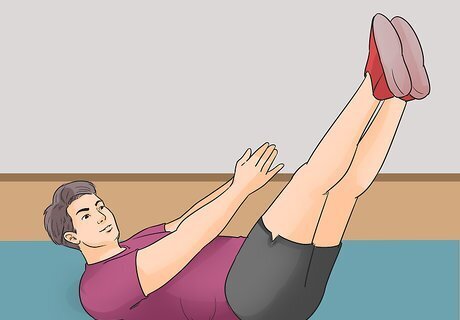
Keep your hands by your sides or straight up in the air. You can also add a little difficulty to your oblique sit ups by removing your hands from behind your ears. Either do this while keeping your feet flat on the floor and your knees bent like usual, or by holding your legs up in the air to also work on improving your balance and flexibility. Be very careful if you decide to do this, though, as not placing them behind your head means that your neck and head will be unsupported.
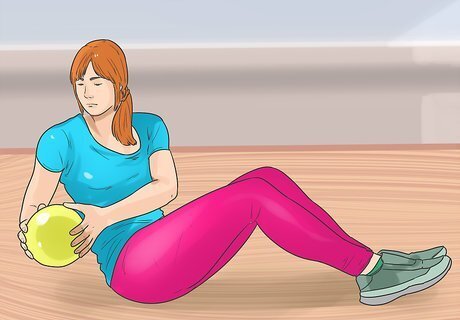
Do a weighted sit up. If you want to do a more advanced oblique sit up, get the lightest weighted plate that you can find and hold it to your chest with both hands. Do your oblique sit up as you normally would, by contracting and twisting your torso. The added weight creates more resistance, making each sit up a little more challenging to complete. If using the lightest available plate weight is too easy for you, try using one that’s slightly heavier. You can also do this by holding on to a medicine ball.


Comments
0 comment