views
Making Henna Paste
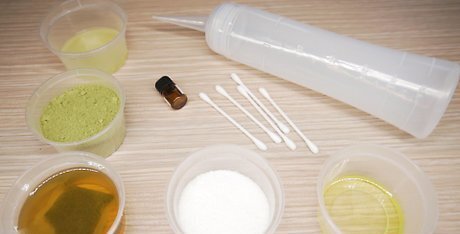
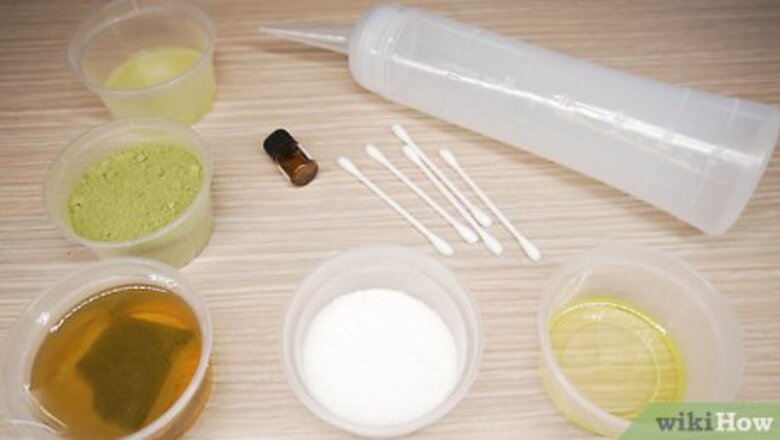
Purchase the necessary ingredients. Acquire all of the necessary ingredients, including the henna powder, before creating the paste, as the creation must be done in one sitting. You will need: Henna powder. Strongly brewed herbal tea. Lemon juice. Eucalyptus oil. Squeeze bottle. Various tips. Straight pin. Q-tips. Cotton balls. Sugar. Olive oil. You can purchase henna powder at a variety of pharmacies, including Walgreens and Walmart, or you can buy it readymade on Amazon.com Visit our other tutorial for more information on choosing the right henna powder.
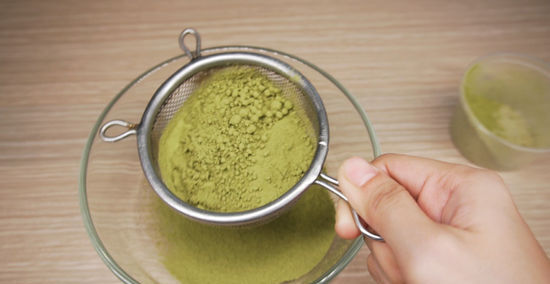
Sift the henna powder. In a fine strainer, sift ¼ cup, or 57 grams (2 oz), of henna powder into a bowl. Sifting the henna powder will remove any coarse materials in the powder and give it a fine consistency, which will become important later on. If your henna powder is fine already, pass it through a fine strainer anyway, just in case you’ve overlooked some sticks or coarse material. Store your leftover henna powder in the freezer to keep the materials fresh for your next tattoo. Double check the henna powder’s color. The color of your powder should be greenish-brown. If it is too brown, the powder may be too old.
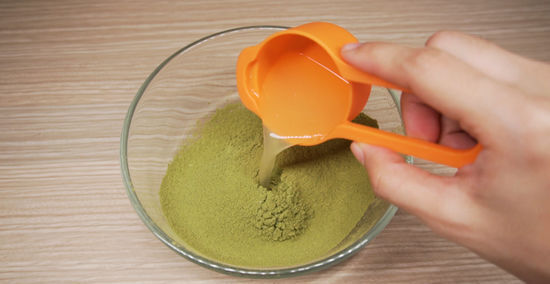
Apply lemon juice into the bowl of henna powder. Stir ¼ cup, or 59 milliliters (2 fl oz), of lemon juice into the henna powder until the powder becomes a bit runnier than the consistency of toothpaste. If your henna powder is too thick, apply and mix more lemon juice to the mixture. If the mixture is too runny, apply more sifted henna powder. The mixture should be fine enough to pass through a small tip in a squeeze bottle while holding together to make definitive lines.
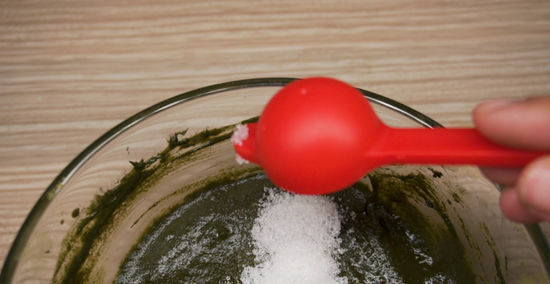
Stir sugar and eucalyptus oil into the mixture. These are important ingredients in the process, for they give the mixture a silky texture as the mixture dries and keep the skin moisturized during application. Apply a half teaspoon of sugar and 3-5 drops of eucalyptus oil to the mixture and evaluate its consistency once again, adding ingredients if need be.
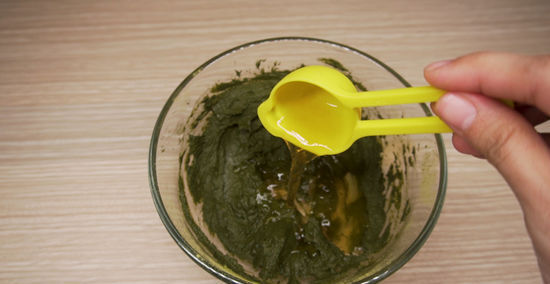
Add strongly brewed herbal tea to the mixture. While keeping your eye on the consistency, slowly add 2-3 tablespoons, or 39 milliliters (1.3 fl oz), of strongly brewed tea. The brewed tea will provide tannins to the mixture and keep the skin from peeling or cracking. After some practice with this mixture, you can add other things to your henna paste. Materials that provide nice smells, acid, and tannins will all make the paste better. Also consider incorporating coffee for its acidic qualities or ground rose petals for their nice smell, enhancing the uniqueness of your mixture.
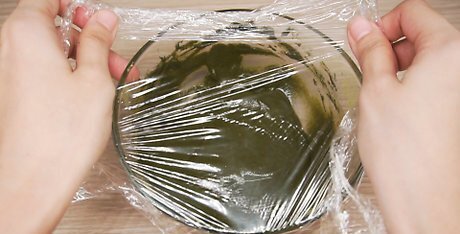
Cover the paste and let it sit for 24 hours. Cover the paste with plastic wrap to keep it air sealed and let the mixture rest for 24 hours in room temperature. The mixture may become slightly thicker during this process of resting. After the mixture has rested, make sure that it is not too runny.
Apply the mixture to a squeeze bottle. Place the mixture into a small ziploc bag, pressing all the mixture into one corner of the bag. Remove the tip of your squeeze bottle. Cut the corner of the plastic bag and press the mixture into a squeeze bottle. Place the tip back onto the squeeze bottle. If you have leftover henna paste, you can squeeze the rest into another squeeze bottle and freeze it for next time. You can also pour the henna paste into a piping bag.
Creating the Henna Tattoo
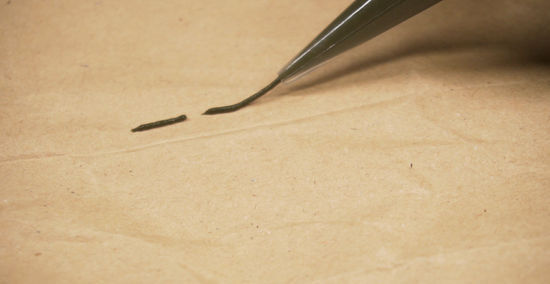
Practice on paper first. Because henna will last between one and two weeks, it is best to develop a technique and practice before applying the paste to someone’s skin. Develop your own style and designs on paper as practice with the squeeze bottle. For both classic and modern henna tattoo ideas, visit websites like Pinterest for inspiration.
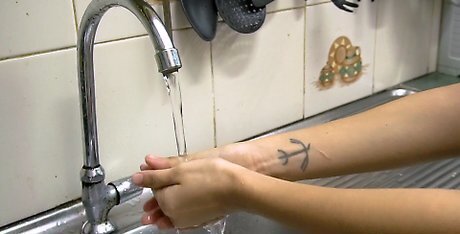
Wash the area you plan to tattoo. With soap and water, thoroughly clean the area that will be used as your henna canvas. Removing oils and grime from the concentrated area will ensure that the henna stains correctly. Apply a small amount of Eucalyptus oil to the skin to moisturize it before applying the tattoo.
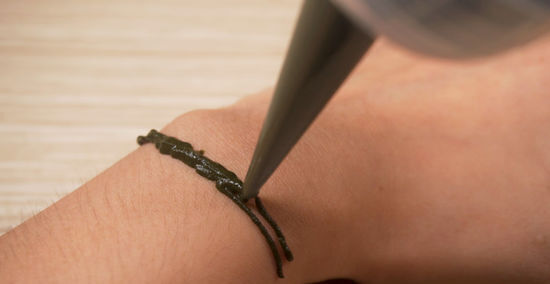
Apply the tattoo to the person’s hands or feet. To get a darker, more prominent stain from your henna mixture, applying the tattoo to the hands, wrists, feet, or ankles will work best. Henna stains darkest where the skin is the thickest, so these areas will stain more prominently. Areas like the face, neck or chest will not stain as well because of the thin skin on these parts of the body.
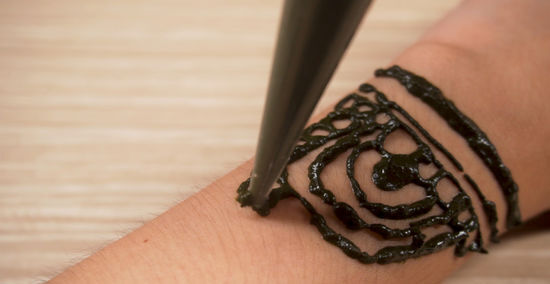
Apply the tattoo. With the tip of the squeeze bottle resting right above the skin, slowly apply the mixture into the design of your choice, erasing quickly with a q-tip or cotton ball if necessary. The key to erasing henna is to remove the paste from the skin with a q-tip as soon as possible. For finer lines, sift your henna paste as fine as possible. Consider using different tips on your squeeze bottle, with different sized holes for different line thicknesses. For first time henna tattoo artists, or even novice henna tattoo artists, consider using a stencil to ensure a great design. Use your favorite search engine to find different stencil ideas online. To apply henna correctly, you have to learn to hold the cone first. After some practice, creating your own, unique henna designs will become an enjoyable hobby and form of expression to share with the people who are receiving the tattoo.
Taking Care of the Tattoo
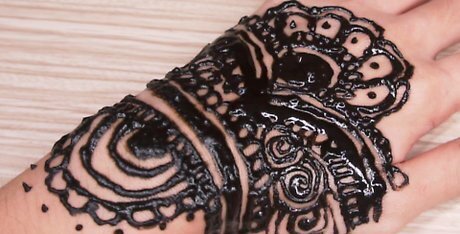
Let the henna paste dry for two to three hours. Before doing anything, allow the tattoo paste to dry thoroughly before touching any part of the tattoo. Depending on what kind of climate you are in, whether it is hot or cold outside, this timing will differ. You should notice the dry paste harden and begin to crack.
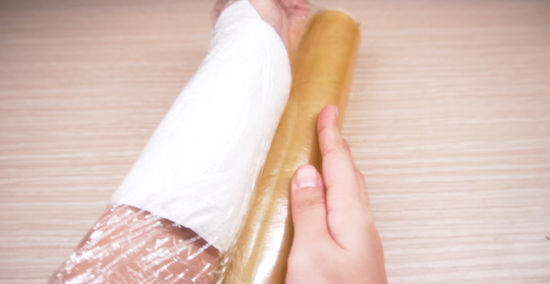
Cover the henna tattoo. Now that the tattoo has dried, it is time to properly seal the tattoo. If the tattoo is on your hands, cover the henna in a latex glove. If the tattoo is on your wrist or ankles, wrap the tattoo in tissue paper and then plastic wrap to keep the tattoo away from the elements and keep the tattoo moist. Leave the tattoo sealed for 6 to 12 hours, depending on how dark you want the tattoo. If you are in a hot climate, or applying the tattoo during the summer, you do not need to wrap the tattoo. The natural climate will keep the tattoo from peeling. Wrap the tissue paper and plastic wrap your hand in loose, thick layers to keep the moisture inside.
Peel the henna paste off the body. Try to wait as long as you can before peeling the paste off the body, for the longer the paste is on, the darker the stain of the tattoo will be. For the best results, use olive oil to gently rub the paste off the body. Apply the olive oil to a cotton ball for the best result. The tattoo will then continue to darken for the next 10 to 12 hours. Do not remove the henna paste with water. Water will remove the stain and should be avoided for 24 hours after your tattoo. Avoid swimming with your henna tattoo. The water, as well as the chlorine and other chemicals in swimming pools, will damage the tattoo.
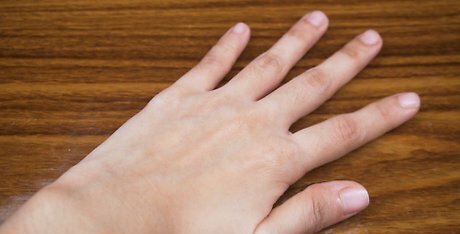
Remove the henna tattoo if you need to. Because henna tattoos last one to two weeks after application, you may want to remove the stain early. If so, there are several methods to effectively remove the henna stain: Dip your hand in warm water and gently rub the stain until you notice it fading. This method may take some time and effort. Try using antibacterial soap while you scrub in between soaks. Go swimming. Chlorine and water rid your body of henna stains very effectively. Soak your hand in salt water for 20 to 30 minutes. The salt will help diffuse the henna stain.




Comments
0 comment