
Open an image in Photoshop. To do so, double-click on the blue app icon that contains the letters "Ps," click on File in the menu bar at the top of the screen, click on Open... and select the image. Original images with transparent backgrounds work best. To achieve this, you may need to separate the image to which you want to add a shadow from its background.
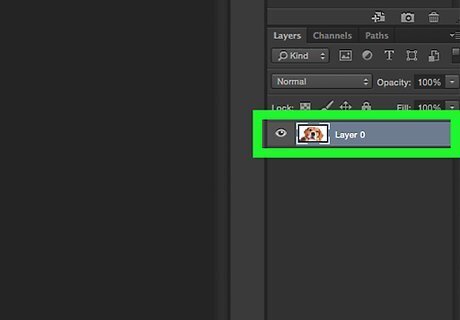
Click on the layer that contains the image to which you want to add a shadow. The layers are listed in the "Layers" window in the lower-right part of the screen.
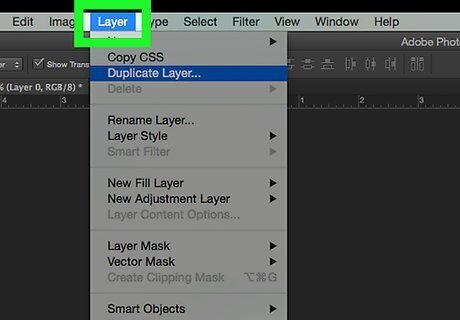
Click on Layers in the menu bar.
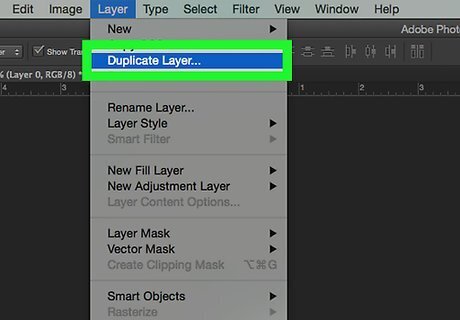
Click on Duplicate Layer… in the drop-down. You can give your new layer a different name otherwise it will be called "[Name of your first layer] copy."
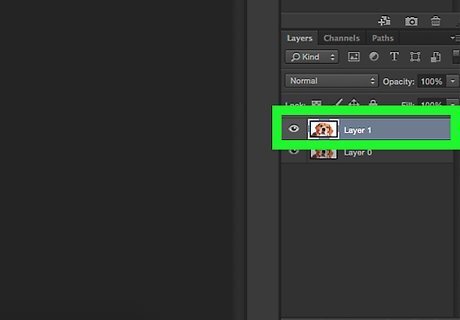
Click on the duplicate layer.
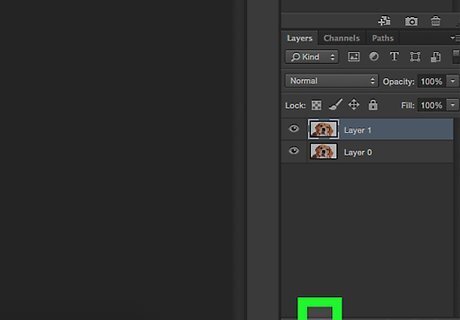
Click on the "Layer Style" icon. It's the fx button at the bottom the Layers window.
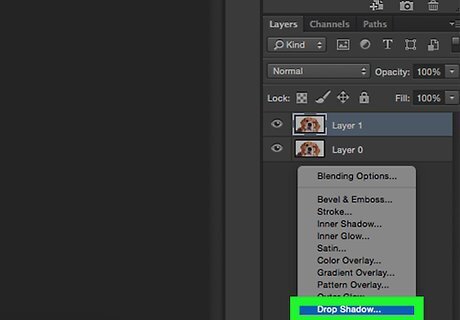
Click on Drop Shadow….
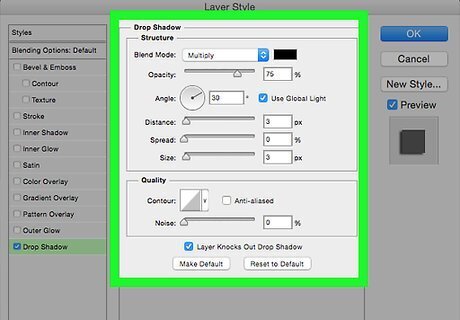
Make adjustments to the shadow. Use the tools in the dialog box to adjust: Opacity The angle from which the light casts the shadow The distance of the shadow from the shape The spread, or gradient, of the shadow The size of the shadow
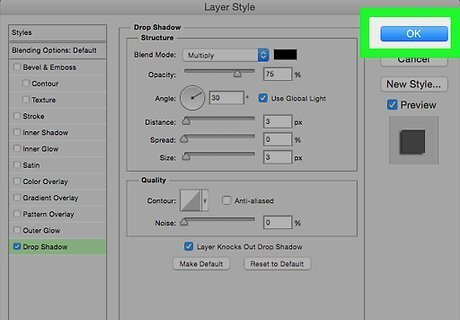
Click on OK.


Comments
0 comment