views
Cleaning Dr. Martens
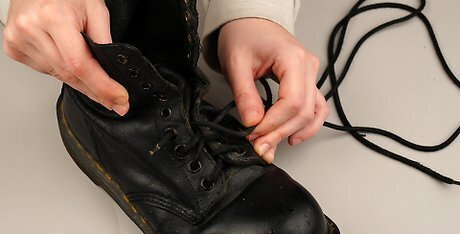
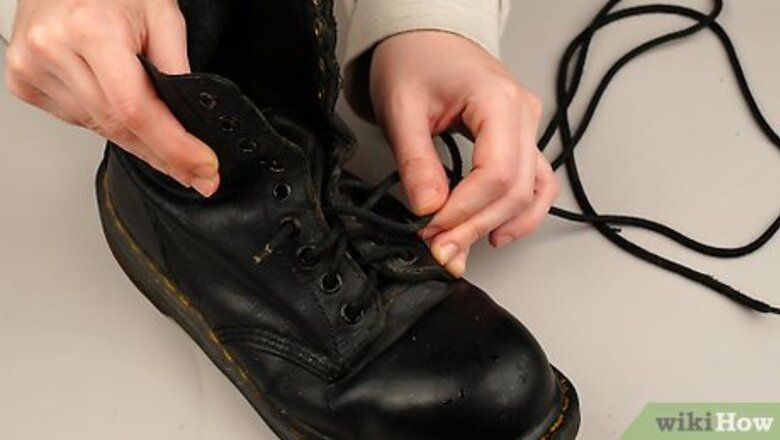
Remove the laces. This will make the cleaning process easier, and give you a chance to clean the laces. Swirl the laces around in some soapy water, and give them a scrub if they're dirty. Rinse them under clean water, ring them out, and hang them to dry.
Brush off dust and dirt. With a shoe brush or old nail brush, carefully brush off dirt, dust, and dried mud from your Docs. Be sure to get into all the hard to reach places as well, such as where the stitching is and inside the tongue. If you don’t have a shoe or nail brush, you can use a clean, damp, lint-free cloth to remove dirt and dust.
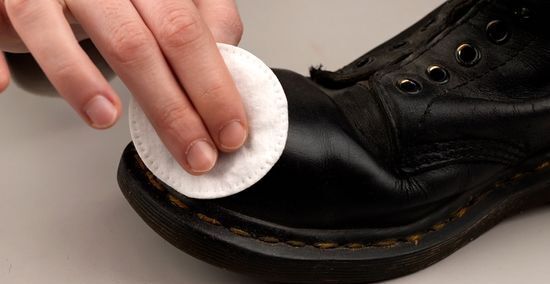
Take care of scuffs and old polish. If you have any scuffs or polish build-up on your Docs, you can remove both with an acetone-free nail polish remover. Apply some nail polish remover to a clean rag or lint-free cloth. Gently rub at scuffs and polish build up until the scuffs wear away and the polish comes off. When you're finished, rub the shoes down with a damp, clean cloth and allow them to air dry. Don’t rub too hard with the nail polish remover, otherwise you may damage the finish.
Condition the leather. Because leather was the skin from a living animal, it needs to be moisturized and conditioned (just like human skin) to prevent it from drying, cracking, and losing its durability. Rub your Docs with a cloth or sponge to massage a conditioner into the leather, making sure to get the hard to reach places as well. Let them dry for about 20 minutes afterward. Popular leather conditioners include: Lemon essential oil (not olive oil, which can cause oil damage) Mink oil While saddle soap is often recommended as a conditioner for leather, the lye it contains can actually cause your leather to dry, crack, and deteriorate faster
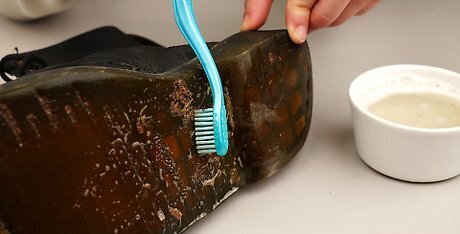
Clean the soles. Fill a small bucket or bowl with warm water and a few drops of liquid soap or dishwashing liquid. Take a dishwashing brush, shoe brush, or toothbrush and scrub the soles with the soapy water to remove dirt, grime, mud, and anything else you’ve stepped in. Wipe the soles off with a damp rag when you're finished.
Polishing Dr. Martens
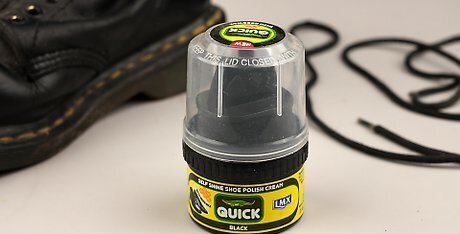
Find the right polish. To polish leather, you want to match the color of the polish to the color of the leather as closely as possible. Choose a neutral polish if you can't find one to match your Docs, or if your Docs are multicolored. Dr. Martens recommends using only wax-based polishes, and just on their smooth leather products.
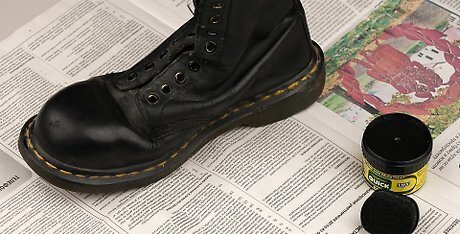
Lay down newspaper. Choose a location that can get dirty if any accidents occur, and protect the surface you're working on with bags, newspaper, or some other cover.
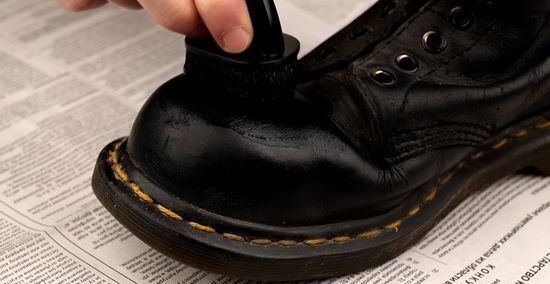
Apply the polish. Take a rag or lint-free cloth and run it around in the polish in a circular motion to warm the wax, which will make the polish easier to apply. Apply the polish to the entire shoe, using gentle but firm pressure to get the polish into the leather’s pores. If necessary, use a cotton swab or soft-bristled toothbrush to get polish into the hard to reach places. If your shoes are old and have never been polished, consider applying a second layer of polish. When you're finished, allow the polish to sit on the shoes for 10 to 20 minutes.
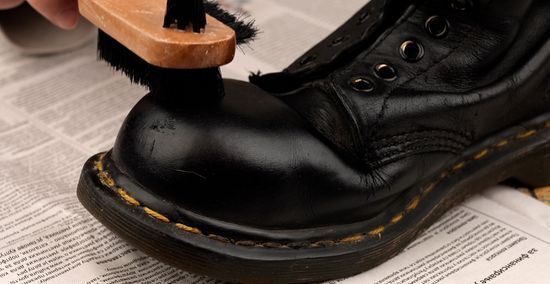
Buff the leather. With a shoe brush, begin to gently buff and polish the leather all over, working the polish into the shoes and removing excess at the same time. If you're looking to achieve a mirror shine, the process is slightly more in depth: Dip your finger into a pot of clean water and allow a couple drops to fall onto a spot on the leather. Dip a cloth into your shoe polish and rub that spot using circular motions. Work in small areas at a time, applying water and working more polish into the leather with a cloth. It will likely take a couple hours to cover the entire boot or shoe, but you should notice the leather getting increasingly smooth.
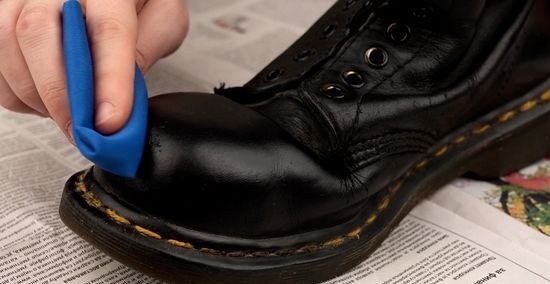
Shine the boots. When you’ve finished buffing your Docs with a brush or using the mirror shine technique, rub the leather with a clean piece of nylon to remove dust and extra polish, and to buff the leather to a shine.
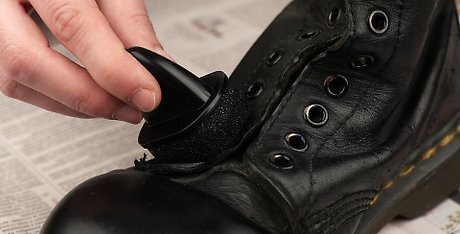
Repeat every three months. To give your Docs the longest life possible, clean and condition them every three months. To keep them looking as new as possible, polish them every time you clean and condition them.
Removing Stubborn Stains From Dr. Martens
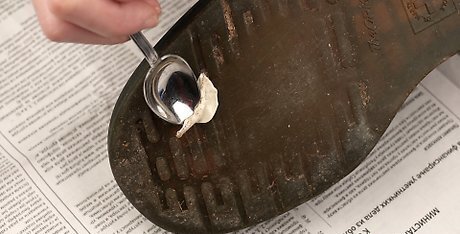
Remove gum. With a scraper, spoon, or credit card, remove as much of the gum as possible. Take a hair drier and heat the remaining gum until it becomes tacky. Then apply the sticky side of a piece of tape to gum and peel it off. Press the tape on again and peel it off a few more times. If necessary, reheat the gum with the hair drier and repeat until the gum is gone. After removing any stubborn stains from your boots, proceed with regular cleaning to remove excess residues and cleaning products.
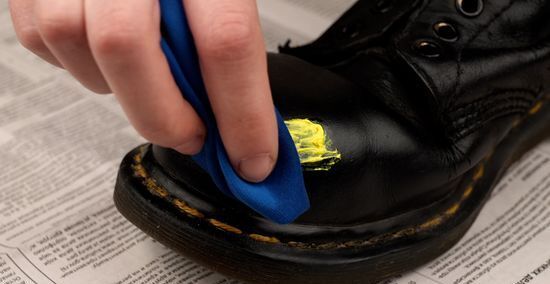
Clean paint off. The best thing to remove paint from your Dr. Martens is mineral spirits. Mineral spirits is a petroleum-based solvent that works well at dissolving paint. Because it’s oil-based, it’s safe to use on leather. Take a clean rag and dip it in some mineral spirits. Rub the affected area with the rag, adding more mineral spirits as needed. Continue rubbing until the paint dissolves and comes off.
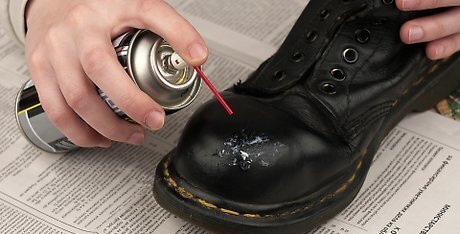
Get rid of glue. For this DIY project you will actually need a penetrating oil like WD-40. Apply the oil to the glue and a small area of the boot surrounding the glue. Let it sit until the glue becomes soft, then scrape the glue with a butter knife or plastic scraper. If necessary, repeat these steps again until the glue is gone. Wipe away the excess oil when the glue has been removed.
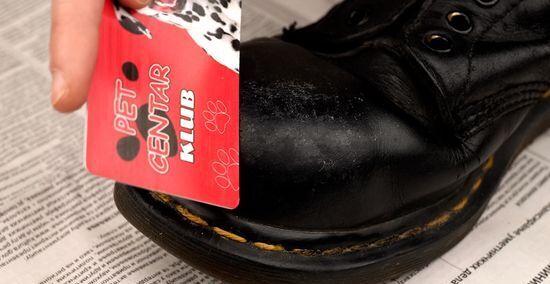
Remove sticker residue. Use a scraper or credit card and scrape off as much of the sticky substance as possible. Take a clean rag and dip it in some acetone, nail polish remover, or even peanut butter. After rubbing the cleaner into the shoe, take the scraper to it again. Repeat as necessary. Wipe the area with a clean damp cloth and allow it to dry.


Comments
0 comment