views
Using Diesel Fuel Additives
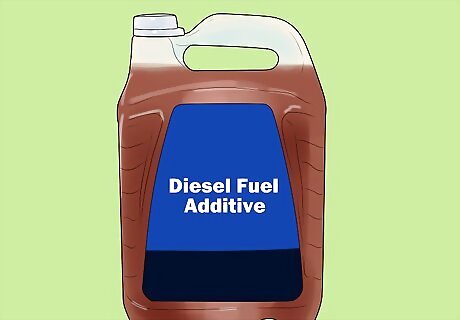
Purchase a diesel fuel additive that is compatible with your engine. Diesel fuel additives are cheap, easy to use, and will keep your engine cleaner. They can help your engine burn fuel more efficiently and prevent buildup around the injectors. You can often notice a difference in your diesel engine’s performance immediately after using a fuel additive. Check the packaging to be sure the fuel additive you purchase is meant for diesel fuel and is compatible with your engine. If the additive doesn’t indicate that it’s for diesel engines, check the packaging to see if your engine type or vehicle model is listed. A few popular fuel additives that will keep your injectors clean are Stanadyne Performance Formula One Shot and Lucas Fuel Treatment. Both can be found at your local auto parts store or online.
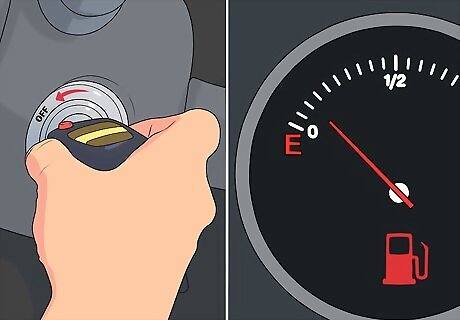
Make sure the engine is turned off and the fuel tank is almost empty. Before you put any additives in your tank, you need to be sure that the engine isn’t actively burning fuel. You also want to add fuel additives to a tank that is close to empty, so the additive can to travel through the fuel system at a concentration high enough to clean it. Keep the engine off and remove the key from the ignition.
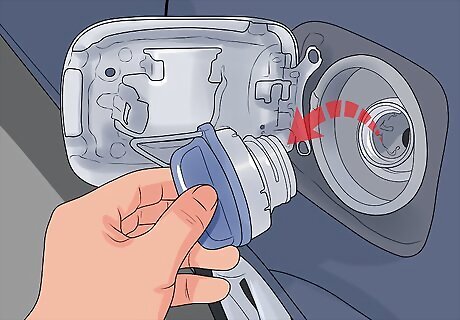
Locate and open the vehicle’s fuel tank. Most cars have a cap to access the fuel tank on the left or right side of the rear of the car, but some trucks and other engines can have a fuel cap in a different location. Look for a cap that has the symbol of a gas pump handle and remove the cap to access the fuel tank. You may have to open a hatch to get to the gas cap, and some vehicles require you to pull a lever near the driver’s seat to release the hatch.
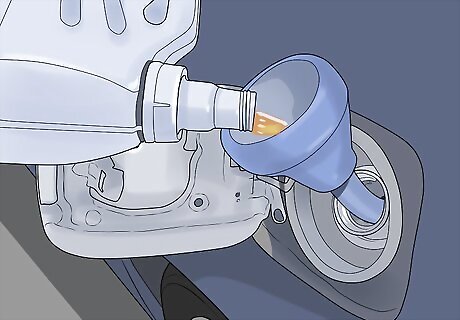
Pour the recommended amount of additive into the fuel tank. Based on the size of your gas tank, the amount of fuel additive you need to add may vary. Larger engines with bigger gas tanks will need more additive. Check the packaging to find the recommended amount for your tank, measure the correct amount, and pour it into the fuel tank. You may need to use a funnel to pour the additive into the tank.Tip: Some fuel additives, like Stanadyne Performance Formula One Shot, come in bottles that are designed to be able to pour directly into the tank so you don’t have to measure or use a funnel.
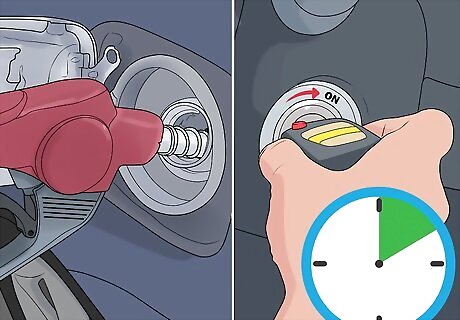
Fill the fuel tank with fuel and run the engine for 10 minutes. Once you’ve poured the fuel additive into your fuel tank, fill the tank up with diesel and turn on the engine to start circulating the fuel with the additive throughout the fuel system. The fuel additive is designed to maintain the fuel injectors and keep them from building up residue that can clog them — they can also prolong engine life by removing carbon deposits that would sit in the combustion chamber, which could lead to a lack of performance. You can drive the vehicle around or just let it idle for 10 minutes. For convenience, you can add the fuel injector cleaner while you’re at the gas pump and then fill the tank with diesel.
Connecting a Fuel Injection Cleaning Kit
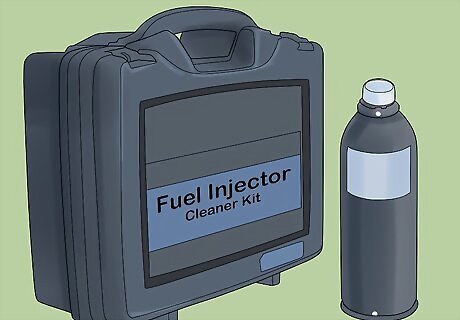
Use a fuel injection cleaning kit to clear clogged fuel injectors. If your engine is stuttering, or if you see dark clouds of smoke coming from your exhaust pipes, your fuel injectors may have some serious clogs. If this is the case, it's best to use a cleaning kit to remove built-up residue. Fuel injector cleaning kits are relatively cheap and easy to use, and will effectively clean stubborn clogs out of your fuel injectors. Make sure the kit is compatible with your engine by checking the packaging or looking online before you purchase. Check the kit’s details to see if your engine type or vehicle model is listed as a compatible engine it can be used on. You may need to purchase additional connectors or adapters, so make sure you have all the necessary parts that you need.
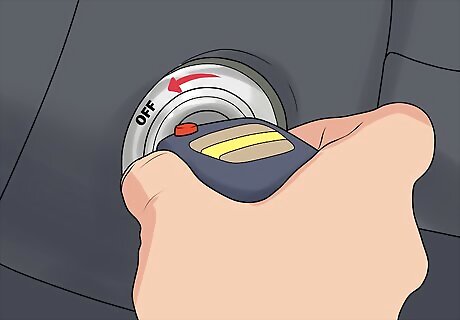
Make sure the engine is off before you work. You’ll be working on the fuel system of the engine, which can be dangerous if the engine is running and actively burning fuel. Be sure that the engine is off and remove the keys from the ignition. It doesn’t matter how much fuel is in the tank. Remove the keys from the ignition to keep the battery from sending power to the engine, which could potentially shock you.
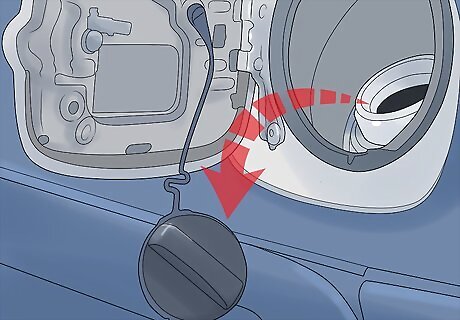
Remove the cap from the fuel tank. When you connect and operate the cleaning kit, the fuel system will be under more pressure than normal. You can make sure the extra pressure doesn’t build up by opening the cap that covers the fuel tank. If you’re working on a car, keep the hatch covering the fuel cap open and remove the cap.
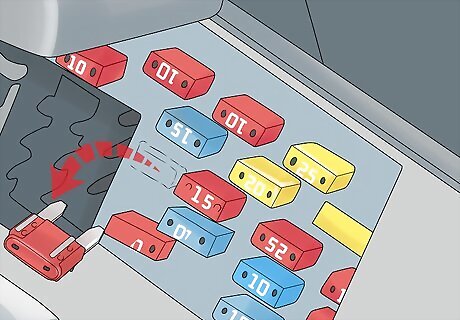
Remove the fuel pump fuse to disconnect the fuel pump. The fuse box will be under the hood and contained in a plastic covering. Open it up and use the diagram to locate the fuse for the fuel pump. Remove the fuse by pulling it out of the fuse box. If your fuse box does not have a diagram, look through the owner’s manual to locate the fuse.Tip: You may need to use a pair of needle-nose pliers to remove the fuse.

Try to start the engine to make sure the fuel pump is disconnected. It’s very important that your fuel pump be disconnected so the cleaning kit can work on the fuel system. Test to make sure the pump is off by turning the key in the ignition to start the engine. If it tries to start but can’t, that means the fuel injector has been disconnected. You should hear the “click” of the starter trying to start the engine.
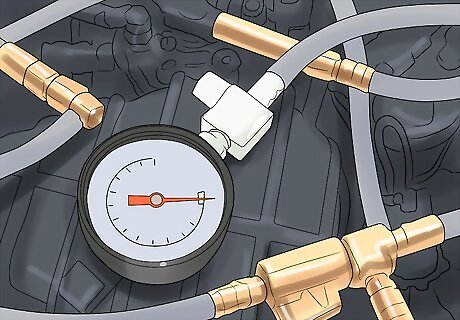
Connect the output hose of the fuel rail to the cleaning kit. The fuel rail, which feeds the diesel to the fuel pump, is connected to the injector. Since the pump has been disconnected, you can disconnect the output hose and connect it to the kit where it’s indicated to be attached. Check the instructions on the cleaning kit to make sure the proper air pressure is flowing into the kit. If there’s too much, you can adjust the flow on the cleaning kit by turning the dial.
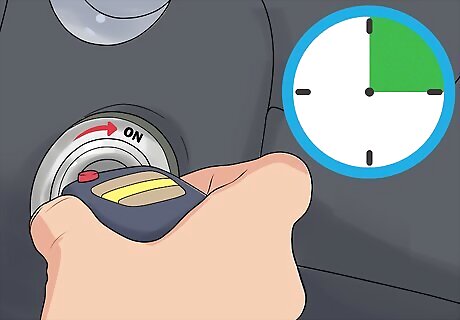
Start the engine and let it run for 15 minutes to use up the solvent. Once the kit is connected, you can turn the key in the ignition to start the engine and let the cleaning kit run the cleaning solvent through the fuel system. Because the fuel pump has been disconnected, your engine is running on the fuel in the cleaning kit. Let the engine run until the solvent runs out and the engine stops. Don’t drive the vehicle around while it’s burning the solvent to clean the injectors. Just let it idle until the engine dies.
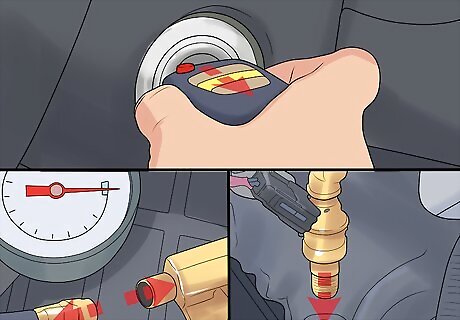
Turn off the battery, disconnect the kit, and reconnect the fuel pump. When the engine stops running because the solvent is gone, turn off the battery by removing the key from the ignition, and replace the fuse for the fuel pump. Then disconnect the tubing from the cleaning kit and reconnect it to the fuel rail. The engine will begin to use the fuel in your tank, rather than the fuel in the cleaning kit. If you had fuel in the tank before, you don’t need to add more. Everything in the engine should be back the way it was before you connected the cleaning kit.
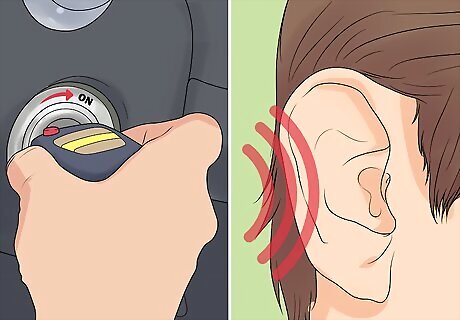
Start the engine and listen for any strange noises. The engine should be running smoother after being cleaned, and nothing should sound out of the ordinary. Drive the car or truck around for a little bit to make sure it’s functioning properly. If you notice anything wrong, you should bring it to a mechanic. If your engine continues to stutter and produce smoke after you use the cleaning kit, clogged fuel injectors might not be your main problem. You may need to take the vehicle to a mechanic for a full inspection.


Comments
0 comment