views
Removing Buildup and Debris
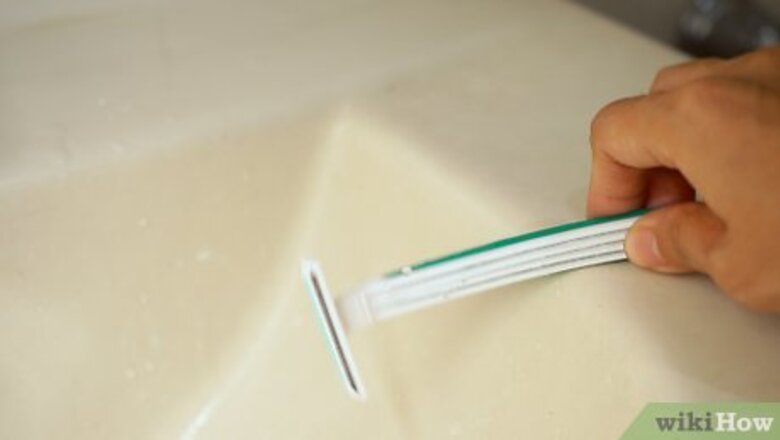
Rinse off the razor blade and tap the razor against the edge of the sink. Hold the head of the razor under a powerful stream of water. If it’s necessary to remove the blade in order to clean it, do so very carefully. Direct the water over the backside of the head, where it will help flush out hair, shaving cream residue and other gunk that’s stuck on the blade (or blades). It may help to rotate the razor as you rinse to help the water hit it from different angles. A couple quick jolts can help shake off compacted debris. Give the razor a light tap periodically as you rinse. Be careful not to be too forceful, or you may break the head or frame of the razor. Hot water works better than cold for loosening dried messes. Most of the time, a simple rinse is all you’ll need to renew your razor blades. Continue tapping and flushing until there are no particles left on or around the blade. Never use your hand to tap or manipulate the blade in any way. It can be very easy to cut yourself if you’re not careful.
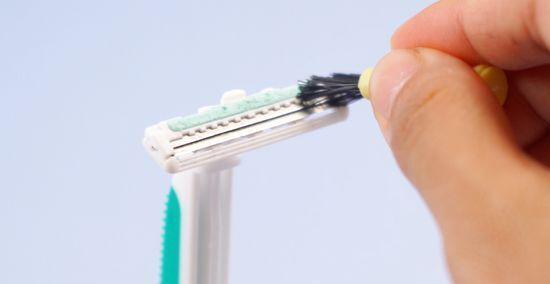
Use a brush to dislodge any remaining debris. If water alone isn’t enough to clear out the blades, a special razor brush may come in handy. Glide the brush over the blade vertically using smooth strokes. The bristles of one of these brushes can reach deep into the spaces between blades to sweep out grime that’s otherwise inaccessible. Razor brushes can usually be found at most pharmacies, supermarkets or wherever hygiene products are sold. If you don’t own a dedicated razor brush, an unused toothbrush will also do the trick. Just make sure it’s clean before using it on your razor blades.
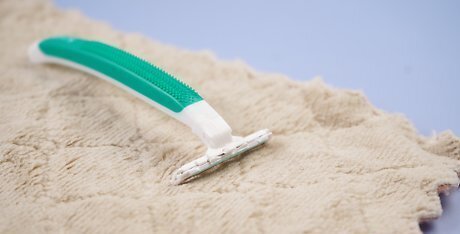
Allow the razor blade to dry completely. Once you’re removed as much buildup as possible, set the razor aside somewhere out in the open to dry. It’s best to leave it in a well-ventilated space where it can be exposed to constant airflow. You can then put the razor away in its usual storage area. Prolonged exposure to moisture can cause rust to form on the blade, which is both a safety concern and makes for a far less efficient shave. Water-logged razors can also lead to unsanitary mold growth. Accelerate the drying process by dabbing the blade with an absorbent microfiber towel or blasting it with a hair dryer on a low heat setting.
Sterilizing the Razor Blade
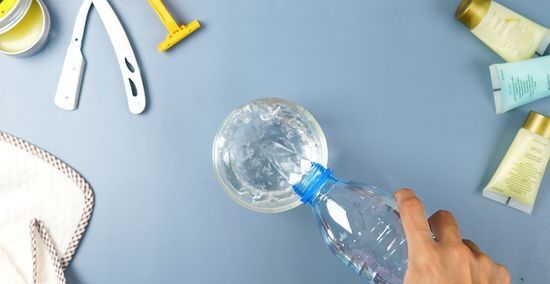
Fill a shallow container with rubbing alcohol. The natural antimicrobial properties of standard isopropyl alcohol make it useful for eliminating bacteria on personal hygiene products like razors. Pour in enough alcohol to completely cover the head of the razor. For best results, use an alcohol that’s at least 70% pure. Rubbing alcohol is readily available, convenient and safe to use—to go the extra mile in disinfecting your razor, you’ll often have to look no further than your own medicine cabinet. Distilled white vinegar or hydrogen peroxide will also make acceptable alternatives if you don’t have any alcohol on hand.
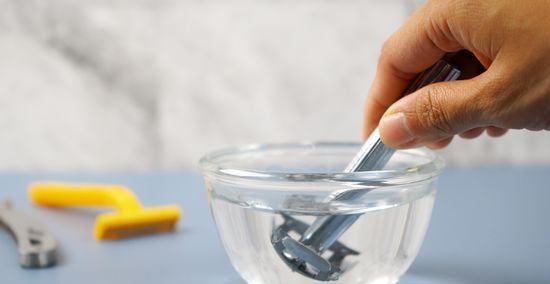
Submerge the head of the razor in the alcohol. Swish the razor back and forth vigorously. A few seconds should be all that’s needed to rid the blade of most pesky bacteria. The movement of the alcohol through the blades will also help clear out any remaining debris.
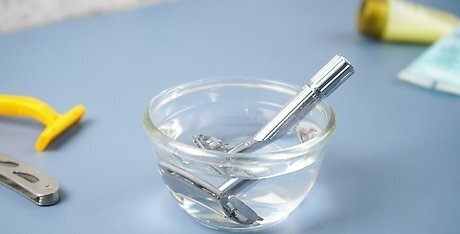
Leave the blade to soak for 5-10 minutes. If it’s been awhile since the last time you cleaned your razor, or it’s suffering from extensive buildup, it may be a good idea to give it a more thorough treatment. The longer you let the razor soak, the more time the alcohol will have to break down serious messes. It’s okay to soak an entire shaving razor in the alcohol, vinegar or hydrogen peroxide solution. This will eat away at dried gunk around the handle and base of the blades, effectively cleaning it all over.
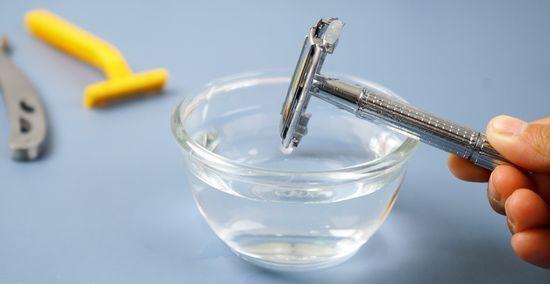
Dry the razor. There’s no need to rinse the blade after an alcohol soak. Instead, simply shake off the excess alcohol and place it on an open surface until dry, which shouldn’t take long. Rubbing alcohol evaporates quickly, which will allow your razor to dry out that much faster. Unlike water, alcohol will actually stop rust from developing on the metal. Find a safe place to stash your razor blades to prevent accidents.
Storing and Maintaining Your Razor
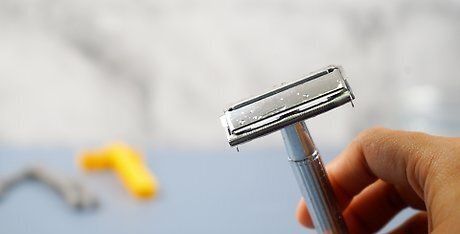
Clean the razor regularly. Get in the habit of rinsing your razor blades after each use. This will keep skin and hair particles, soap scum and other debris from building up in the first place. Consistent cleaning will go a long way in extending a razor’s lifespan, even if it’s of the disposable variety. Once a week or so, disinfect your razor by soaking it in rubbing alcohol.
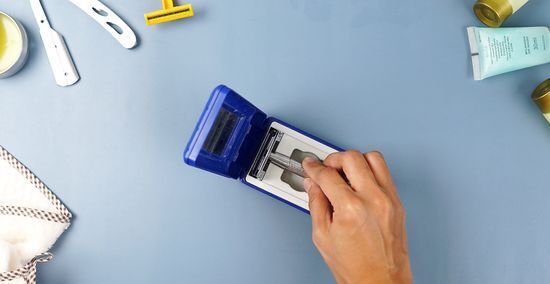
Keep your razor in a clean, dry environment. The best way to store loose razor blades is in an enclosed case or similar container that shuts securely. If you use the razor to shave, you can rest it on a separate base or stand or position it upright in a cup to allow water to drain out of it. Keep the blade ventilated until it's dry, then put it away where it won't become damaged or cause an accident. Don’t leave your razor sitting on the edge of the sink or on the alcove in a dingy shower, where they’ll be in direct contact with soap scum and bacteria. These places also tend to be more humid, which increases the likelihood of rusty blades.
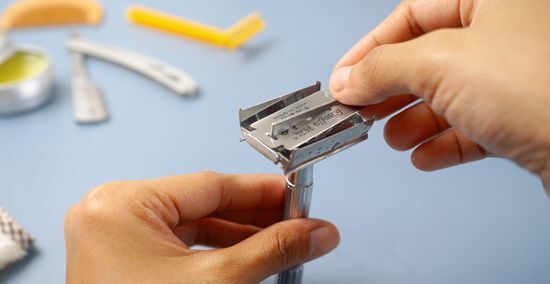
Replace dull or rusty razors. To get an idea of what kind of condition your razor is in, pay attention to the way it handles. If it doesn’t provide a clean cut on the first pass, or you experience any pulling, friction or irritation, it’s probably time to get rid of it. A good rule of thumb is to throw out your old razors every couple weeks and stock up on new blades or cartridges. Some hygiene experts go as far as to recommend that you purchase replacement blades after every 6-8 uses. Even non-disposable razors will need restoring or replacing once they begin to show signs of wear.


Comments
0 comment