
- On Windows, open the System page to view the CPU clock speed.
- On Mac, open the About This Mac page to see the CPU speed.
- On Linux, use Intel's turbostat tool through the terminal to check the CPU speed.
Windows
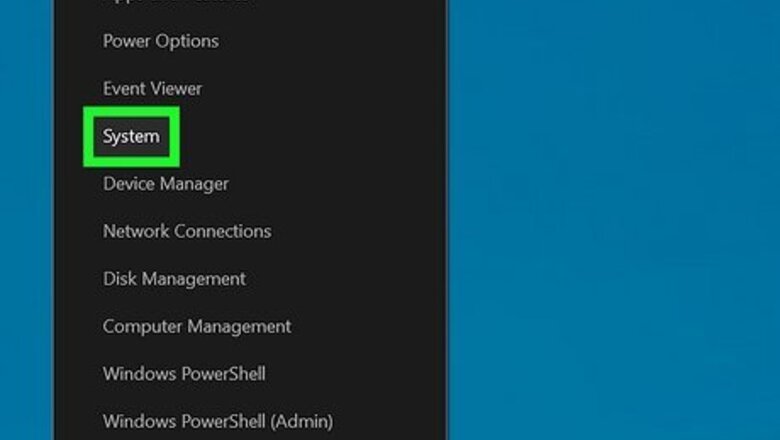
Open the System window. There are several ways that you can open this window quickly. This method uses Window's system information to check the processor speed. You can check your clock speed before downloading new programs and purchasing parts for building a new computer with better performance. On any version of Windows, press Windows key + Pause / Break on your keyboard at the same time to quickly open the System menu. Alternatively, on Windows 10, 11, and 8, right-click the Windows Start button at the bottom of the screen and select System. On Windows 7, Vista, or XP, you can also right-click Computer or My Computer in the Start menu and select Properties. On Windows XP, you may need to click the "General" tab after selecting "Properties".
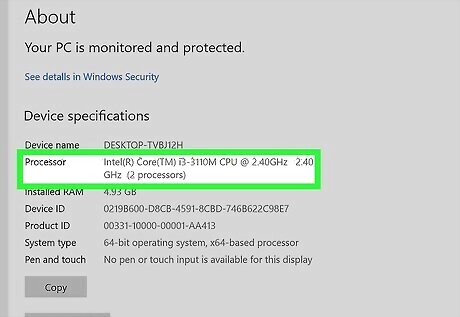
Find the "Processor" entry. This is under "Device specifications" on Windows 11, and in the "System" section in earlier versions. Your processor model and speed will be displayed. The speed is measured in gigahertz (GHz). This is the speed of a single core of your processor. If your processor has multiple cores (most modern processors do), each core will be this speed. If your processor is overclocked, the actual speed may not be shown here. See the overclocking section for details on finding your actual overclocked speed.
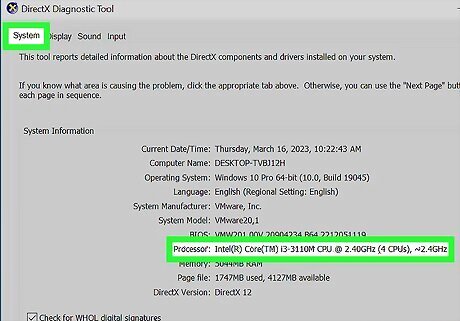
Check how many cores your processor has. If you have a multi-core processor, the number of cores will not be displayed in this window. Multiple cores does not necessarily mean the programs will run faster, but it can be a big boost for programs designed for it. Press Windows key + R. Type dxdiag, press Enter, and then click Yes if prompted to check your drivers. Find the "Processor" entry in the "System" tab. If your computer has multiple cores, you'll see the number in parentheses after the speed (e.g., "4 CPUs"). This will let you know how many cores you have. Each core runs at approximately the same speed (there will always be very minor variations).
Mac
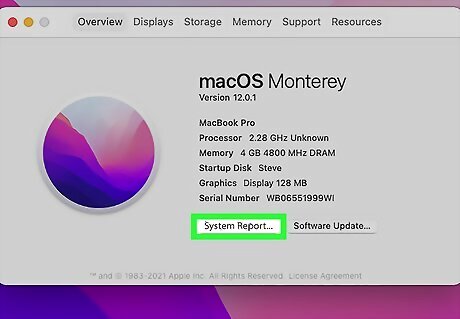
Open a System Report on your Mac. The steps to open this tool are a little different depending on your version of macOS: macOS Ventura and later: Press and hold the Option key as you click the Apple menu at the top-left corner, then click System Information in the menu. macOS Monterey and earlier: Click the Apple menu at the top-left corner, click About this Mac, and then click the System Report… button.

Find your CPU name and speed next to "Chip" or "Processor name." You'll see one of these options in the "Hardware Overview" section. Depending on your CPU, you may see a "Processor Speed" section here. For example, 2.7 GHz.
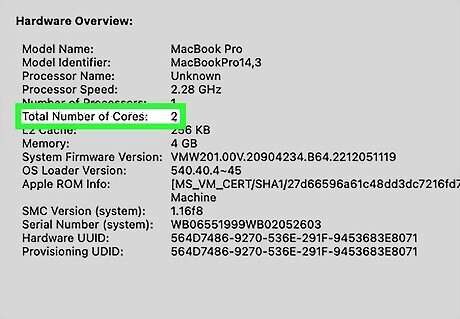
If the speed isn't listed, check the chip name and cores. For some Apple chips, you will only see a name, not a processor speed. For example, "Apple M1" or "Apple M2." For most Apple Silicon processors, you won't see the speed in gigahertz. All M1 chips are 3.2 GHz, but with different numbers of cores. The more cores, the faster the M1 processor. M1: 8 Cores M1 Pro: 8 or 10 Cores, depending on the model M1 Max: 10 Cores M1 Ultra: 20 Cores Standard M2 chips have 8 cores and are 3.49 GHz. Other M2 CPUs: M2 Pro: 3.49 GHz, with 10 or 12 cores, depending on the model M2 Max: 3.68 GHz, with 12 cores For other CPUs without speeds listed, check https://everymac.com/systems/by_processor.
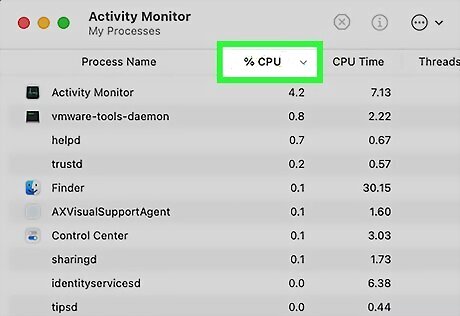
Use Activity Monitor to see how your CPU is performing. If your Mac is running slowly or you want to know which apps are using the most processing power, Activity Monitor can help. To open Activity Monitor, press Command + Spacebar at the same time, type activity monitor, then double-click Activity Monitor. Click the Window menu and select CPU Usage to view current CPU activity. The "System" column displays which system apps are using your CPU, and what percentage of your processor they're using. The "User" column displays CPU usage for non-system apps, such as your web browser and other programs you start manually. The "Idle" column displays the percentage of your CPU that is not currently in use.
Ubuntu Linux
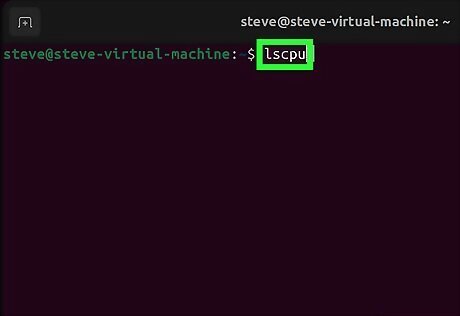
Use the lscpu command to display your CPU speed. If you just want to know the speed and type of processor you have, this command will display that information on any version of Linux. Open a Terminal window. Type lscpu and press Enter. Find the CPU name and speed next to "Model name."
Type uname -r and press ↵ Enter. Most tools available on Linux don't show the actual speed that the processor is running at. Intel has released a tool called turbostat that you can use to check. First, run uname -r, then note the version number that is displayed (X.XX.XX-XX).
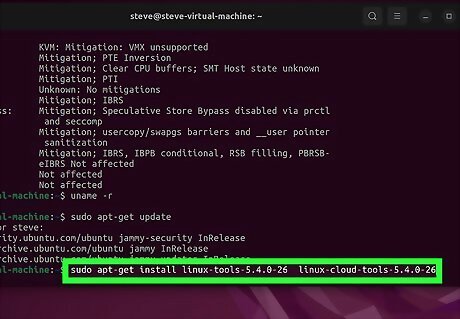
Type sudo apt install linux-tools-X.XX.XX-XX linux-cloud-tools-X.XX.XX-XX and press↵ Enter. Replace X.XX.XX-XX with the version number from the previous step. Enter your admin password if prompted.
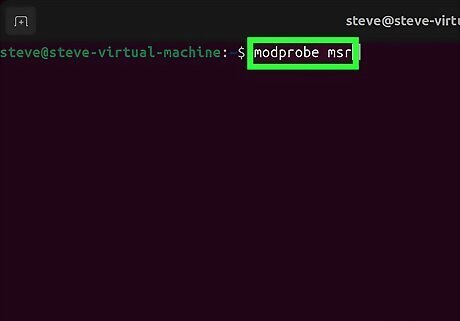
Type .modprobe msr and press ↵ Enter. This will install the MSR module that you'll need to run the tool.
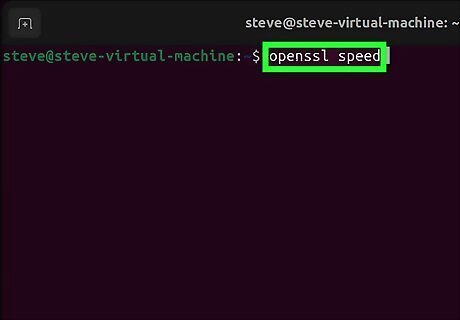
Open another terminal window and type .openssl speed. This will start the OpenSSL speed test, which will push your CPU to the maximum.
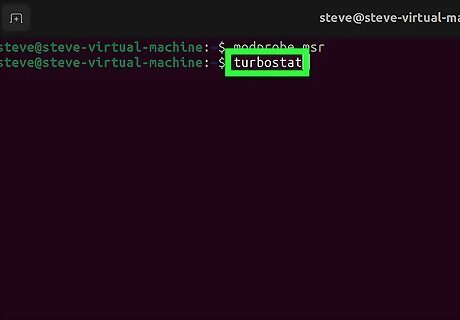
Return to the first terminal window and type .turbostat. Running this will display a variety of readouts about your processor.
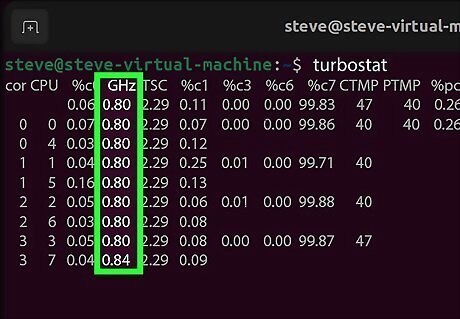
Look in the "GHz" column. Each entry is the actual speed of each core. The "TSC" column is the speed reported normally. This allows you to see the difference your overclock is making. The speeds will look low if you aren't pushing your CPU with a process.
Windows (Overclocked CPU)
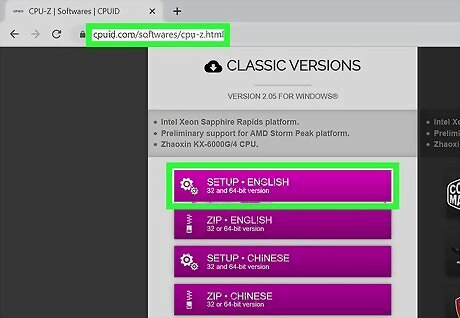
Download and install CPU-Z. This is a freeware utility that monitors the components in your computer. It is designed for overclockers, and will report the exact speed that your processors are operating at. You can download it from https://www.cpuid.com/softwares/cpu-z.html. CPU-Z will not install any adware or toolbars during the setup process. Overclocked CPUs are processors that have had their voltages modified to produce more power. Overclocking is popular among computer enthusiasts, as it allows you to get more bang for your buck, but it can potentially damage your components. You can check out our guide to overclocking your PC for more detailed instructions.
Run CPU-Z. By default, there will be a shortcut on your desktop to start CPU-Z. You will need to be logged in as an administrator, or have the administrator password in order to run it.

Start a CPU-intensive task on your computer. Your processor will automatically slow down when it isn't being used, so the speeds you see in CPU-Z will not show the full speed unless your processor is working hard. A quick way to get your CPU maxed-out is to run the Prime95 program. This is a program designed to calculate prime numbers, and is used by many to perform stress tests on a computer. Download Prime95 from mersenne.org/download/, unzip the program files, and select "Just Stress Testing" when you run the program. You can also open a resource-intensive task like editing a large Photoshop file or rendering a 3D model.
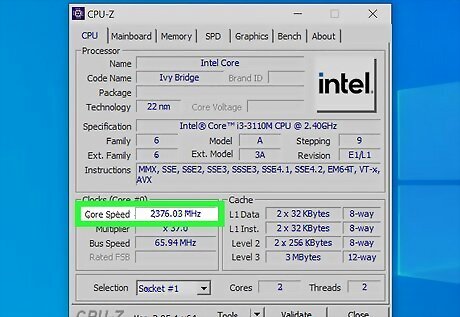
Check your CPU speed. Your current CPU speed will be displayed in the "Core Speed" field of the "CPU" tab. Expect to see minor fluctuations as your computer processes the Prime95 program. If you're trying to get even more out of your computing experience, you can also increase your internet speed.


Comments
0 comment