
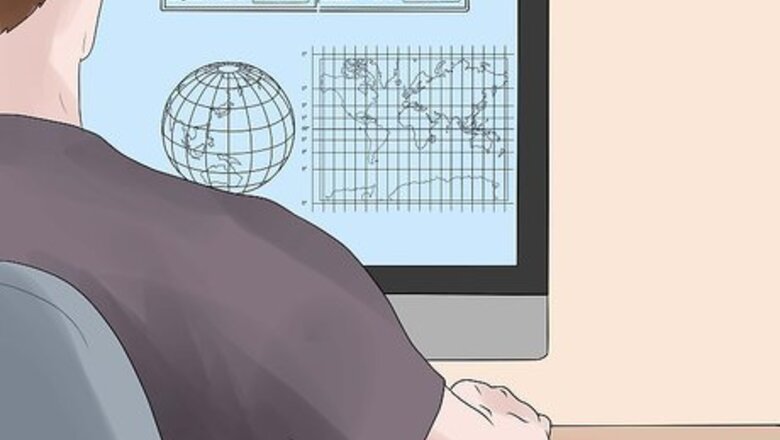
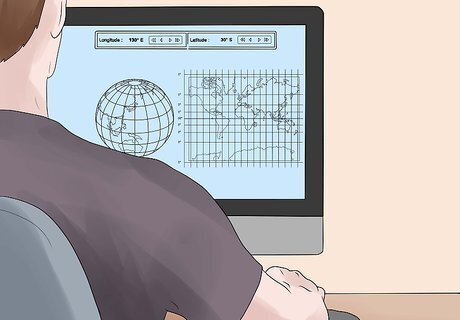
Identify the latitude for your chosen viewing location. For amateur purposes, you only need to narrow it down to an accuracy of one tenth of a degree, rounded up to the nearest tenth. For example, downtown Boston is located at 42.3 degrees north latitude. Write this down -- you will need it later on. There are several ways you can obtain the coordinates for the location. With any GPS that can display your position (on a Garmin device, for example, the "Where am I?" screen will show your current coordinates). Any smartphone app such as GPS Status that can do the same using the internal GPS. With Google Earth With Google Maps.
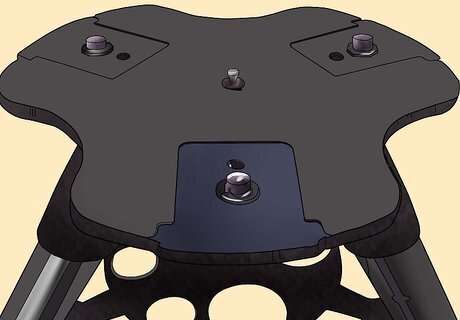
Measure the base of your telescope mount. You will need to measure the length and width of the mount. Assuming that you already made sure your plank of wood is at least four inches wider than the mount, add four inches to the length of the mount at the base.
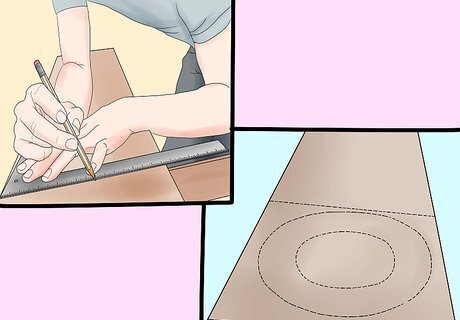
From the edge of the plank, measure the distance to match the number of inches or mm calculated in step 2. Draw a line with the pencil across from edge to edge. From that line, measure twice the distance and draw a second line. Halfway between, draw a third line. The first measurement will give you the wood for the base mount, the second for the longer plank that will bolt to the top of the telescope tripod. In the end you should have three lines, all the same distance from each other.
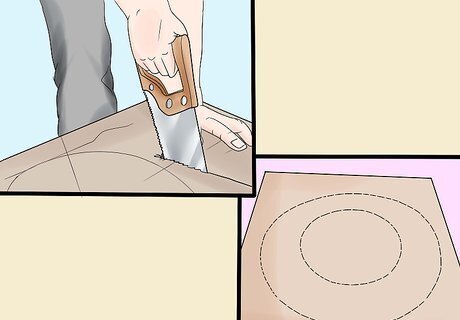
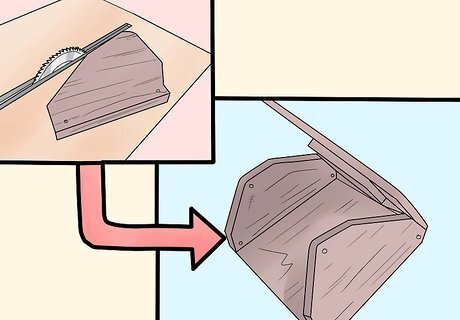
Cut the plank. You will first cut one smaller piece for the telescope mount and a second piece, twice as long, for the tripod base. That piece will have the line you drew right across the middle.
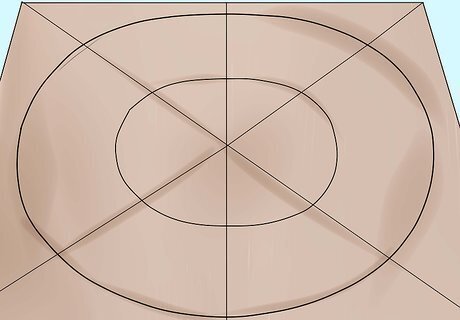
Mark the centers. On the smaller piece, mark the center by drawing two lines diagonally from the corners. On the larger piece, do the same but from the edge to the line drawn halfway down its length.
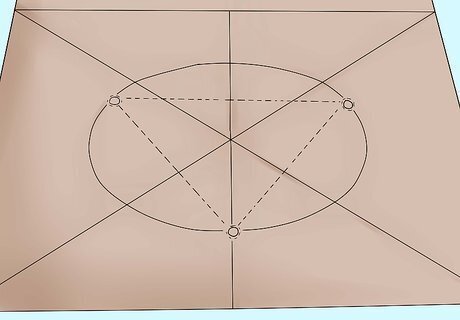
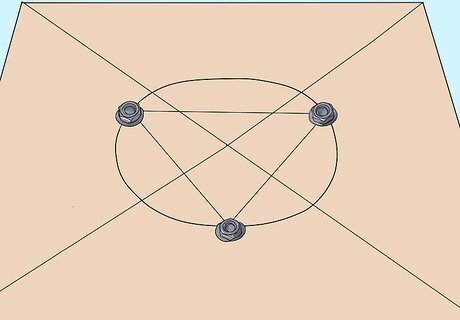
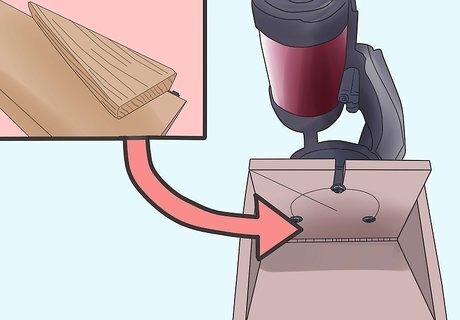
Measure and mark the bolt holes. This part is tricky. You will need to measure the distance from the center of the telescope mount to the center of the bolt holes as well as the angles in order to mark and drill the holes. You'll need to do the same for the bolt holes on the top of the tripod, but keep in mind that the bolt hole layout may be different, so don't assume they are the same.
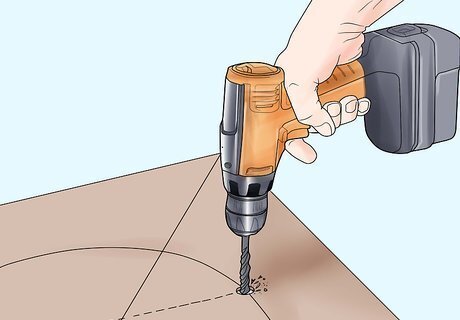
Drill the bolt holes. You may have to adjust a bit and make the holes oversize to get them to fit properly. That's OK, as long as you use washers the boards will not move on the tripod. On the smaller board, use a jigsaw or small saw to cut from the edge of the board to the bolt hole whose radius is perpendicular to the edge, as shown in this image. The cuts should create a slot whose sides align with the edges of the drilled hole. This will make it easier to mount the telescope base to the wedge.
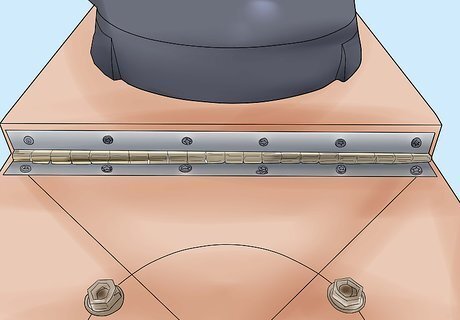
Install the hinge. If you have not done so already, cut the piano hinge to the width of the board for the telescope mount. Carefully align the hinge on the line you drew halfway down the length, clamp it down and install one side of it using two wood screws on each end. You can then remove the clamp. Place the telescope mount board next to the hinge with the slot cut away from the hinge, hold it as close to the hinge as possible and screw it to the side edge of the board. The hinge should touch the base and the telescope mount board should hinge up, as shown in the image.
Bolt the wedge to the top of the telescope mount, making sure you use washers on each bolt.
Decide how you will support the telescope mount base. At this point you can do one of two things. You can cut triangular pieces of wood to insert underneath the telescope mount board and hold it at a fixed angle, or you can cut larger pieces to attach on the outside of the long base board to support the telescope mount, but also give you the ability to modify the angle if needed. The tricky part here is the geometry. The top surface of the telescope base mount must be raised to an angle equal to the latitude of your location (you did write that down in step 1, right?) That angle needs to be as accurate as possible, but for amateur purposes the tolerances need not be microscopic.
Build the supports. In my case, I used two pieces of wood, cut them roughly to the shape of a slice of pizza, with the radius about an inch longer than 1/2 the length of the telescope base mount board, and attached it to the outside of the wedge with screws. You can (and probably should) use a wood router to make dado cuts and apply glue. I used wood screws.
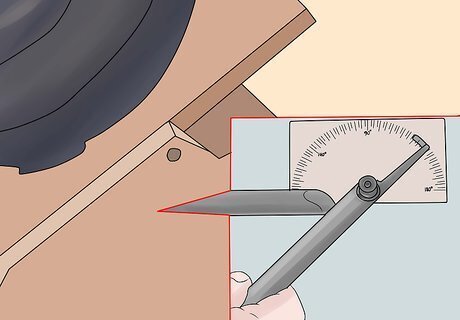
Raise the board to the desired angle. Remember to measure the angle of the top surface of the board. Triple-check the angle, secure the board and drill holes on each side slightly smaller than the wood screws and into the edge of the board. Insert screws.
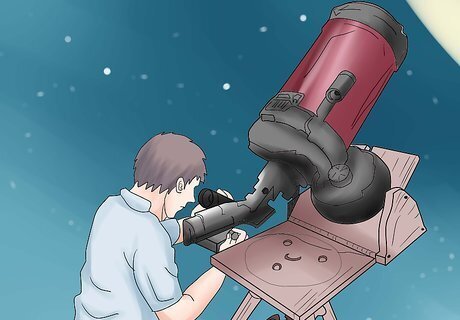
At this point you should have a working wedge. All you need is a clear night, and an understanding of how to polar align the telescope. The shelf under the telescope mount board can be used to store eyepieces, or a larger battery to power the scope's electronics. Sand everything down to remove any splinters and sharp edges and finish to your preference.

You now have a platform for astrophotography! Enjoy!


Comments
0 comment